Ask most crews where Z-flashing goes and you get one answer: the horizontal joint between courses of lap siding, or the break between panel runs on a fiber-cement job. Fair enough, that's the textbook use. But after twenty-some years bending this stuff in Delta, I can tell you the horizontal transition is maybe half of what a Z-profile actually does on a real BC building. The rest of the z-flashing applications I fabricate every week happen at material changes, slopes, inside corners, and spots where two trades' work meets and nobody wants to own the water problem.
Let's start with the one everybody knows, because getting it wrong there sets up every other mistake down the wall.
The standard horizontal Z, and why leg length is not a detail
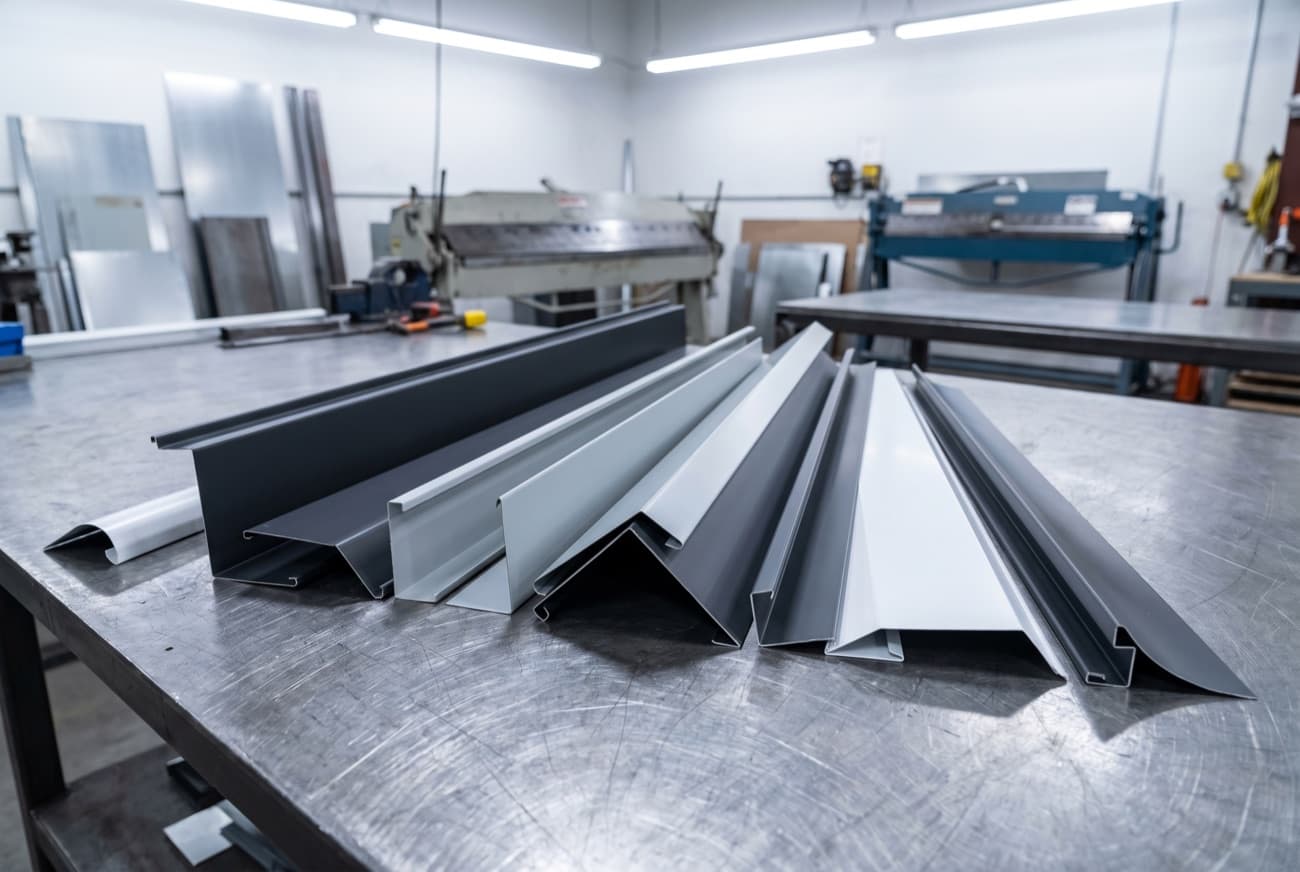
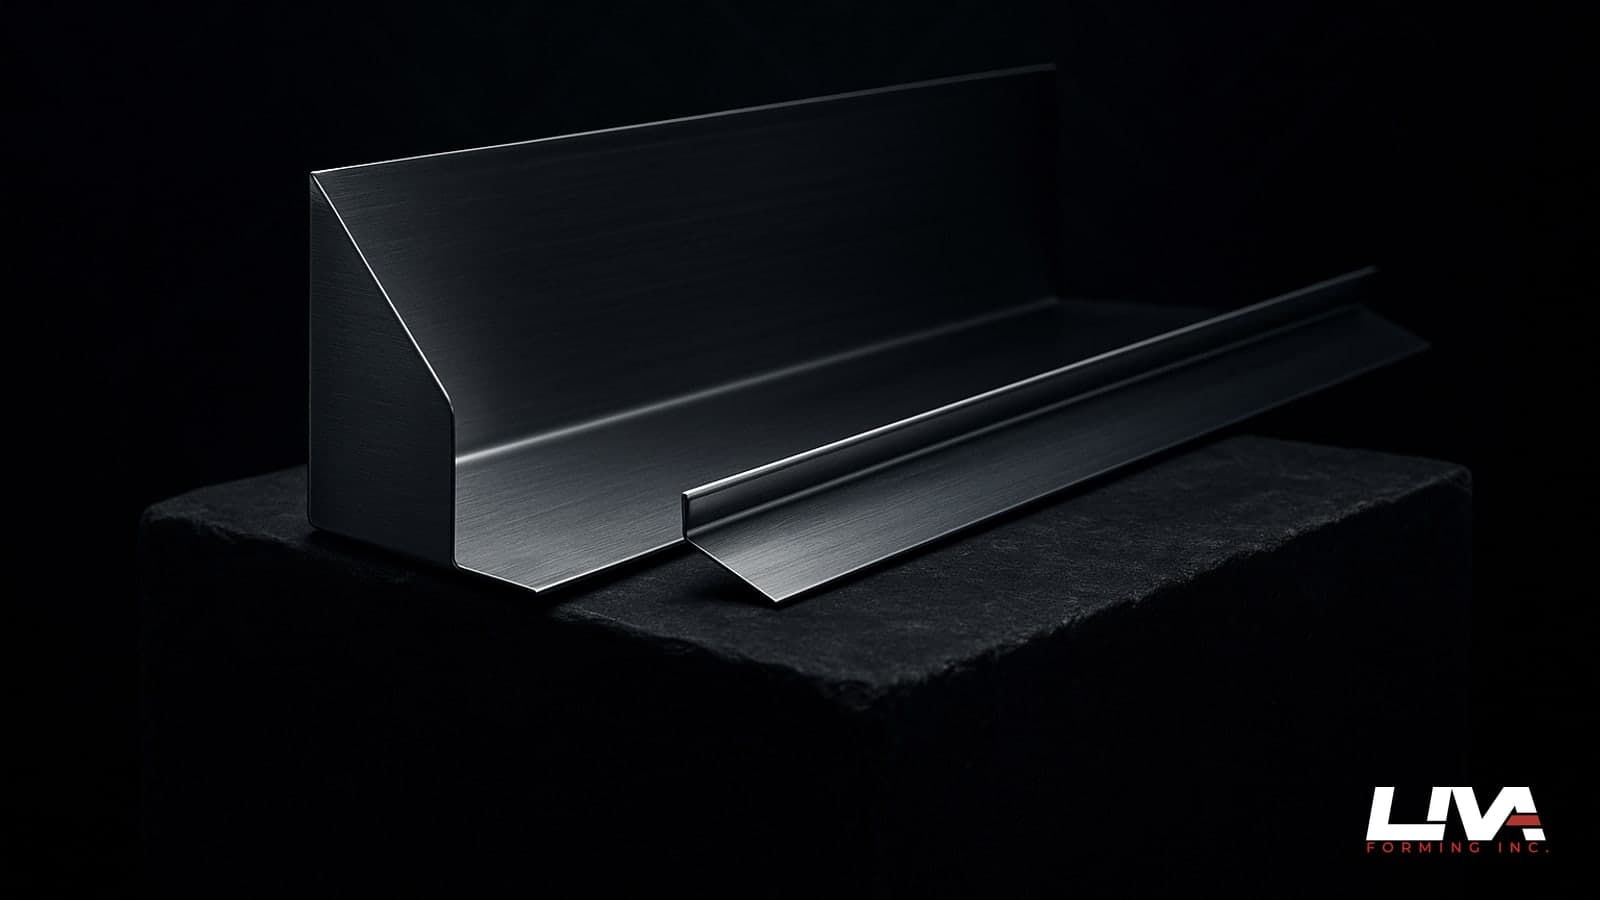
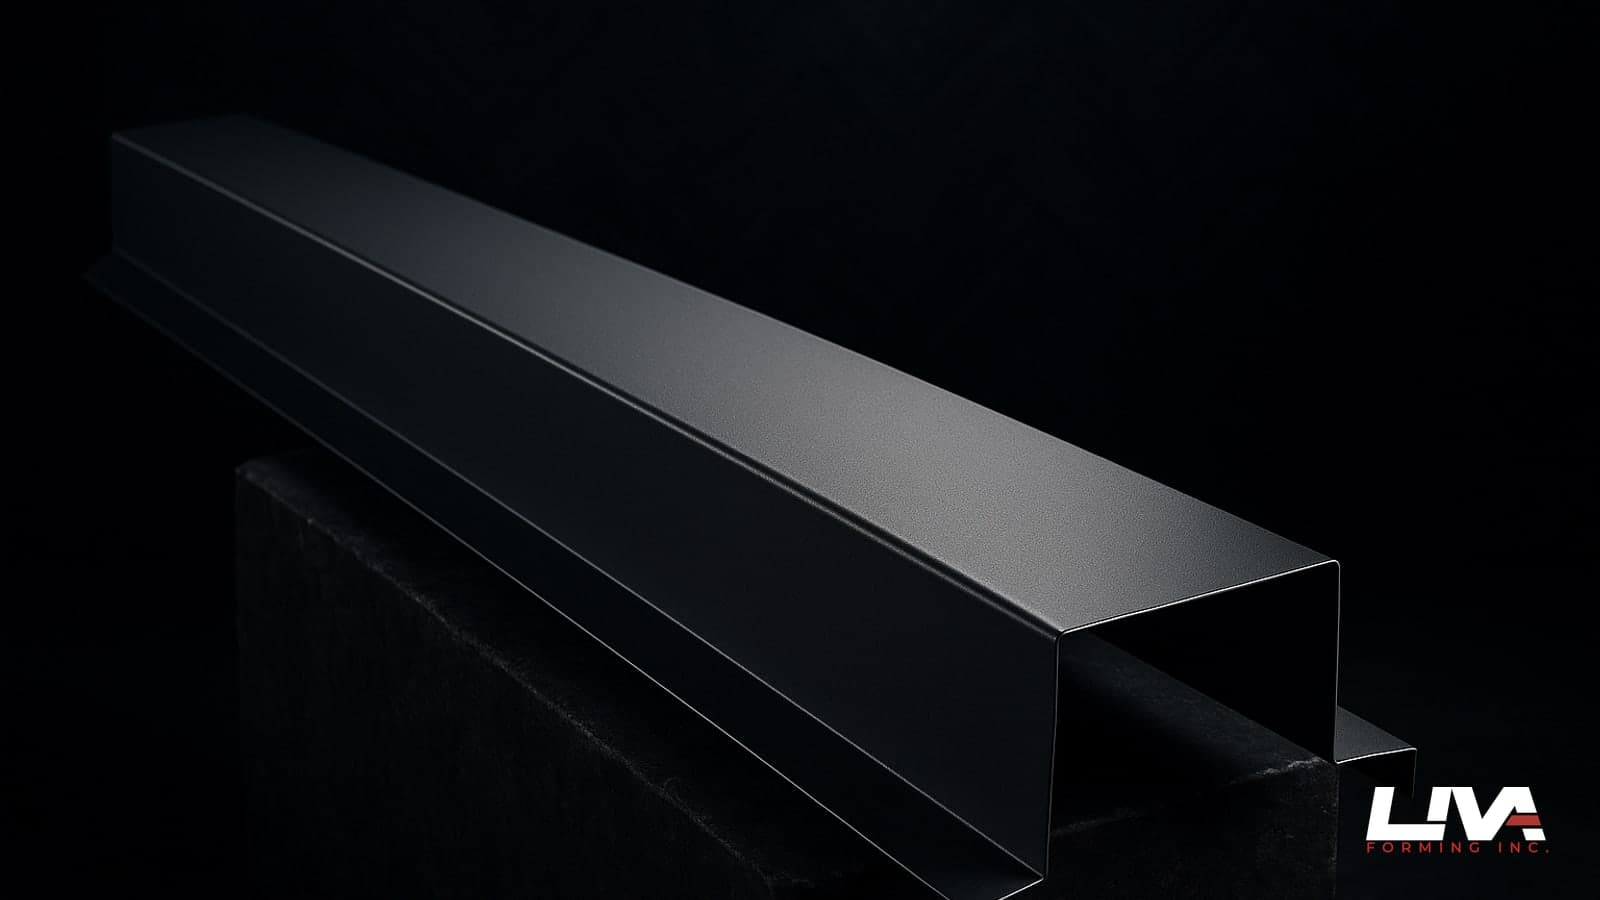
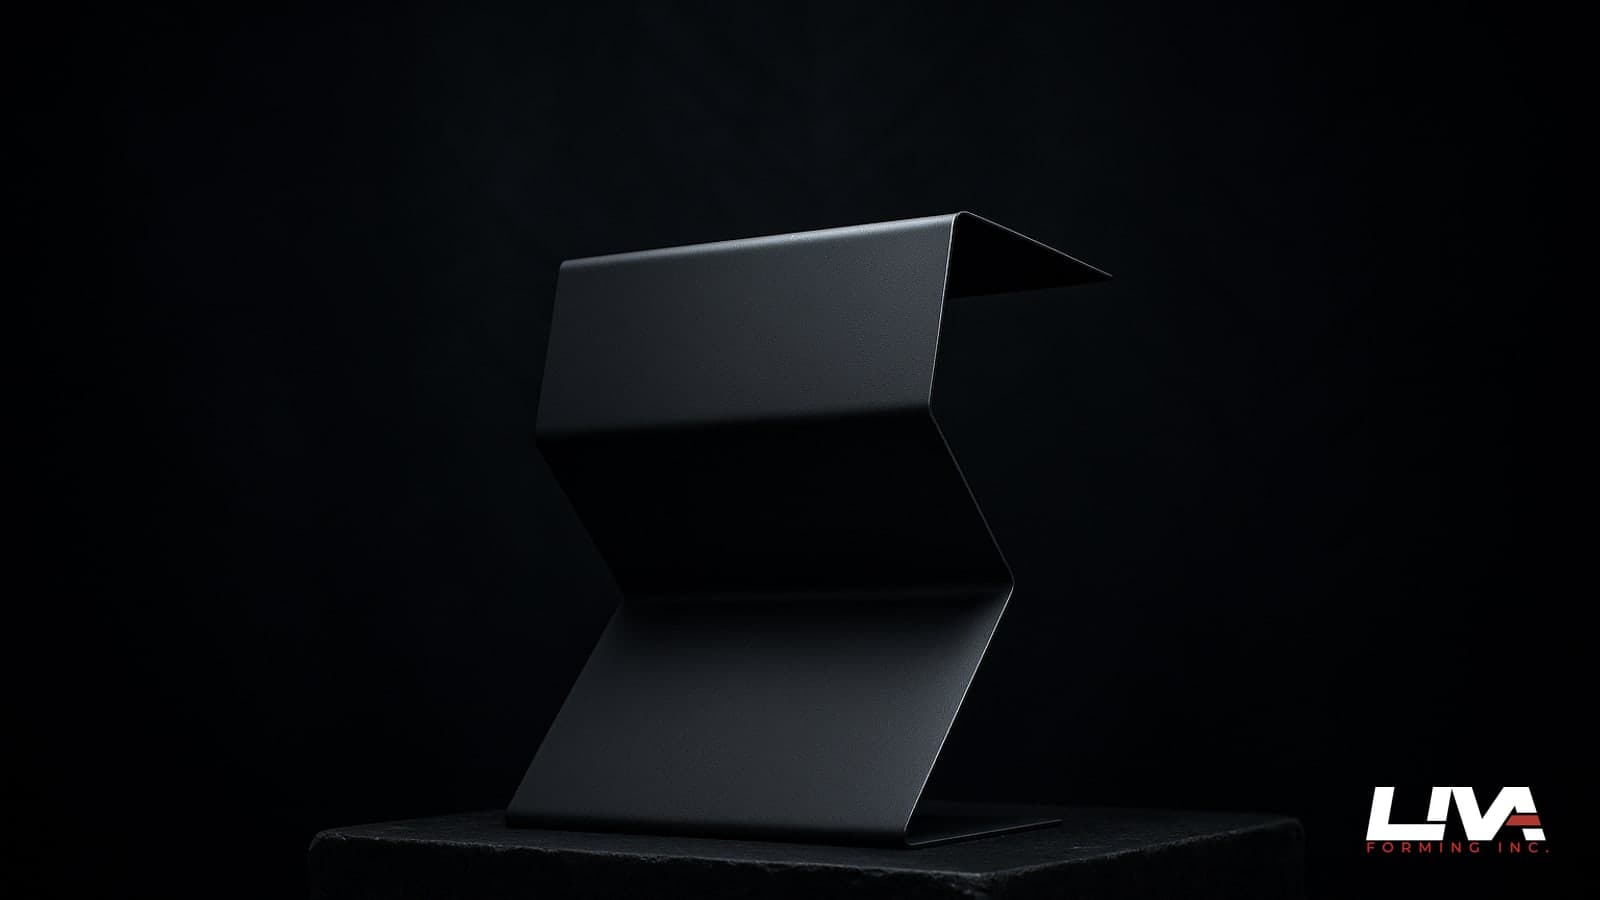
A basic Z-flashing has three legs: a top leg that slides under the upper cladding course or house wrap, a vertical face, and a bottom leg (the drip leg) that kicks out over the top of the lower course. Simple shape. Everyone thinks it's a commodity part. It isn't, not once you look at leg length against the actual cladding buildup.
Stock Z from a big-box supplier usually runs a 1-inch top leg, a 1-inch face, and a 1-inch drip leg. That works fine on 3/8-inch lap siding with a modest reveal. Put that same stock Z behind 5/8-inch prefinished steel panel, or over a rainscreen cavity with a 3/4-inch strapping gap, and the drip leg doesn't clear the face of the panel below. Water runs down the back of the flashing instead of off the front edge. I've been called to Surrey and Port Coquitlam jobs where the siding was maybe four years old and already staining at every horizontal break, and every time the cause was the same: a Z sized for a thinner assembly than what actually got built.
The fix isn't complicated, it's just not stock. You measure the cladding thickness, the WRB or rainscreen gap, and the desired reveal, and you bend the Z to those numbers. A 1.5-inch top leg, 1.25-inch face, 1-inch drip leg with a hemmed edge is a common custom spec we run for panel-over-strapping assemblies. Small change, but it's the difference between a flashing that sheds water and one that just decorates the joint.
Where Z-flashing shows up at material changes
This is the category most crews under-use. Any time cladding material changes horizontally along a wall plane, you've got a transition that wants a Z, not caulk.
Panel-to-fiber-cement is the one I see most in North Vancouver and Coquitlam new builds where designers mix metal accent bands with Hardie panel. The two materials have different thicknesses, different expansion behavior, and different install sequences. A Z built to step between the two thicknesses, with the leg lengths adjusted for each material's actual dimension rather than an average guess, handles both the water break and the reveal line cleanly. Try to fake that transition with a bent J-channel or a bead of sealant and you'll be back on a ladder in eighteen months.
Siding-to-masonry is the other big one. Stucco, brick veneer, or a poured concrete base wall meeting metal or wood-look panel above. That interface needs a Z with a longer vertical face so it can lap down over the masonry a good inch and a half, past the point where masonry sheds water outward. I've built these with a hemmed drip edge specifically because homeowners in White Rock and Tsawwassen tend to want that transition visible and crisp, not hidden behind trim. A hem also kills the sharp edge that cuts installers' gloves, which matters more than people think when you're handing off forty pieces to a crew on a Monday morning.
Vertical and sloped Z applications most crews miss
Here's where I lose people. Z-flashing is not just a horizontal part. Anywhere cladding changes plane or the wall itself steps, kicks, or slopes, you can use a Z-profile to bridge it instead of trying to scribe the panel itself.
Rake walls on a gable end are the classic miss. As the roofline slopes, your siding courses either step down in a stair pattern or you're supposed to run a sloped transition flashing that follows the rake angle. A custom Z bent at the actual roof pitch, not a generic angle, keeps the reveal line consistent and gives you a real drip edge along the slope instead of a caulked mitre joint that will crack out in two winters. This comes up constantly on Abbotsford and Langley builds with steep 8:12 and 10:12 roofs where the gable siding meets a shed dormer or a bump-out.
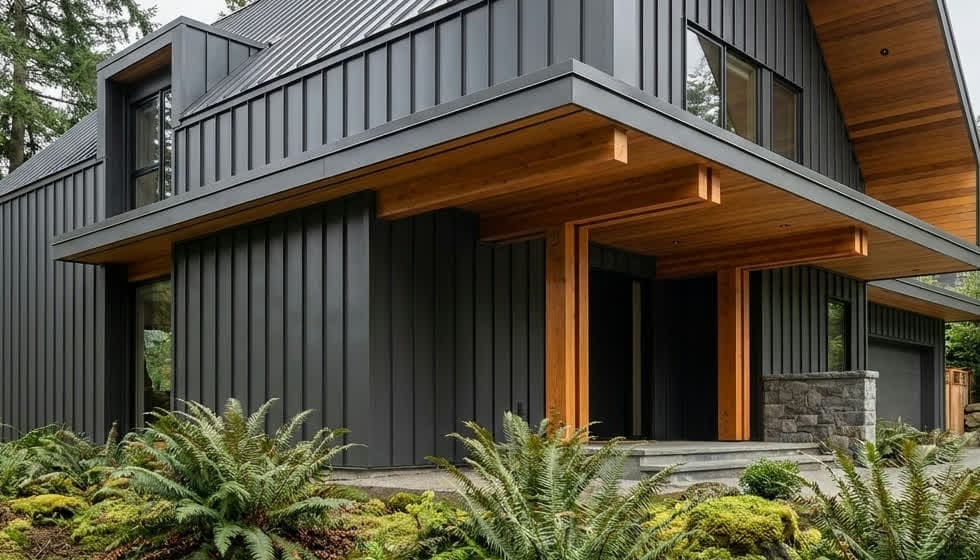
Vertical Z at inside and outside corners where panel profiles run into a different cladding orientation, say horizontal metal panel meeting a vertical board-and-batten section, is another spot. You're not just capping a horizontal joint anymore, you're managing water on a vertical run where gravity is working with you but wind-driven rain from the Fraser Valley storms is working against you. The Z has to be deep enough in the face dimension to actually shadow that joint, not just decorate it. If you're speccing that kind of mixed-orientation panel wall, it's worth reading up on board and batten metal siding specs for BC before you finalize the transition details, because the batten depth drives the Z dimension.
Parapet-to-wall transitions on commercial and multi-family jobs in Burnaby and Mount Pleasant are a third spot. Where a flat roof parapet cap meets a vertical panel wall below, a sloped Z tucked under the parapet coping and lapping down over the top course of wall panel does the water-shedding job that a lot of GCs try to solve with membrane alone. Membrane's good. Membrane plus a proper metal Z is better, and it's the detail most inspectors actually want to see.
Sizing the Z to cladding thickness and reveal, every time
I'll say this bluntly: a Z-flashing sized off a spec sheet instead of a tape measure on the actual wall assembly is a coin flip. Reveal depth, cladding thickness, rainscreen gap, and the angle of the wall all change the numbers. Three measurements I ask every contractor for before I bend anything:
- Actual cladding thickness at the joint, measured, not assumed from the product data sheet
- Depth of the rainscreen cavity or strapping, if there is one
- Desired reveal or shadow line, because a deeper reveal usually means a longer face leg to keep the drip edge visible from below
Get those three numbers and I can bend a Z that fits the wall instead of forcing the wall to fit a stock part. This is the same logic that applies across most trim decisions, and if you want the fuller version of how gauge and finish choices affect the quote, our piece on reading a metal fabricator's quote walks through where those line items come from.
Where custom actually beats stock
Stock Z has its place. Straightforward horizontal transitions on standard 3/8-inch lap siding with a normal cavity, sure, buy it off the shelf and move on. But there are a handful of situations where I tell contractors flat out: don't bother trying to make a stock part work.
Odd reveals are the biggest one. Anything outside the common 1-inch to 1.25-inch range, especially those wide 2-inch reveal details some architects are speccing on West Vancouver custom homes right now, needs a bent-to-order leg length. Deep hems are another. A hemmed edge on both the top and drip leg adds rigidity and safety, but stock product almost never comes hemmed on both ends, only the exposed one. Colour match is the third. If you're tying into a prefinished panel in a custom Kynar colour, a mismatched stock Z in mill finish or a close-but-not-quite paint match sticks out on the wall like a bad patch job. Our catalog covers the standard profiles we keep ready to go, but for anything with an odd dimension or a specific paint match, a custom run off the brake is the only way to get it right, and we've got a full piece on colour-matching custom flashings to existing siding if that's the piece of the puzzle you're stuck on.
Install mistakes that turn a Z into a leak
Even a perfectly sized Z fails if it goes in wrong. The mistakes I see repeat, project after project:
- Top leg installed over the WRB instead of under it, so water gets behind the barrier instead of in front of it
- No end dams or end laps at butt joints, so water runs off the end of one piece straight into the wall cavity
- Fasteners driven through the face of the Z instead of the top leg only, which punches a hole right where water travels
- Sealant used as a substitute for lap and slope instead of as a backup, meaning the whole joint depends on caulk that will fail in five to eight years on a south or west exposure
- Drip leg cut too short in the field to "make it fit," which defeats the entire purpose of the part
Every one of those is a five-minute training fix on-site, and every one of them shows up on inspection reports across the Lower Mainland. If you've had a callout for exactly this kind of thing, it's worth a look at what inspectors are actually flagging in our rundown of common BC siding inspector callouts that custom flashings fix.
What to sketch for a same-day custom Z quote
You don't need a CAD file to get a quote out of us. A hand sketch on site with five numbers on it gets a same-day price, most days, straight out of our Delta shop:
- Cladding thickness above and below the joint (they're not always the same)
- Cavity or strapping depth, if applicable
- Desired leg lengths, top, face, and drip, or tell us the reveal and we'll work it out
- Material and gauge, and whether it needs to match an existing finish or colour
- Total linear footage and whether it's straight runs, sloped rake pieces, or a mix
Photo of the wall assembly helps too, especially if there's an odd condition like a parapet or a material change we need to see in context.
Z-flashing looks like a simple bent part until you've chased a leak back to one that was sized wrong or installed backwards. It's cheap insurance against a callback that costs a lot more than the flashing did. If you've got a transition on the plans that doesn't fit anything on a supplier's rack, sketch it out and send your sketch for a quote, we'll turn most custom Z runs around the same day out of our flashing shop in Delta.
Frequently asked questions
Why does stock Z-flashing fail on panel or rainscreen walls?
Leg length. Stock Z usually runs a 1-inch top leg, 1-inch face and 1-inch drip leg, which suits 3/8-inch lap siding. Put it behind 5/8-inch prefinished steel panel or over a 3/4-inch strapping gap and the drip leg won't clear the panel face below. A common custom spec for panel-over-strapping is a 1.5-inch top leg, 1.25-inch face and hemmed 1-inch drip leg.
What measurements do you need to size a custom Z?
Three numbers, off the wall itself, not a spec sheet. We need cladding thickness at the joint, rainscreen cavity or strapping depth if there is one, and the reveal you want, since a deeper reveal usually means a longer face leg to keep the drip edge visible from below. Measure cladding above and below the joint separately. They're not always the same.
Where else does Z-flashing belong besides horizontal siding joints?
Material changes, first. Panel-to-fiber-cement needs a Z stepped between the two thicknesses, and siding over masonry wants a longer vertical face that laps down a good inch and a half. On gable rake walls, bend the Z at the actual roof pitch instead of caulking a mitre. Parapet-to-wall transitions get a sloped Z tucked under the coping.
What install mistakes turn a Z-flashing into a leak?
The top leg going over the WRB instead of under it is the big one. Crews also skip end dams or laps at butt joints, drive fasteners through the face rather than the top leg only, and cut the drip leg short in the field to make it fit. Sealant is a backup. On a south or west exposure it fails in five to eight years.