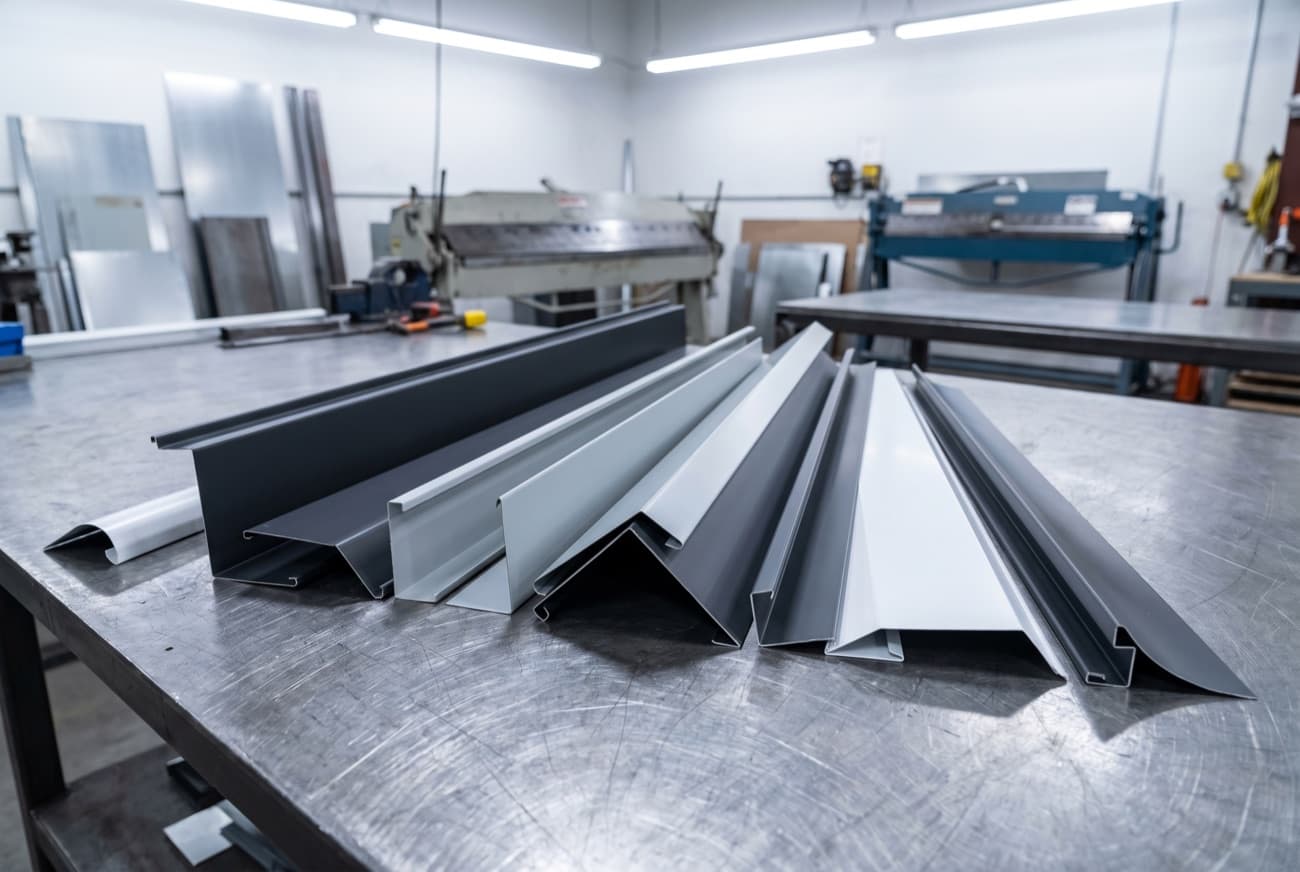
Every brick wall in the Lower Mainland is leaking right now. That's not a defect, that's the design. Brick veneer is a rain screen, not a raincoat, and it lets bulk water through the face wythe every time it rains sideways off the Strait of Georgia. The whole system only works if there's somewhere for that water to go. That somewhere is through wall flashing masonry details at every shelf angle, every lintel, every sill, tied into weeps that actually let the water back out instead of trapping it in the cavity to rot the sheathing.
I've been forming this stuff for over twenty years out of our shop in Delta, and the calls I get are almost always the same. Mason's crew is on site, envelope consultant wants a detail matched exactly, and nobody ordered the flashing three weeks ago when they should have. So we're cutting stainless on a Tuesday for a Wednesday install because a shelf angle got exposed and the rain's coming Thursday. That's normal. Let's talk about why this stuff is never stock, and what you need to send us to get it right the first time.
Why brick veneer needs flashing at every break
Brick is porous. Mortar joints are porous. Wind-driven rain pushes water through the face wythe constantly, and it runs down the back face of the brick into the cavity. If there's no through-wall flashing catching that water and kicking it back out through weep holes, it keeps running down until it hits something horizontal, a shelf angle, a foundation wall, a window head, and then it just sits there. Sitting water behind brick means rotted sheathing, rusted shelf angles, and eventually brick that's spalling from freeze-thaw because the cavity never drains.
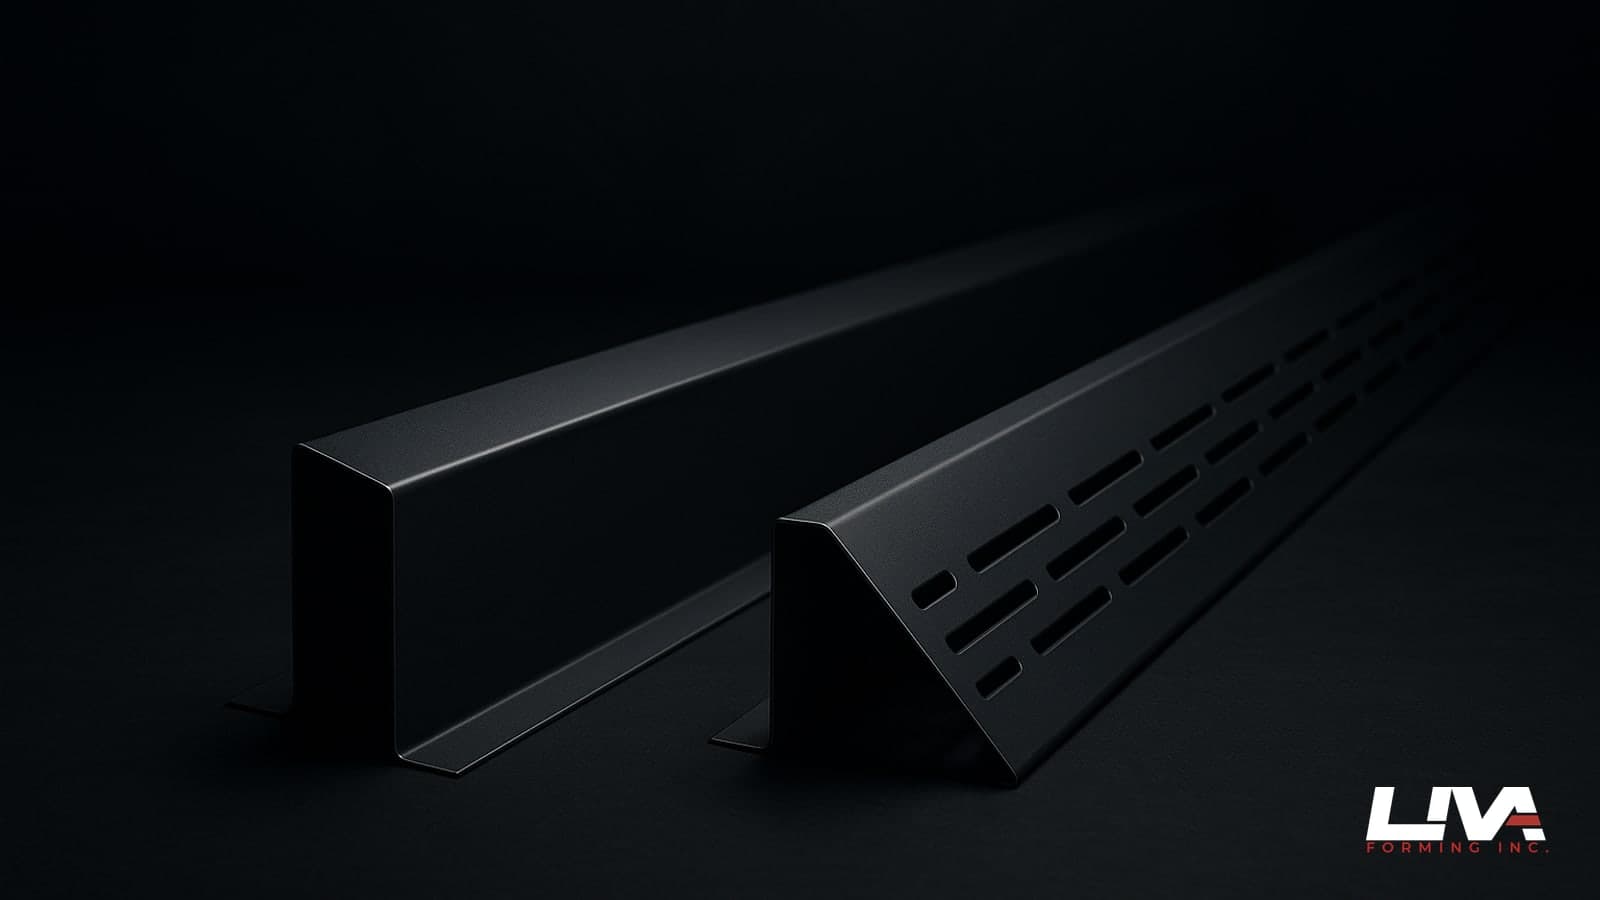
So flashing goes in at every shelf angle (usually every floor line on a mid-rise), every lintel over a window or door, every sill, and the base of the wall where it transitions to foundation. Each one needs to extend up the back of the cavity at least 200mm, come out over the face of the shelf angle or lintel, and terminate with a drip edge that kicks water clear of the wall face instead of letting it run back underneath. Weep holes go in the head joints right above the flashing, spaced 400-600mm on center depending on the spec. Miss the weeps and the flashing just becomes a bathtub.
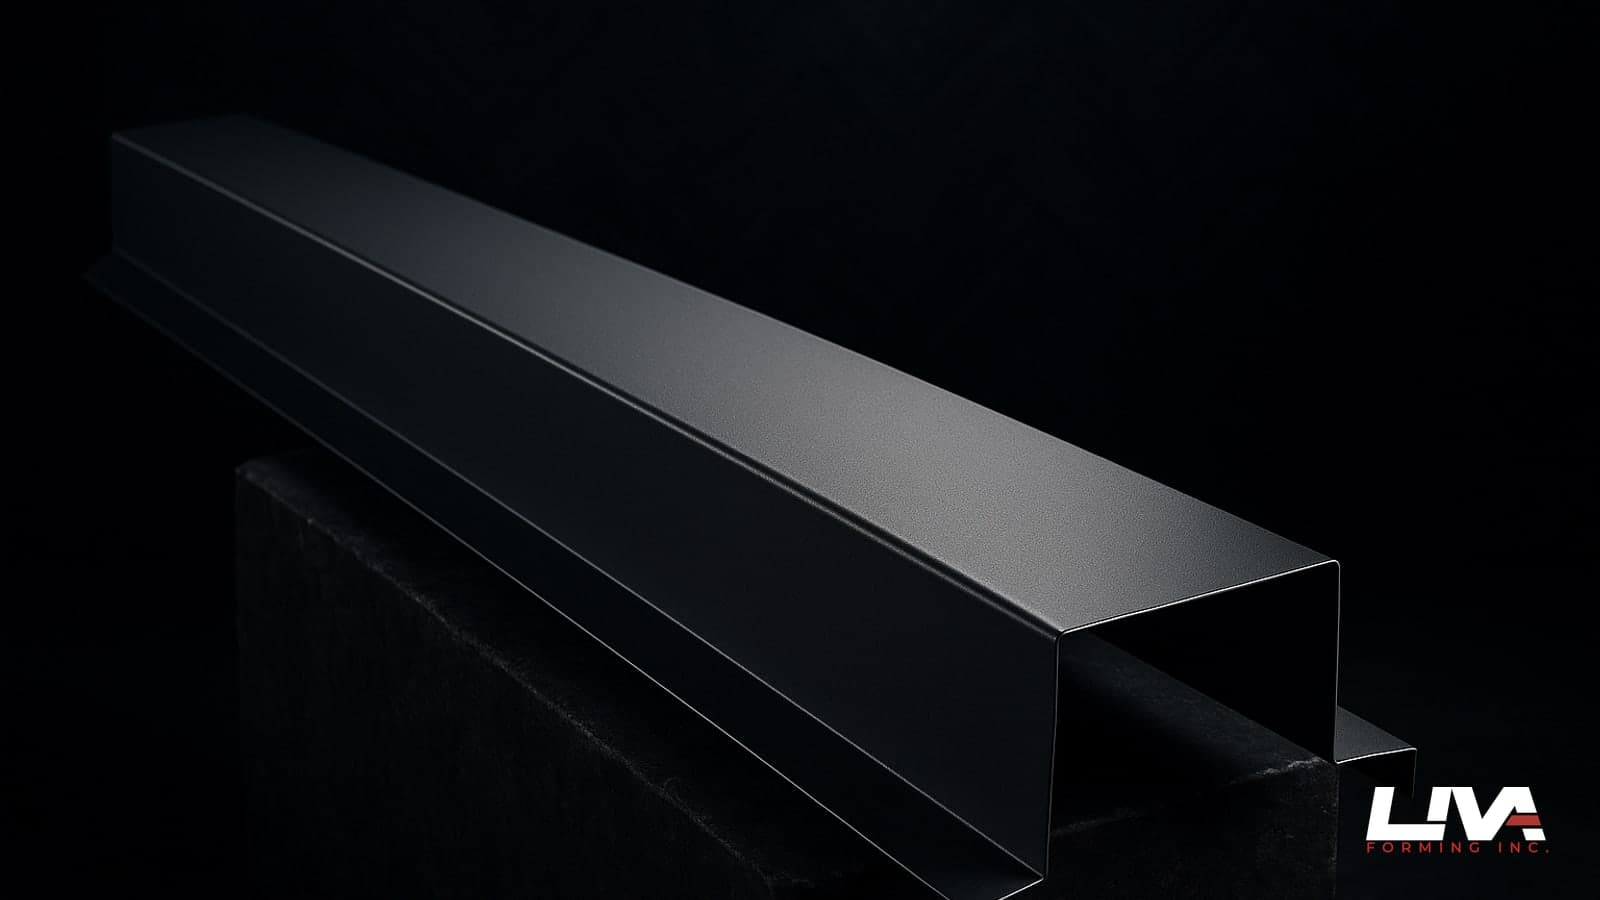
None of this is stock C-channel from a hardware store. Every shelf angle detail on every building is a slightly different depth, a slightly different face dimension, sometimes with a bent-up back leg to tuck behind an air barrier membrane. That's why it gets custom formed on a press brake, not pulled off a roll.
Stainless, galvanized, or membrane-plus-metal drip edge
This is the material argument I have with GCs at least once a month. Stainless is the right call for through-wall flashing on anything that's staying up more than twenty years, which is most masonry buildings. It doesn't corrode from contact with wet mortar the way galvanized eventually does, and mortar is alkaline enough to eat through a zinc coating over a couple decades. On a high-end multi-family job in West Vancouver or a heritage restoration in Mount Pleasant, stainless is what the envelope consultant is going to spec, full stop.
Galvanized still shows up on budget-driven commercial work, and it'll perform fine for fifteen to twenty years if it's detailed properly and the mortar isn't sitting directly against a cut edge. Where I push back is when someone tries to use galvanized in a genuinely wet, low-slope condition, like a shelf angle under a balcony with poor drainage. That's asking for trouble. Compare our full breakdown of galvanized vs aluminum vs copper flashings for BC conditions if you want the corrosion numbers.
The third option, and it's becoming more common on rainscreen assemblies with a self-adhered membrane, is a membrane-plus-metal drip edge. The membrane does the actual through-wall waterproofing and gets lapped up the back of the cavity and over the sheathing, and the metal is just a formed drip edge that gets set into the membrane before it's fully cured, giving you a crisp, rigid edge that kicks water off cleanly. This works well on wood-frame low-rise where a fully welded stainless pan is overkill. It's a good middle path for townhouse and low-rise work in Surrey and Langley where budgets are tighter but the assembly still needs to perform.
End dams, corners, and laps are where jobs fail
Here's the thing nobody tells you until a wall's already leaking: the flat run of flashing is the easy part. It's the ends and the corners that decide whether the whole detail works. Every piece of through-wall flashing needs an end dam, a small upturned return at each termination that stops water from just running off the side of the flashing and back into the wall assembly. Without an end dam, water travels laterally along the flashing until it hits the end, then pours straight down behind the flashing at exactly the point you didn't want it to.
End dams get formed as one piece with the flashing wherever possible, folded up on the brake rather than caulked on as an afterthought. Caulk fails. Metal doesn't. If I had a dollar for every failed masonry flashing job I've inspected where someone tried to seal an end condition with a bead of sealant instead of a folded dam, I could retire early.
Corners are the other trouble spot. Inside corners and outside corners on a shelf angle need either a factory-mitered corner piece formed as one unit, or a properly lapped and soldered/sealed joint with enough overlap, minimum 100mm, that water can't find a path through. We fabricate corner pieces as one-piece pans whenever the geometry allows it because every joint is a future leak path. On longer runs, laps need to shingle correctly with the slope of drainage, upstream piece over downstream piece, every time, no exceptions. Get the lap direction backwards even once and you've built a funnel.
Reglet and surface-mounted counterflashing at chimneys and parapets
Where a roof meets a brick wall, or where a chimney punches through, you need counterflashing to cap off the base flashing and keep water from getting behind it. There are two ways to do this against masonry: reglet counterflashing, where a slot is cut into the mortar joint and the flashing is inserted and wedged or caulked in, or surface-mounted counterflashing, where it's fastened to the face of the brick with a termination bar and sealant.
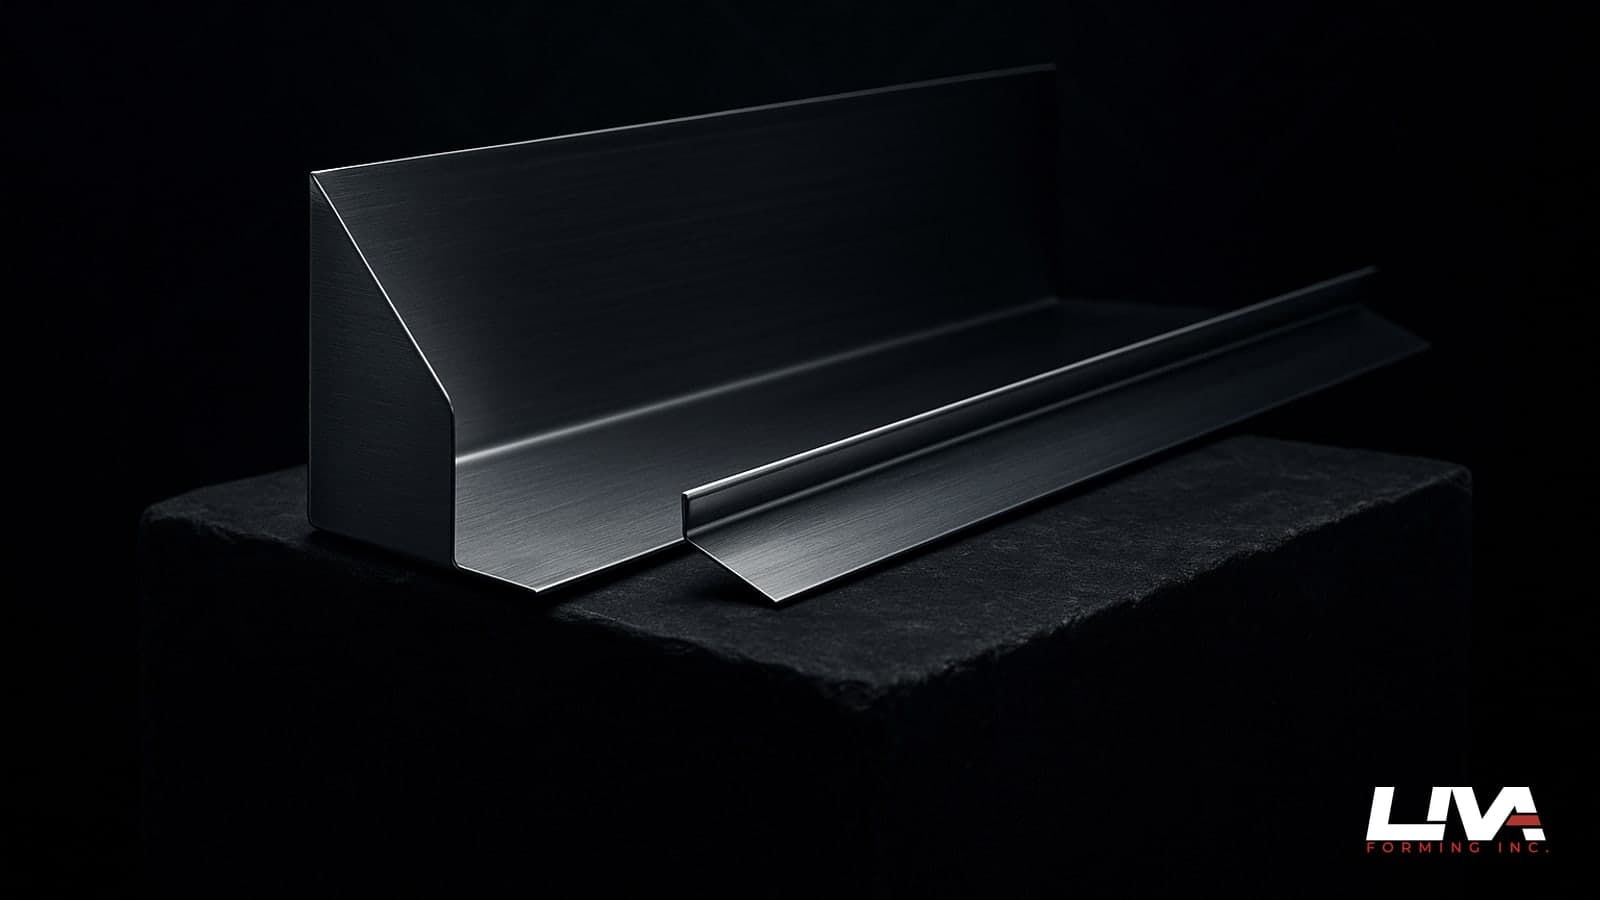
Reglet is the better detail almost every time. It's mechanically locked into the wall, it's less dependent on sealant staying intact for the next fifteen years, and it looks cleaner. Cutting the reglet is generally the mason's or a masonry-saw sub's job, cutting a continuous slot along a mortar joint at the right height above the roof or counterflashing line, and we form the counterflashing to match, with a folded lip that springs into the slot and a hemmed bottom edge that laps over the base flashing by at least 65mm.
Surface-mounted counterflashing gets used when cutting a reglet isn't practical, like on a heritage building where the mason doesn't want a saw anywhere near the existing mortar, or where the wall assembly behind the brick doesn't allow for a clean cut. It works, but it lives and dies by the termination bar and sealant joint, which means it needs re-caulking on a maintenance cycle that reglet doesn't need. On chimney work specifically, this pairs directly with proper step flashing and cricket details on the roof side. If your chimney or roof-to-wall condition also involves a diverter, read our piece on kick-out flashing at roof-to-wall junctions, because a good counterflashing detail with a bad kick-out at the bottom still floods the wall.
Matching profiles on heritage masonry
Heritage repair work is where custom fabrication earns its keep, and where a stock part is genuinely useless. I've matched flashing profiles on buildings in Steveston and New Westminster where the original detail was a built-in-place lead flashing from the 1920s, since replaced with galvanized in some previous repair, and now needing to go back in as stainless without changing the visible reveal or the drip line the heritage panel wants preserved.
What matters on these jobs is getting an accurate profile off the existing piece, not off a drawing that may or may not reflect what's actually up there. We ask for a physical sample if one can be removed, or at minimum a section cut profile with a tape measure and a square, plus photos taken square-on with something for scale in the frame, a tape measure or a coin. Old masonry has settled, so dimensions from one end of a wall to the other are frequently not the same. We form in short runs and check fit before committing to the full run on these jobs, because a heritage building doesn't forgive a shop that guessed.
Sequencing with the mason and the envelope consultant
Flashing on a masonry job is a sequencing problem as much as a fabrication problem. The mason needs the flashing in hand before the shelf angle course goes up, not after. The envelope consultant usually has a specific lap detail, hem dimension, or termination requirement in their drawings that varies from what a generic spec sheet would give you, and if we form to a generic spec instead of their actual detail, it gets rejected on inspection and everyone loses a week.
My advice to GCs: get the envelope consultant's flashing detail sheet into our hands at the same time you send us the wall dimensions. Don't wait for a site meeting to discover the detail calls for a 38mm hem instead of a 25mm hem. That's a five-minute fix on our end if we know before we cut, and a re-order if we find out after. On multi-trade jobs we've had good luck getting the mason foreman on a quick call with us directly, because they're the one who knows if the shelf angle is actually sitting where the drawings say it is.
What to send us for a masonry flashing quote
The faster and more accurate the information, the faster we can turn a quote and the faster metal shows up on site. For through-wall flashing, send us:
- The wall section detail from the architect or envelope consultant, if one exists
- Total linear footage per condition (shelf angle, lintel, sill, base of wall)
- Cavity depth and the dimension the flashing needs to run up the back wall
- Material preference, or tell us the exposure and we'll recommend stainless, galvanized, or membrane-plus-metal
- Photos of the actual condition on site, especially for retrofit or repair work where drawings may not match reality
For counterflashing at chimneys or parapets, add the roof slope, the height of the base flashing you're capping, and whether a reglet already exists or needs cutting. If it's heritage work, send a profile sample or a section-cut sketch with real dimensions, plus wide and close-up photos.
We fabricate all of this in-house on press brakes sized for long runs, which matters on a shelf angle detail that might run 40 meters down one elevation without a joint. Our custom fabrication shop handles the forming, and our flashing page has more on the stock profiles we keep on hand versus what always gets custom bent. If you're not sure what gauge or finish to spec, our guide on reading a metal fabricator's quote breaks down what those line items actually mean.
Masonry doesn't wait and neither should your flashing order. If you've got a shelf angle exposed, a chimney reglet cut, or a heritage profile that needs matching, send your measurements and site photos over and we'll send your sketch for a quote the same day, most of the time before the mason's even back on site.
Frequently asked questions
Where does through-wall flashing go, and how far up the cavity should it run?
Every shelf angle, lintel and sill, plus the base of the wall. Each piece runs at least 200mm up the back of the cavity, comes out over the face of the shelf angle or lintel and ends in a drip edge that kicks water clear. Weeps go in the head joints right above, 400-600mm on center depending on spec. Skip them and you've built a bathtub.
Should through-wall flashing be stainless or galvanized?
Stainless on anything staying up more than twenty years, which covers most masonry buildings. Mortar is alkaline enough to eat through a zinc coating over a couple decades. Galvanized can perform for fifteen to twenty years on budget commercial work if it's detailed properly and mortar isn't sitting against a cut edge. Keep it out of wet, low-slope conditions.
Why do masonry flashing details fail at ends and corners?
Missing end dams, mostly. Without an upturned return at each termination, water runs along the flashing to the end and pours down behind it. We fold end dams up on the brake as one piece with the flashing. Caulk fails. Corners get a one-piece pan where geometry allows, or a lapped joint with a minimum 100mm overlap, upstream piece over downstream.
Is reglet or surface-mounted counterflashing better against brick?
Reglet, almost every time. It's mechanically locked into a slot cut along the mortar joint, depends less on sealant and looks cleaner. We form it with a folded lip that springs into the slot and a hemmed bottom edge lapping the base flashing by at least 65mm. Surface-mounted works where a cut isn't practical. Expect to re-caulk it on a maintenance cycle.