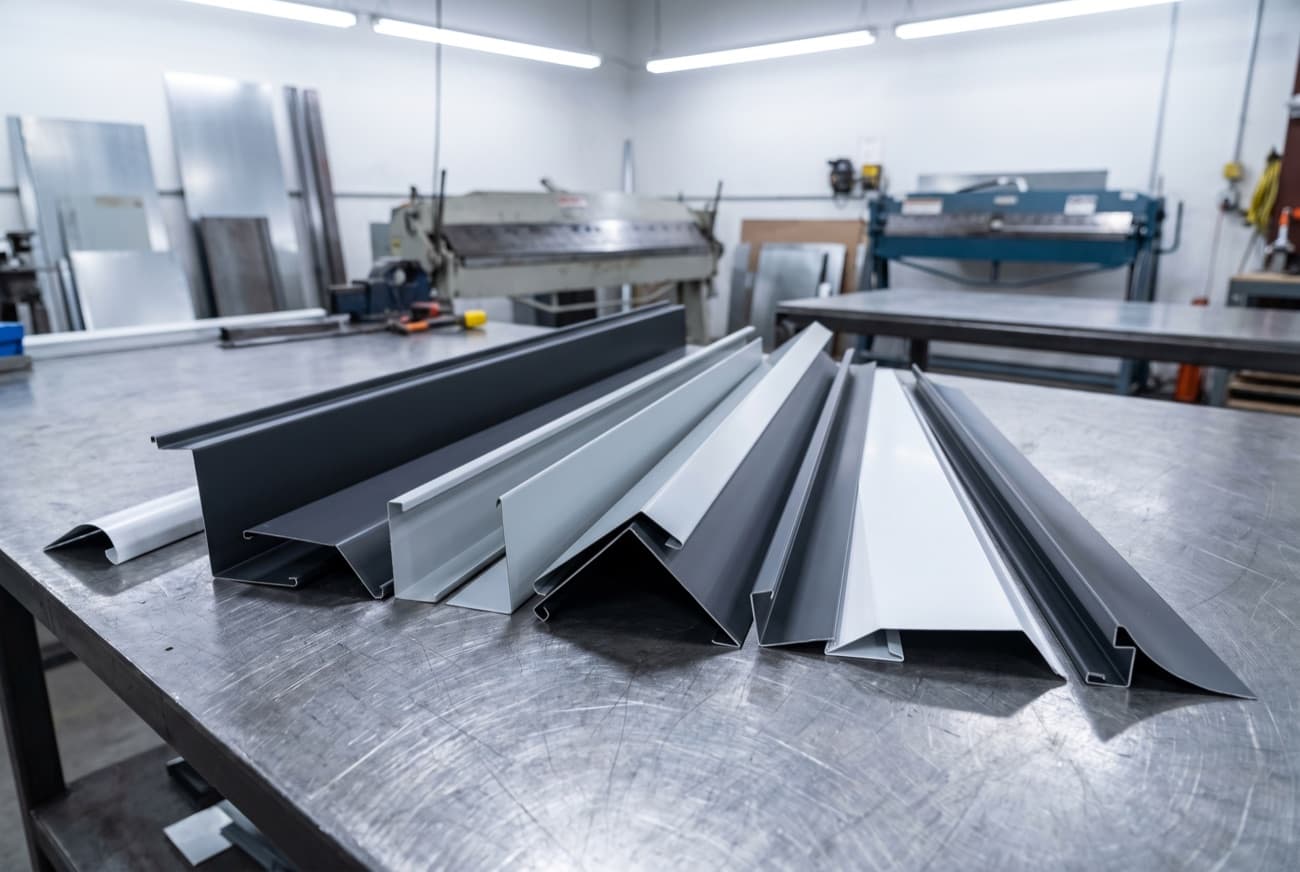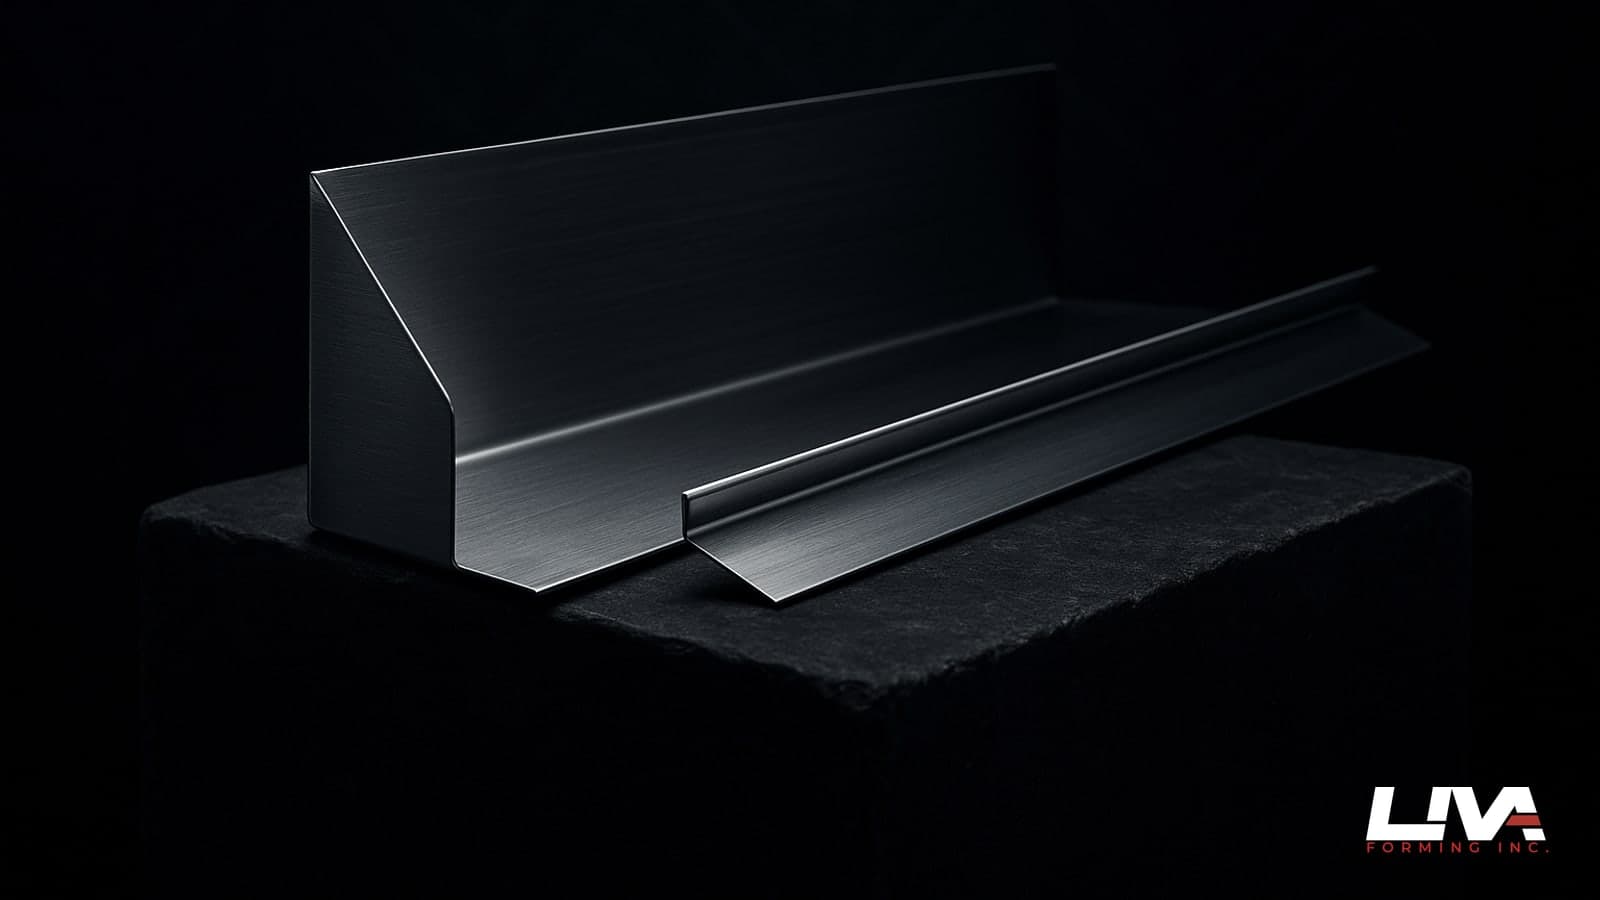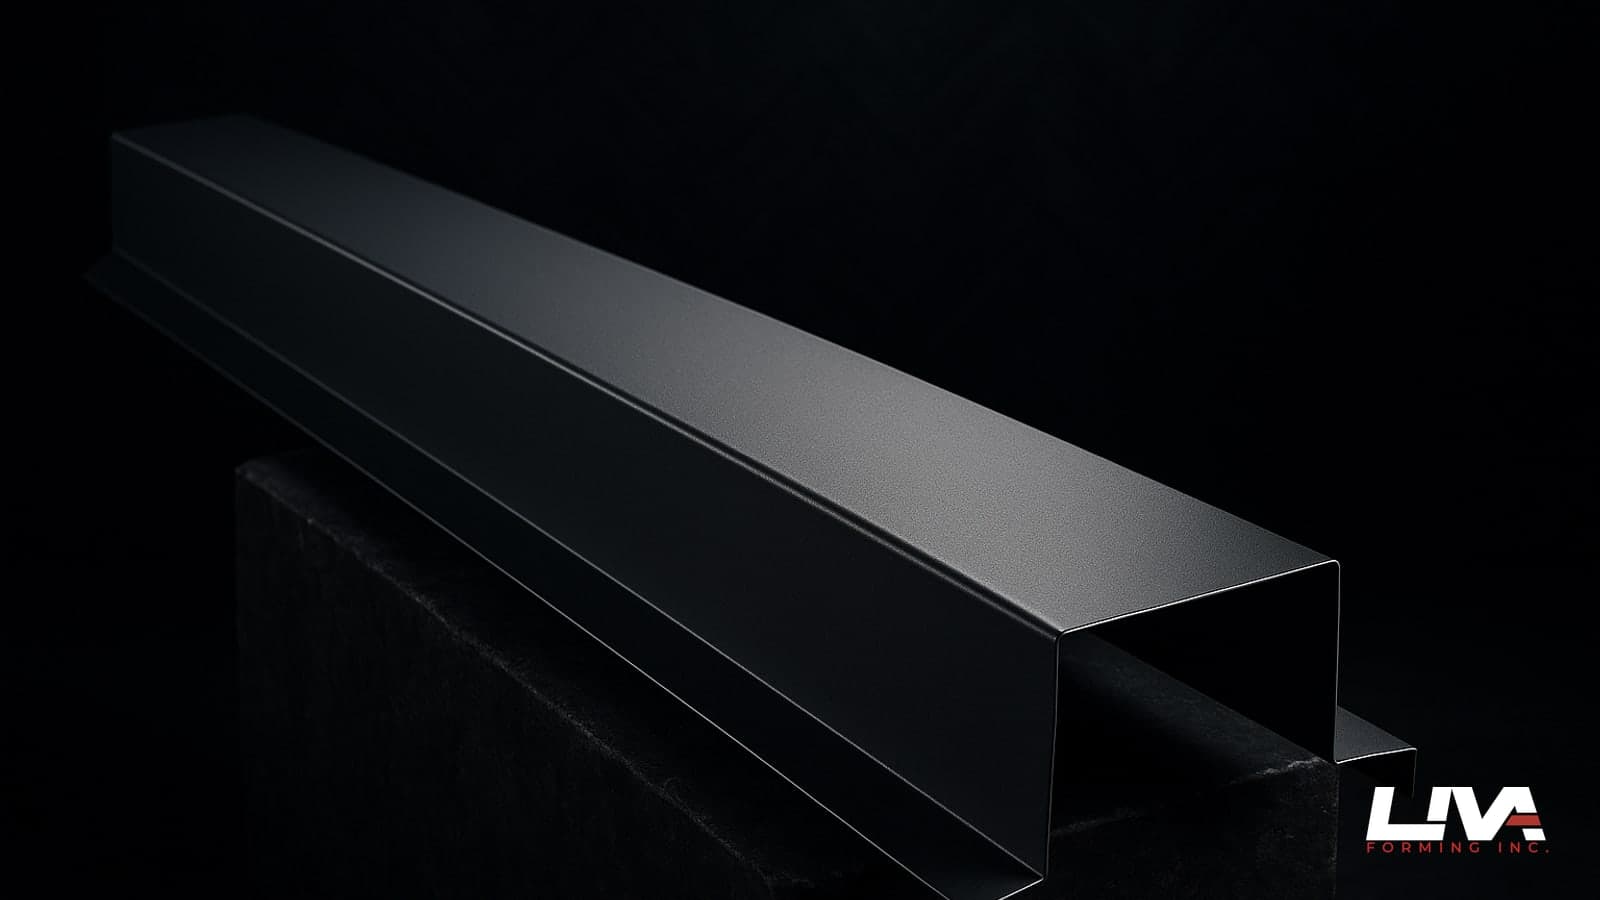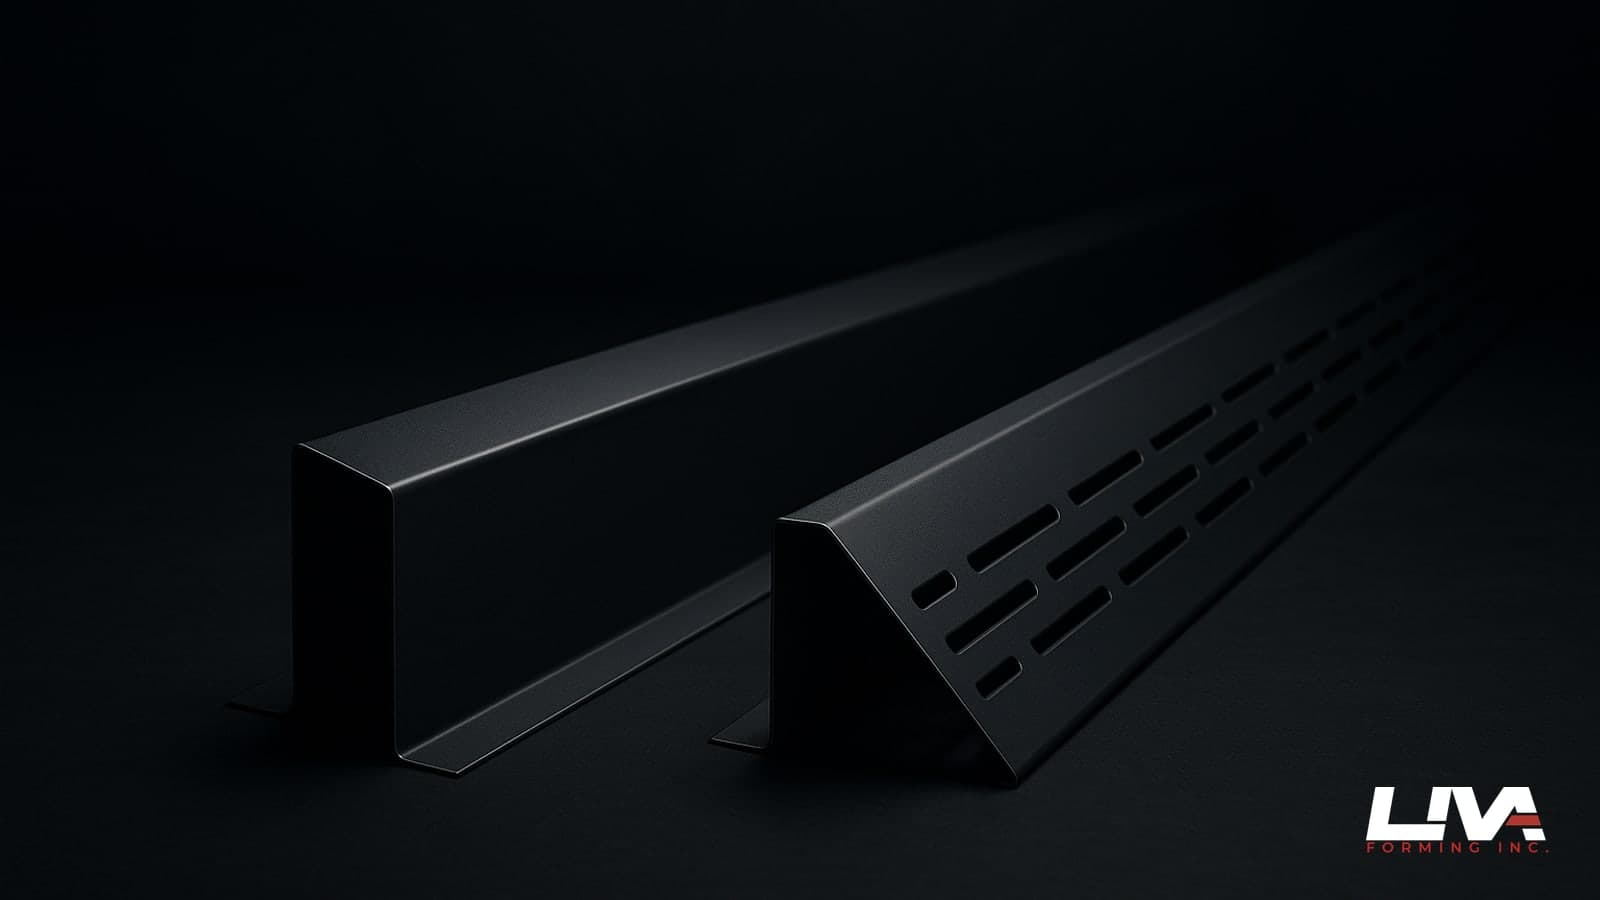
Kick-out flashing is the smallest piece of metal on the whole house, and it's the one I get called about most when a wall gets opened up and the sheathing looks like wet cardboard. It sits at exactly one spot, where a sloped roof meets a wall, at the bottom of the step flashing run. Its whole job is to kick water sideways off the roof plane and out past the wall face, into the gutter, instead of letting it run straight down behind the siding. Skip it, or install a wrong one, and every gallon of roof water that hits that last few feet of eave gets a straight shot at your housewrap lap and your bottom plate. In twenty-some years forming flashing in Delta I've seen more rot from a missing three-inch kick-out than from bad step flashing itself.
That's the whole point of this article. Not the concept, everybody in BC roofing knows what a kick-out is supposed to do. The problem is what actually gets installed on site, and why the stock stuff from the roofing supply house almost never fits the job in front of you.
Where the water goes without one
Picture a typical roof-to-wall intersection on a Coquitlam two-storey: dormer wall meets the main roof slope, step flashing runs up the rake, gutter runs along the eave below. At the bottom of that step flashing run, water sheeting down the roof plane and water coming down behind each step flashing piece all converges at one point. Without a diverter, that water follows the wall plane down, right behind the siding, right past the housewrap lap, and it finds the weakest point in the assembly. Usually that's a nail penetration, a butt joint in the WRB, or the corner of the sheathing where two trades' work meets and nobody sealed it because nobody was looking at it.
A kick-out flashing takes that water and redirects it outward, past the fascia line, into the gutter or clear of the wall entirely. It's a wedge, basically, a flared extension off the end of the step flashing with a fold that stands up and off the wall plane. Sounds simple. It is simple, geometrically. But the geometry has to match three different things at once: the step flashing profile above it, the gutter height below it, and the siding plane it's kicking water clear of. That's where stock pieces fall apart.
Why the site-bent version leaks at the fold
Half the kick-outs I see on Lower Mainland job sites were made five minutes before install, on a brake or by hand, out of a scrap of step flashing stock. I get why. It's the end of the day, the roofer's got one more detail before he can close up, and bending a kick-out out of what's already in the truck feels faster than driving to get the right part.
The problem is the fold. A proper kick-out needs a compound bend, the diverter flares outward from the wall plane at roughly 110 to 130 degrees depending on siding thickness, and that flare has to hold its shape without a seam splitting open. Hand-bent or bent cold on a site brake without the right radius, that fold work-hardens and cracks right at the flare, especially in 26 gauge steel where the material doesn't have much give left after you've already formed the step flashing bend into it. I've pulled cracked site-bent kick-outs off houses in White Rock that were maybe four years old. Crack's small, maybe a hairline, but it's sitting right at the point where water concentrates. That's not a flashing failure in ten years. That's a flashing failure in two winters.
The stock plastic or pre-formed aluminum kick-outs sold at the big box supply houses have a different problem. They come in one or two fixed sizes and a fixed angle, made to some average roof pitch and average siding reveal that doesn't match anything you're actually building. On a 6/12 pitch with 1x4 board and batten over 3/4 inch rainscreen strapping, a kick-out sized for a 4/12 pitch and lap siding just doesn't clear the wall plane far enough. Water still gets thrown, but it gets thrown short, and it lands right back against the cladding six inches down instead of into the gutter. Worse than doing nothing, in a way, because now everyone on site thinks the detail is handled.
Sizing it to the gutter and the siding offset, not to a catalogue number
This is the part that actually matters and the part a stock part can't solve. A kick-out has to be sized to two real dimensions on your specific building: how far the gutter's outer lip sits from the wall face, and how far the finished siding face sits from the sheathing, rainscreen gap included. On a rainscreen wall with 3/4 inch strapping plus 1/2 inch fibre cement, you're looking at over an inch of offset from sheathing to finished face before you even account for the housewrap and the strapping cavity itself. A kick-out cut for a flush stucco wall isn't going to throw water clear of that. It'll dump water right onto the top of the first course of siding.
The gutter height matters just as much. If the kick-out's flare angle is too shallow, water clears the wall but overshoots the gutter and hits the fascia or the ground below. Too steep and it just runs down the face of the gutter's back leg without ever getting into the trough. When we form these to order at the shop we ask for the roof pitch, the gutter profile and its distance off the wall, and the total wall assembly thickness out to finished siding. Three numbers, five minute conversation, and the kick-out actually does its job instead of just occupying the spot where a kick-out is supposed to be.
Matching material and finish to the step flashing and fascia
A kick-out that doesn't match the step flashing above it is a colour problem today and a galvanic problem in ten years. If your step flashing is prepainted Galvalume and someone drops in a mill-finish aluminum kick-out because that's what was in the truck, you've got a visible seam of mismatched metal sitting right at eye level on a lot of two-storey homes, plus you've put aluminum in direct contact with steel where they overlap. That joint corrodes faster than either metal would on its own. We cover the specific mechanics of that in our piece on Galvalume vs aluminum vs stainless flashing material for BC conditions, but the short version for kick-outs is: match the metal to the step flashing, always, not to whatever's cheapest that week. Colour's the other half. On a lot of North Vancouver and West Vancouver builds we're matching a custom prepainted finish that ties the step flashing, the kick-out, and the fascia cap into one continuous colour run. A mismatched kick-out sticks out worse than you'd think, it's small, but it's also right at the corner where everybody's eye lands when they walk up to a front door.
Getting it to actually integrate with the wall assembly
Sequencing is where I see good hardware get installed wrong. The kick-out needs to go in after the housewrap is lapped at that corner but before the first course of siding goes on, and its upper leg needs to tuck under the step flashing above it, not just butt against it. If the WRB is lapped over the kick-out's flange instead of under it, you've built a shingle-lap in reverse right at the most concentrated water point on the wall. On a rainscreen assembly the kick-out's vertical leg also needs to clear the strapping, not get pinched behind it, or you lose the flare angle you sized it for in the first place. This is a two-minute conversation with the siding crew before they start, and it's worth having every single time, because the crew doing the strapping and building paper is often not the same crew that flashed the roof, and nobody's checking that those two trades' work actually lines up at this one corner.
What BC inspectors are flagging
Kick-out flashing has become a specific line item on inspection reports across the Lower Mainland over the past several years, largely because of how much rot litigation has come out of exactly this detail on multi-family and townhouse projects. Missing kick-outs, undersized kick-outs, and kick-outs that don't extend past the cladding plane are all common callouts we hear about secondhand from contractors trying to close out a job. We go through the pattern of these callouts in more detail in our rundown of common BC siding inspector callouts that custom flashings fix, but kick-outs show up in that list constantly, right alongside undersized step flashing laps. If you're doing warranty-backed work, BC Housing and most municipal building departments in Delta, Surrey and Burnaby are looking for this detail specifically now on any roof-to-wall intersection above grade. It's not a grey area anymore. Either it's there and sized right, or it's a deficiency.
What to sketch when you order
We form kick-outs alongside step flashing packages constantly, and the jobs that go smoothest are the ones where the contractor sends a rough site sketch, not a perfect CAD drawing, just a real sketch with the numbers that matter. If you're ordering through our flashing fabrication service, here's what actually speeds things up:
- Roof pitch at the intersection
- Wall assembly buildup, sheathing to finished siding face, including strapping thickness
- Gutter profile and its horizontal offset from the wall
- Metal type and finish of the step flashing it needs to match
- Siding type, since board and batten, lap, and panel systems all want a slightly different flare
If step flashing is part of the same order, say so up front, we'll form them as a matched set out of the same coil run so the colour and gauge are identical, not just close. We've written before about ordering step flashing itself, and the same sizing logic applies at this junction; see our piece on custom step flashing at roof-to-wall intersections for the companion detail. For general guidance on getting us the right information the first time, our page on how to order custom metal drawings and specs covers what we need across every flashing type, not just this one.
A kick-out costs almost nothing relative to the siding job it protects, maybe $15-30 a piece formed to spec versus a stock part at $8-12 that doesn't fit. That gap is nothing compared to the cost of opening a wall in Abbotsford five years from now to replace rotted sheathing behind a corner nobody thought twice about. If you've got a roof-to-wall detail coming up, sketch the pitch, the gutter offset and the wall buildup, and send your sketch for a quote. We turn these around fast, and getting the fold right the first time is a lot cheaper than getting it right the second time.
Frequently asked questions
Why does a site-bent kick-out flashing leak?
The fold cracks. A proper kick-out needs a compound bend that flares out from the wall plane at roughly 110 to 130 degrees, depending on siding thickness. Bent by hand or cold on a site brake without the right radius, that fold work-hardens and cracks at the flare, especially in 26 gauge steel. The crack sits right where water concentrates. Expect failure in two winters.
Why don't stock kick-outs fit most roof-to-wall details?
They come in one or two fixed sizes at a fixed angle. On a 6/12 pitch with 1x4 board and batten over 3/4 inch rainscreen strapping, a kick-out sized for a 4/12 pitch and lap siding throws water short, back onto the cladding six inches down instead of into the gutter. Formed to spec, one runs $15-30 a piece. The stock part is $8-12 and doesn't fit.
What measurements do you need to size a kick-out?
Roof pitch at the intersection, the gutter profile and its horizontal offset from the wall, and the wall buildup from sheathing to finished siding face with strapping included. Add the metal type and finish of the step flashing it has to match. Siding type too. Board and batten, lap and panel systems each want a slightly different flare, and a rough sketch is enough.
Where does the kick-out go in the install sequence?
After the housewrap is lapped at that corner, before the first course of siding. The upper leg tucks under the step flashing above it rather than butting against it. Lap the WRB over the kick-out's flange instead of under it and you've built a shingle-lap in reverse at the most concentrated water point on the wall. On rainscreen, keep the vertical leg clear of the strapping.