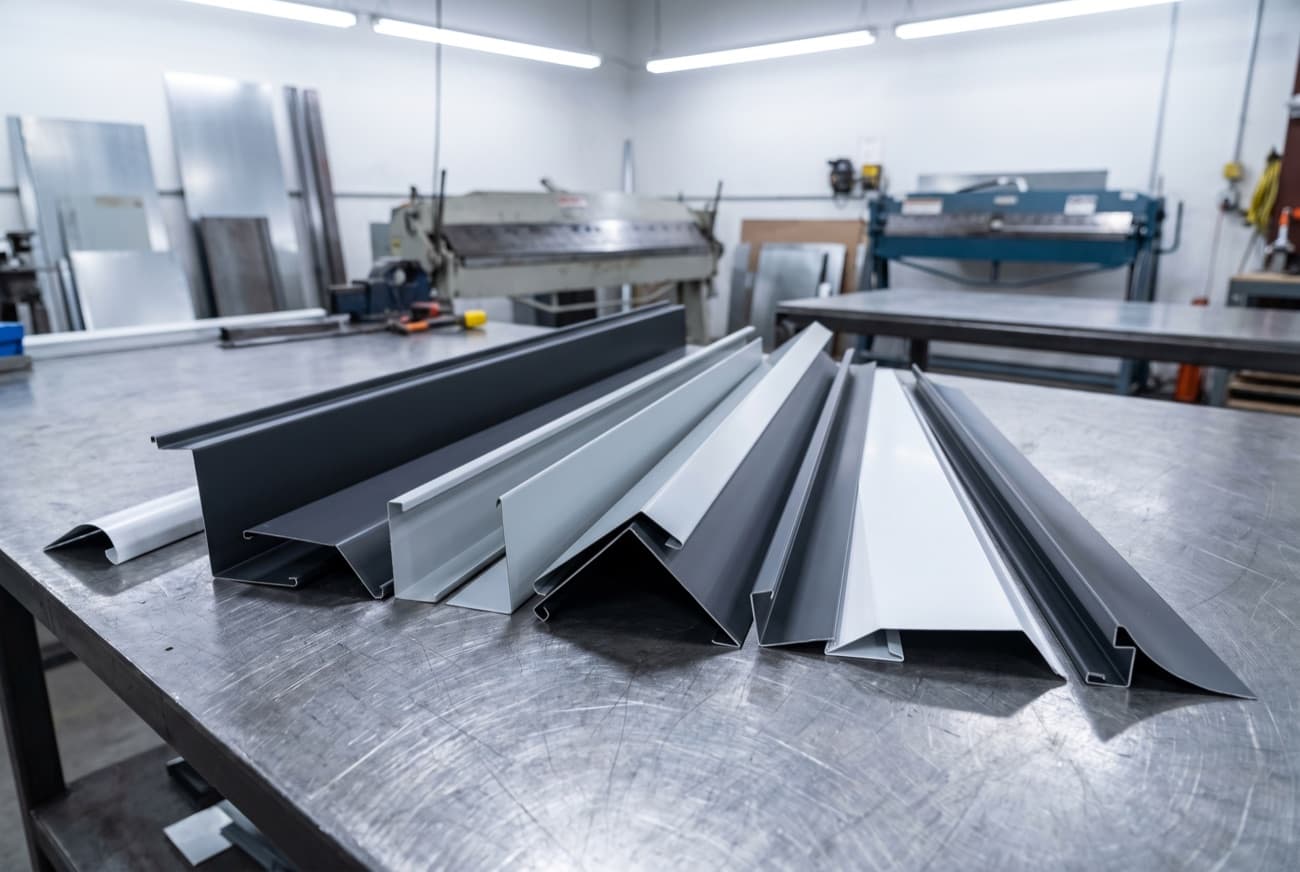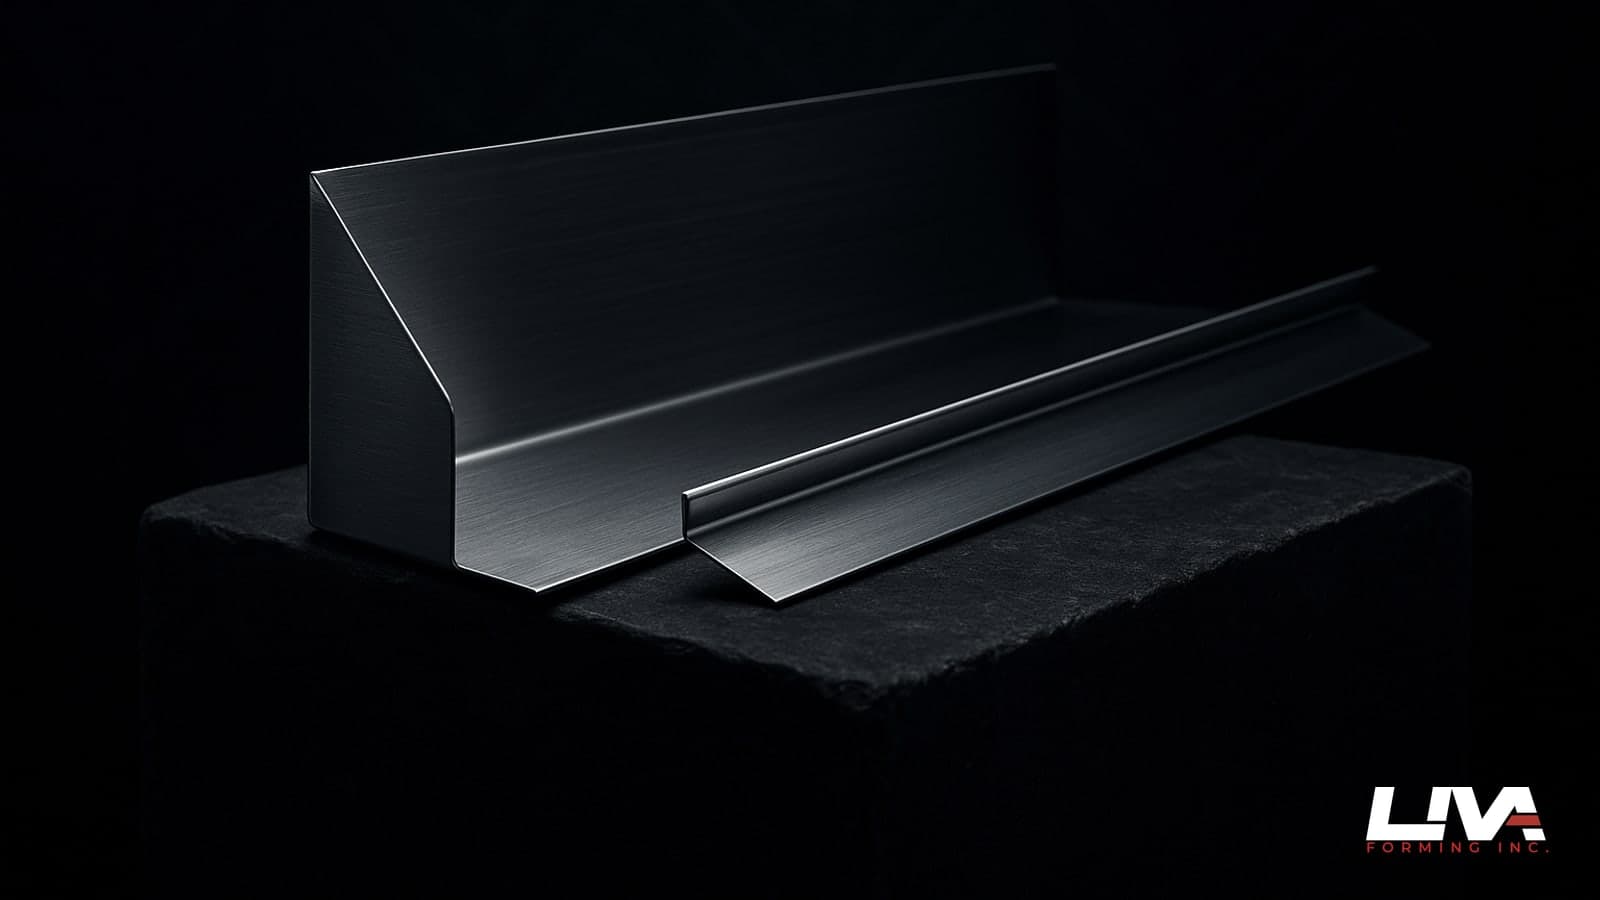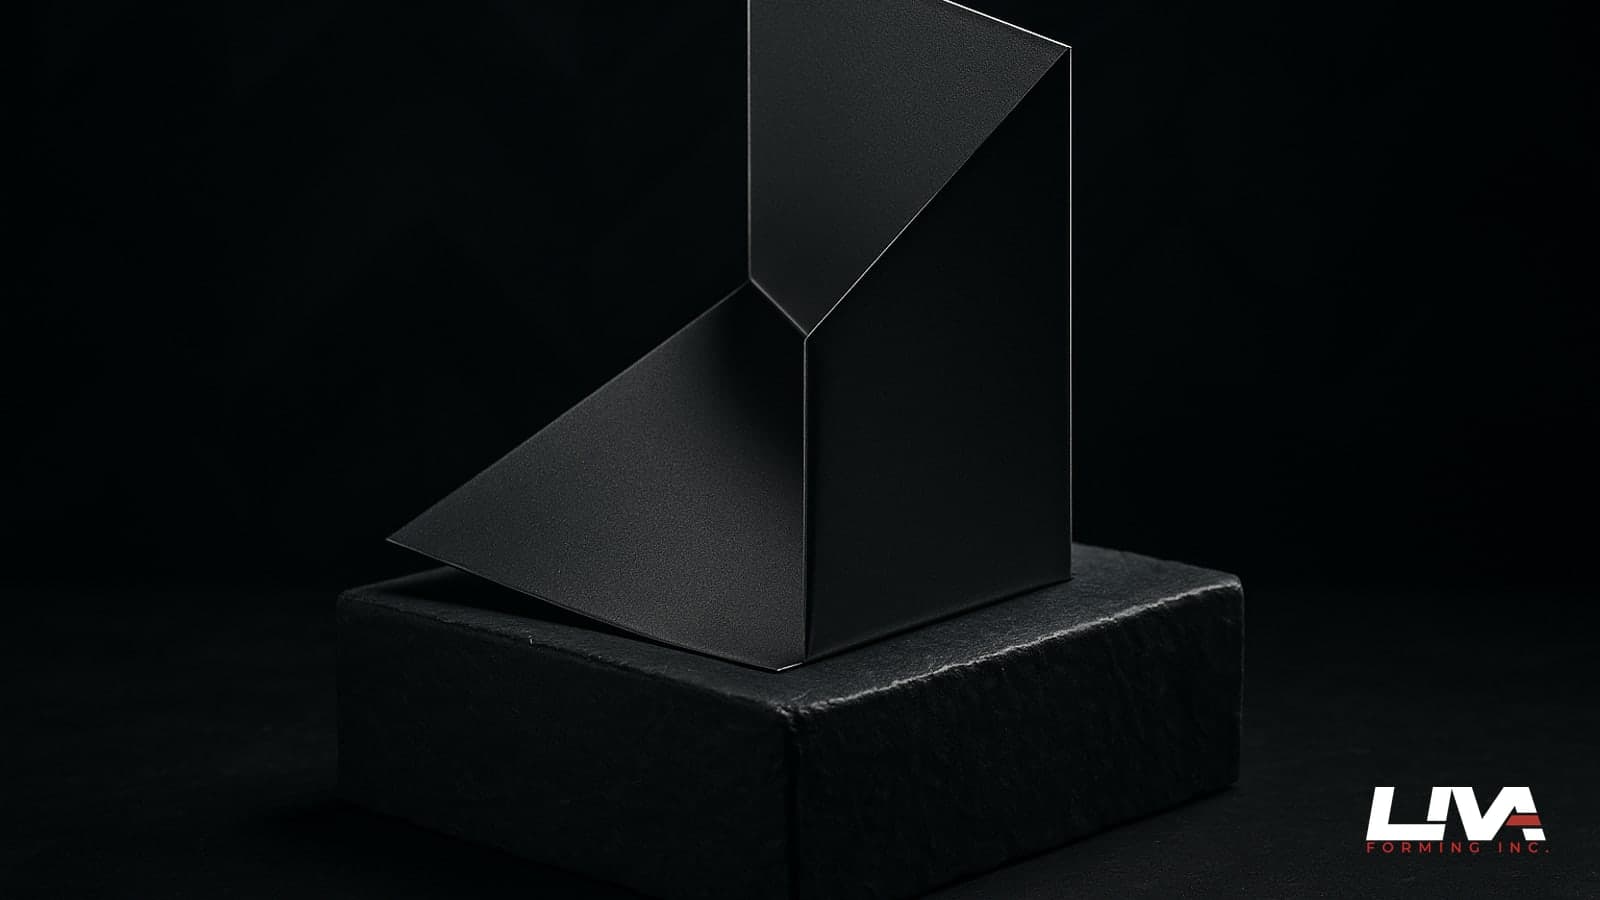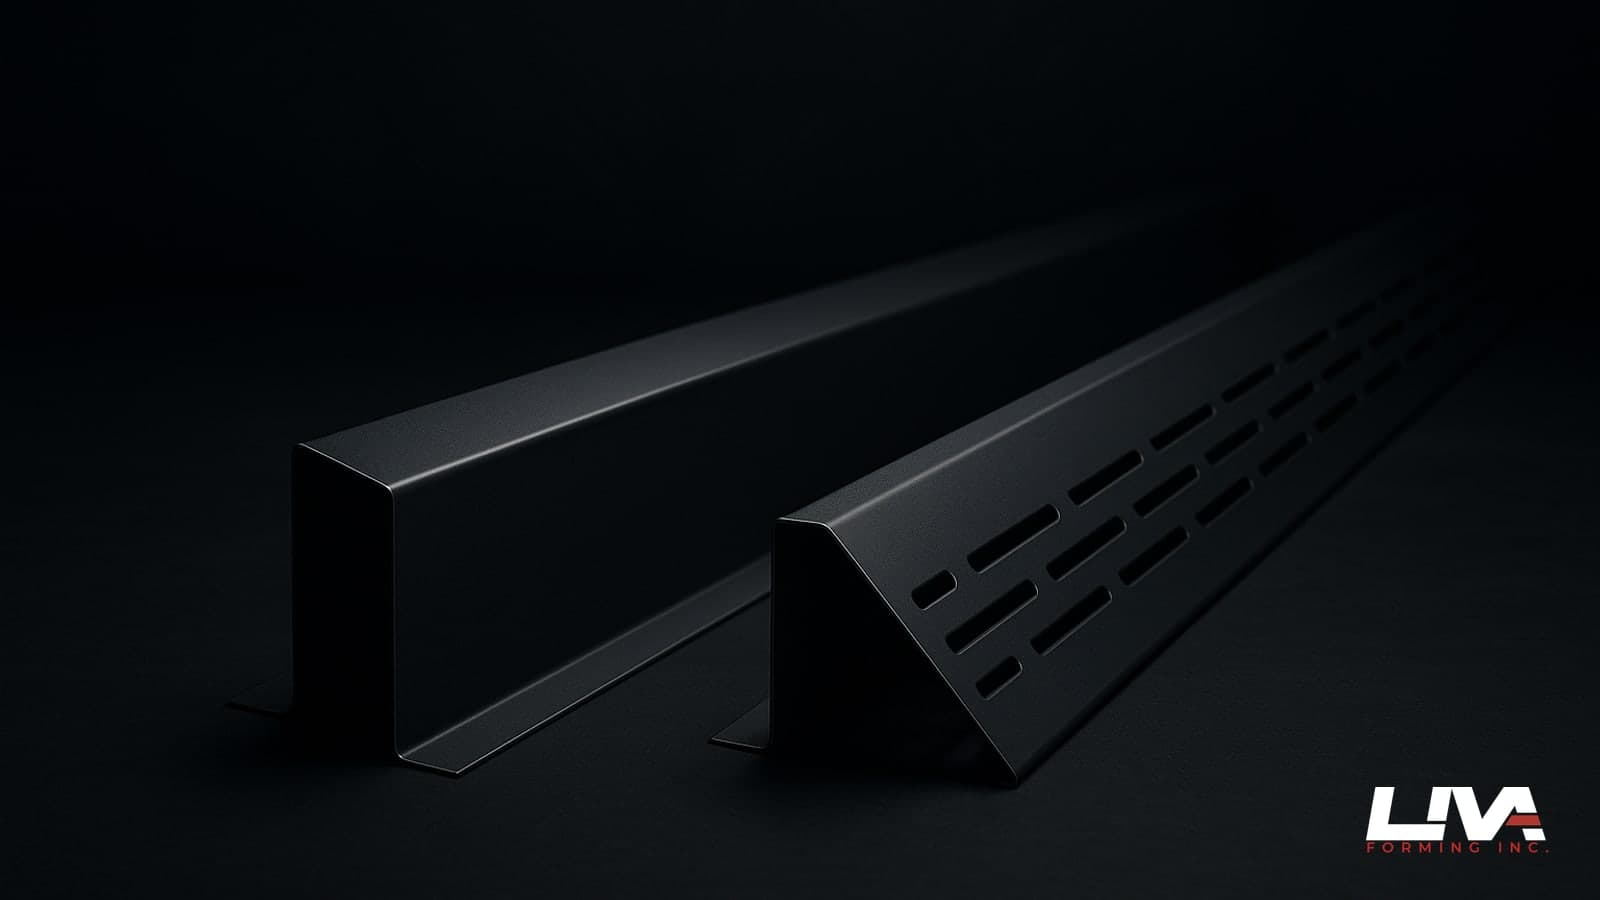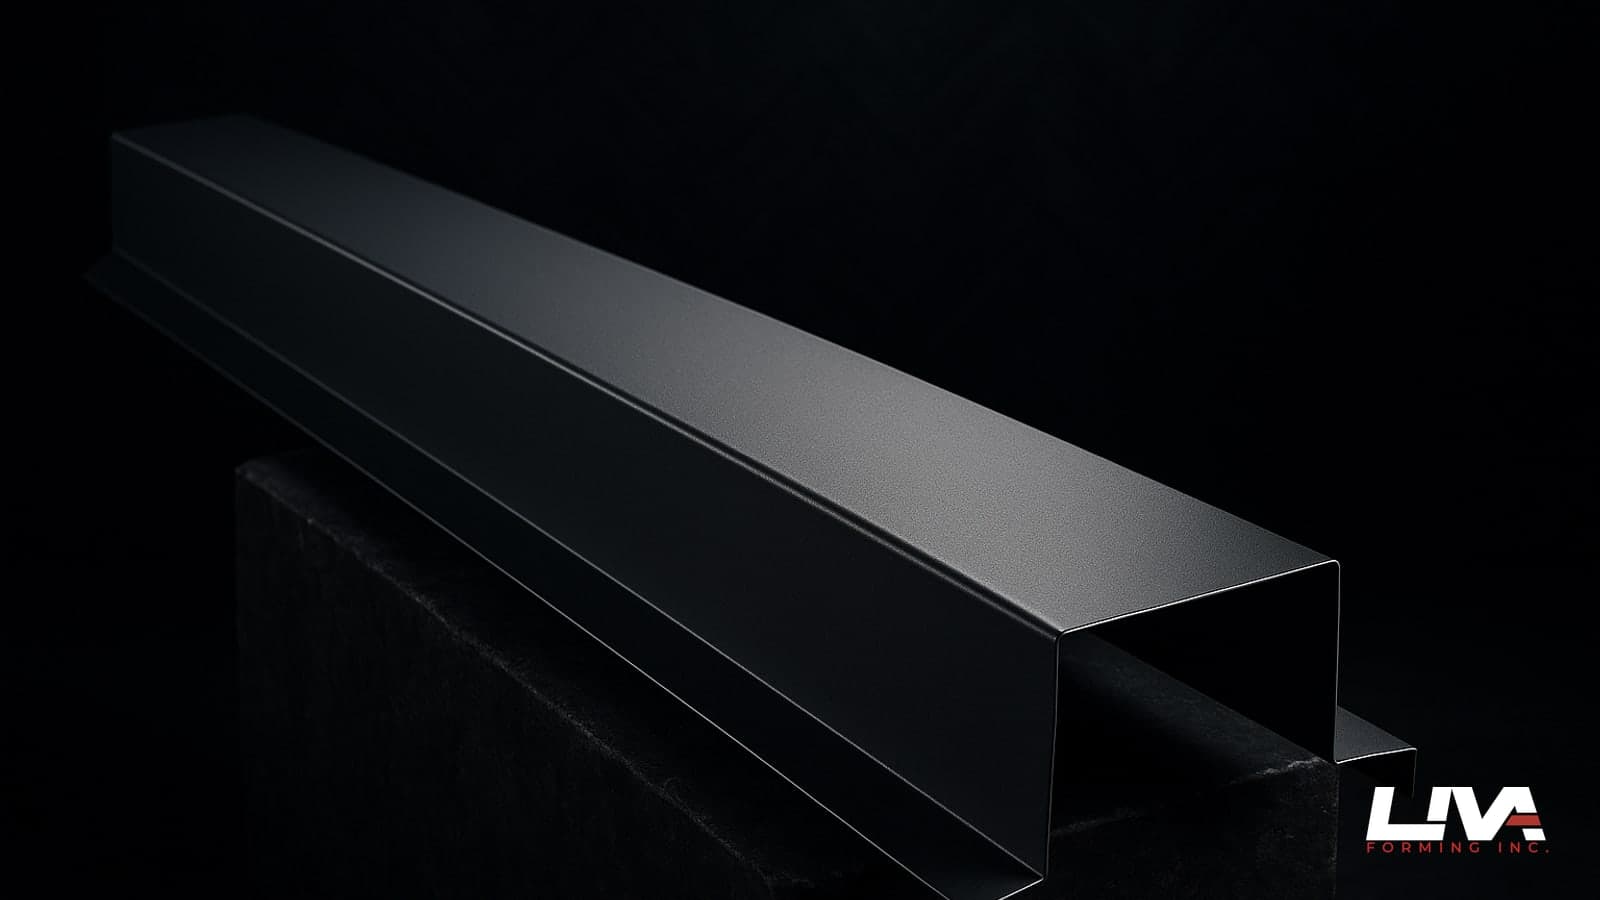
Twenty years of pulling failed parapet caps off Lower Mainland roofs and I can tell you where the water got in before I even climb the ladder. It's the joints. Or the fastener holes. Almost never the flat pan of the metal itself. Parapet cap flashing takes a beating up there, sun, wind, freeze-thaw, and every seam is a decision point that either sheds water or feeds it straight into the wall assembly. Get the sizing and the joinery right and a cap will run 25, 30 years on a coastal building. Get it wrong and you're back on that roof in three.
This is the stuff we walk contractors through every week at the shop in Delta. Not theory. What actually holds up on a parapet in North Van rain, a Surrey windstorm, a salt-air building in White Rock.
Measure the wall before you order anything
Every cap flashing job starts with a tape measure, not a catalog. You need the actual wall width, out to out, at the top of the parapet, not the width shown on the architectural drawing. Buildings move. Blocking gets shimmed. Old parapets are rarely square or consistent along their run, especially on anything built before 2000.
Three measurements matter:
- Wall width across the top, taken at both ends and the middle of each run, because parapets bow.
- Height and thickness of the wood blocking, since the cap's bend lines have to clear it with room for expansion.
- How high the membrane turns up on each side, so the cap's leg length actually laps over it instead of stopping short.
We see this go wrong constantly: a roofer orders a stock 12-inch cap for a 14-inch wall because nobody measured, and now the legs don't reach the membrane turn-up. Water gets behind the flashing on the first hard rain and nobody knows why for two years, until the sheathing's rotten. A custom-formed cap costs more than a shelf item by maybe a dollar or two a foot. Compare that to tearing open a parapet in 2027.
When you call in a measurement for custom flashing, give us the wall width, the blocking dimensions, and the membrane height on each face. That's what lets us set the bend allowance correctly instead of guessing.
Slope it inward, always, no exceptions
A parapet cap that's dead flat, or worse, sloped toward the exterior face, is going to dump water down the siding and stain it black within a year. Worse, it holds standing water at the outer edge where UV and freeze-thaw chew at the seams fastest.
We form nearly every parapet cap with a slight inward pitch, typically a quarter inch of drop per foot of wall width, directing water toward the roof membrane where it belongs instead of the exterior wall. On a wide wall, 18 inches or more, we'll sometimes bump that to three-eighths per foot if the building sees a lot of driving rain, which describes most of the Fraser Valley from October through March.
Both edges need a formed drip edge, a small hemmed kick-out that breaks the water off the cap before it can run back under and along the fascia or the wall cladding. Skip the drip edge and you get exactly the streaking and staining problem the slope was supposed to solve in the first place. If your crew is also chasing drip conditions elsewhere on the building, our piece on custom drip edge flashing and J-channel ordering covers the same hemming logic in more depth.
Cleats, not exposed fasteners, on anything a roofer will sign off on
Here's where I'll be blunt: if you're still face-fastening parapet caps with exposed screws through the top, you're building a callback. Every exposed fastener is a hole in the metal, and every hole is a future leak once the sealant washer degrades, which on a south or west-facing parapet in BC's UV exposure happens faster than most people expect. Five, maybe seven years, and that gasket's cracked. Since WorkSafeBC-era roofing crews got a lot more particular about warranty-backed details, cleat systems have become the expectation, not the upgrade. A continuous cleat locks the outer edge of the cap mechanically, no fasteners visible, and the inner leg gets fastened low, down on the wall face where it's out of the weather and easy to seal if it ever needs touching up. We form cleats out of the same material as the cap so there's no galvanic mismatch sitting in the joint for the next two decades. If a GC specs exposed fasteners to save a few dollars a foot, push back. It's the single detail that separates a cap that lasts one roofing cycle from one that lasts three.
Lap joints and cover plates: where long runs actually fail
Nobody forms a 200-foot parapet cap in one piece. Metal moves with temperature, and on a long run in direct sun that movement adds up fast, easily a half inch or more of expansion and contraction across a hot Richmond summer versus a January cold snap. Every joint in that run is a place designed to let the metal move without tearing the cap or opening a gap.
We lap the joints a minimum of 3 inches, sometimes 4 on longer sections, always in the direction that sheds water downhill along the slope. Under the lap goes a bead of sealant rated for the substrate, and on runs longer than about 10 to 12 feet, we'll detail a cover plate over the joint instead of relying on the lap alone. The cover plate floats over slotted fastener holes, so it can slide as the metal expands instead of binding up and buckling the pan on either side. Skip the cover plate detail on a long run and you'll see it in the field within a couple of seasons: oil-canning right at the joints, sometimes a visible pop where the lap has been forced open by thermal cycling. It's not a material defect. It's a joint that wasn't allowed to move.
Gauge and material: don't undersize an exposed parapet for wind uplift
A parapet cap sits in the worst wind exposure on the whole building. It's the highest point, usually with no adjacent structure to break the gusts, and on anything near the water, Tsawwassen, Richmond, White Rock, that wind is carrying salt too. For most commercial and multi-family parapets we're forming caps in 24 gauge steel, and we'll push to 22 gauge on wider walls, taller parapets, or anything over four stories where wind loads climb fast. If the wall width goes past about 16 to 18 inches, the flat pan between bends needs the extra stiffness or you'll get oil-canning and, worse, enough flutter in a windstorm to work the cleats loose over time. For a deeper look at when that extra thickness earns its keep, see our breakdown of 24 vs 26 gauge flashing, the same logic applies going up to 22. Aluminum is lighter and won't rust, which makes it tempting, but on a wide exposed cap in a high-wind location I'd rather have the extra mass and stiffness of steel. Aluminum caps need tighter cleat spacing and heavier gauge to match steel's uplift resistance, and on a coastal parapet that's taking wind straight off the Strait of Georgia, I'll spec steel first unless the design calls for aluminum's finish or weight for other reasons. If salt exposure or galvanic compatibility with the wall assembly is a concern, our comparison of Galvalume, aluminum and stainless flashing material walks through which substrate suits which exposure.
Corners and end caps: the parts everyone forgets to order
I'd guess a third of the rush orders we get in Delta are because a crew ran out of corner pieces mid-install. The straight runs get measured carefully. The 90-degree outside corners, inside corners, and end caps where the parapet stops at a wall or a mechanical curb get an afterthought, or worse, get skipped entirely because someone figured the field crew would "make it work" with a site-bent patch. Site-bent corners on cap flashing almost never seal properly. The compound angle at a mitered corner needs a formed and soldered or welded piece, not a folded field patch with a bead of caulking hoping to hold. Order your corners as shop-formed pieces from the same run as your straight caps, matched in gauge, finish and slope, and you avoid the ugliest and leakiest detail on the whole parapet. Count your corners before you order: every outside corner, every inside corner, every place the parapet terminates against a wall, a rooftop unit curb, or a stair tower. Get that count wrong and it's a second order, a second delivery, and a crew standing around waiting on one part.
What to send us for a same-day quote
We turn around parapet cap flashing quotes same-day out of the Delta shop more often than not, but the speed depends entirely on what you send us up front. A clear sketch or photo with wall width, blocking height, membrane turn-up height, total linear footage per run, and a count of corners and end caps gets you a number back same day, sometimes within the hour if it lands in the morning. If you're not sure how to put a spec sketch together, our guide on what to send for a custom metal drawing covers the shorthand our shop actually uses. And if you want to understand how we break down gauge, finish code and linear footage on the quote itself once it lands in your inbox, that's covered in how to read a metal fabricator's quote.
Bring us the real dimensions, not the drawing set dimensions, and tell us the exposure, coastal, valley, high-rise, low-rise. That's what lets us spec gauge and cleat spacing correctly the first time instead of guessing and hoping the wind cooperates. Measure the wall, sketch the corners, snap a photo of the blocking, and send your sketch for a quote straight to the shop.
Frequently asked questions
What measurements do you need to form a custom parapet cap?
Three, taken on the wall itself. We need the wall width across the top at both ends and the middle of each run, because parapets bow, plus the height and thickness of the wood blocking and how high the membrane turns up on each face. Skip the drawing set numbers. A 12-inch stock cap on a 14-inch wall leaves the legs short of the membrane.
How much slope should a parapet cap have?
A quarter inch of drop per foot of wall width, pitched inward toward the roof membrane. On walls 18 inches or wider that take a lot of driving rain, we'll sometimes go to three-eighths per foot. Never slope it outward. Water dumps down the siding, stains it black within a year and sits at the outer edge where seams wear fastest.
Should parapet caps be cleated or face-fastened?
Cleated. Every exposed screw through the top is a hole, and on a south or west-facing parapet the sealant washer can be cracked in five, maybe seven years. A continuous cleat locks the outer edge with no visible fasteners, while the inner leg gets fastened low on the wall face. We form cleats from the same material as the cap. No galvanic mismatch.
What gauge and joint detail do long, exposed parapet caps need?
Most commercial and multi-family caps get 24 gauge steel. Wider walls, taller parapets and anything over four stories move up to 22 gauge because wind loads climb fast. Joints lap a minimum of 3 inches in the direction that sheds water. Past about 10 to 12 feet, add a cover plate on slotted holes. Otherwise the joints oil-can.