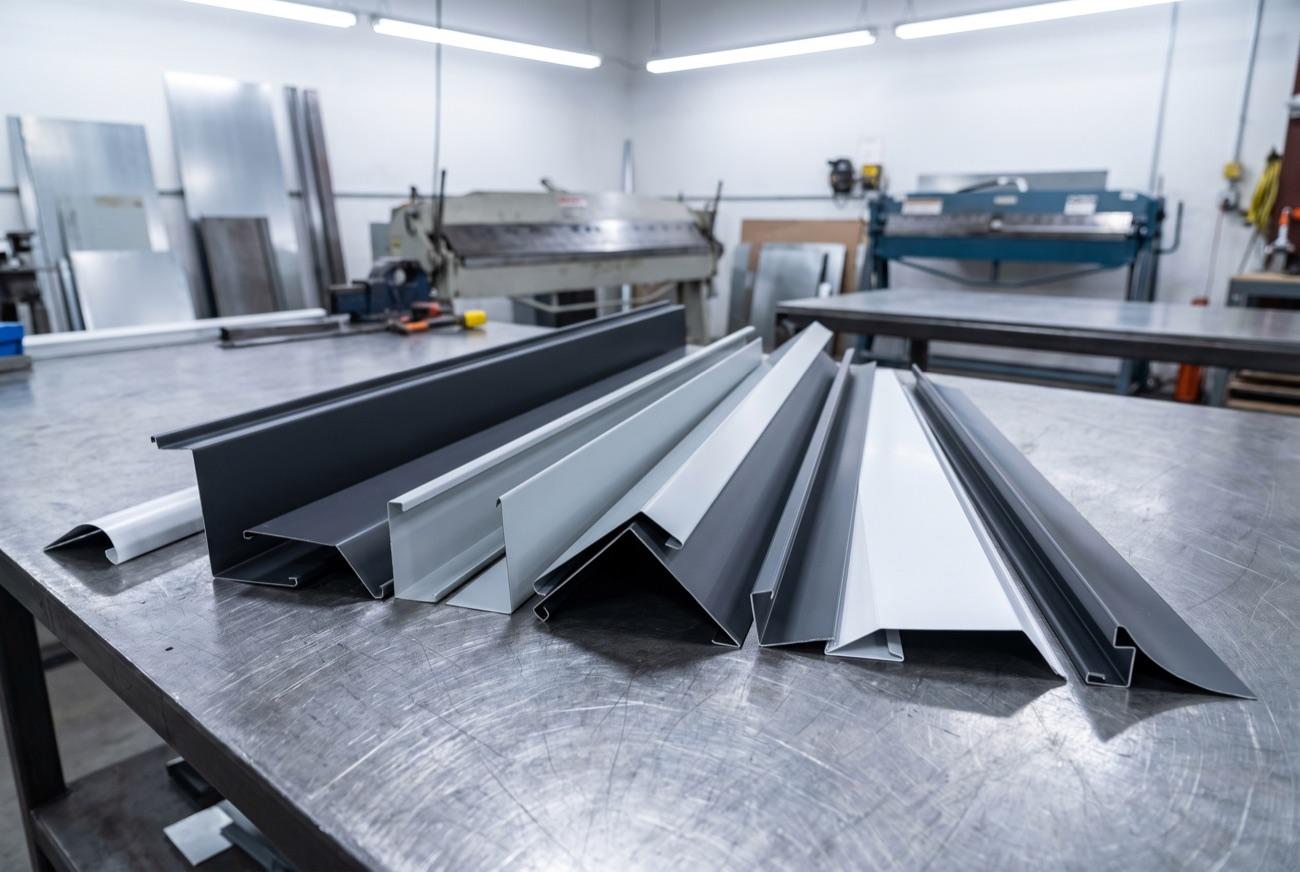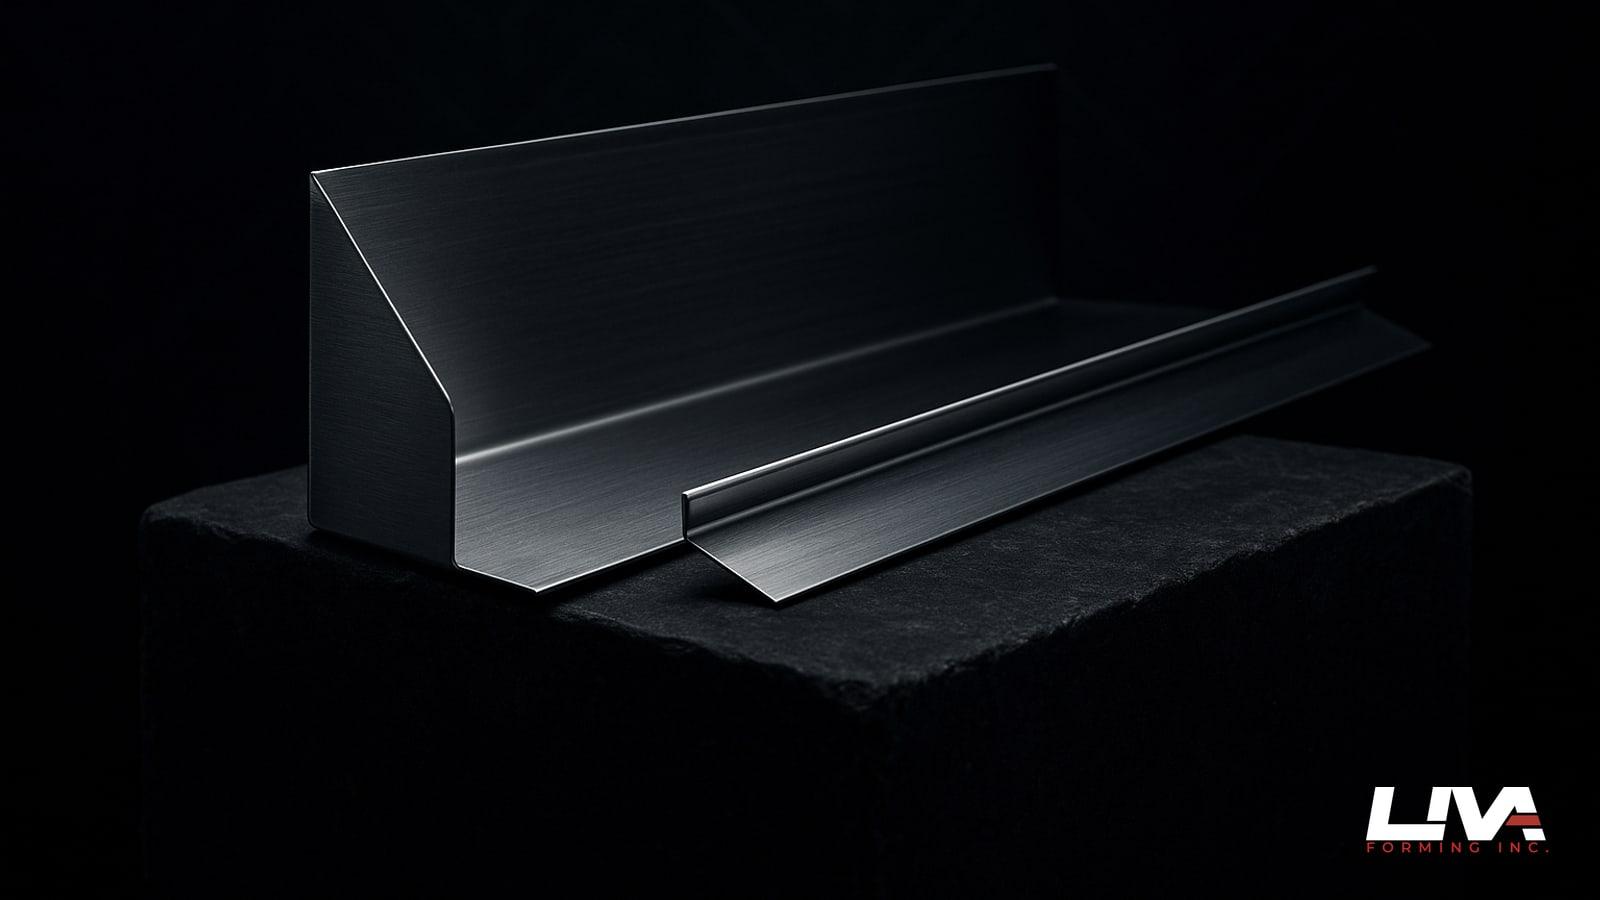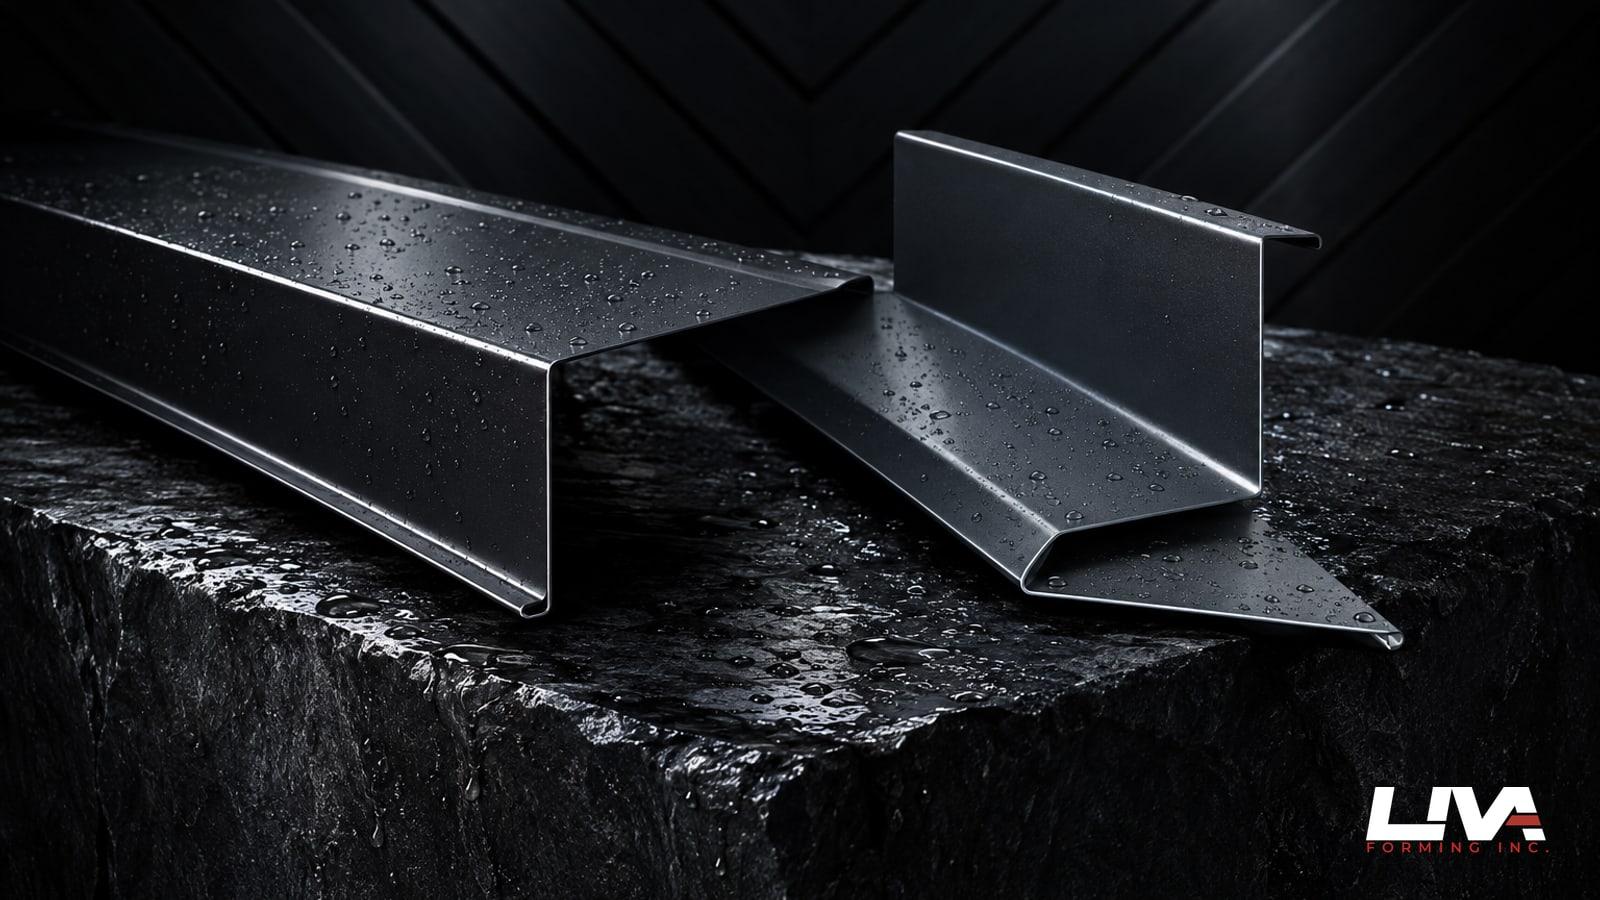
Flashing installation in BC wet weather is a different job than flashing installation in August. Same metal, same profiles, same principles of lap and overlap. But from November through March the crew is working wet decks, cold hands and a forecast that changes by lunch. Get the sequence wrong and the first rain after close-in finds it. We build flashing for Lower Mainland sites all year, and winter is when the small decisions, lap direction, fastener slot, how a piece got stacked on the truck, actually show up on the wall.
This isn't a install-from-the-manual piece. It's what we tell contractors on the phone when they're ordering a custom flashing run for a job that's going up in the rain whether anyone likes it or not.
Lap direction decides where the water goes
Here's the thing nobody argues about in principle and everyone gets backwards under pressure: water runs downhill, so the upper piece always laps over the lower piece. Simple on a dry September afternoon. Less simple when you're three pieces into a run, the rain starts, and the crew needs to get the next section up before the wind picks up.
The fix is sequence, not cleverness. Flash from the bottom up, always. Start your lowest piece, lap the next one over it, work up the wall or up the roof slope. If a crew starts in the middle because that's where the ladder happens to be, you get a lap pointing the wrong way at one joint, and that's the joint that leaks in October when nobody remembers who installed what.
On a wet day this matters more because you don't get a dry run to check your work. The water is testing the lap as you go. If the overlap is generous, 2 inches minimum on most drip edge and Z-flashing conditions, and the lap direction is right, a mid-install rain is a non-event. If either one is off, the mid-install rain is your inspection.
Cold weather means the metal moves, so give it room
A 12 ft length of prepainted steel does not sit still through a BC winter. It expands in a August heat wave and contracts on a January morning. Over a 12 ft run that movement is real, and if every fastener hole is drilled tight to the shank, something has to give: the hole elongates, the sealant tears, or the panel buckles at the fastener line.
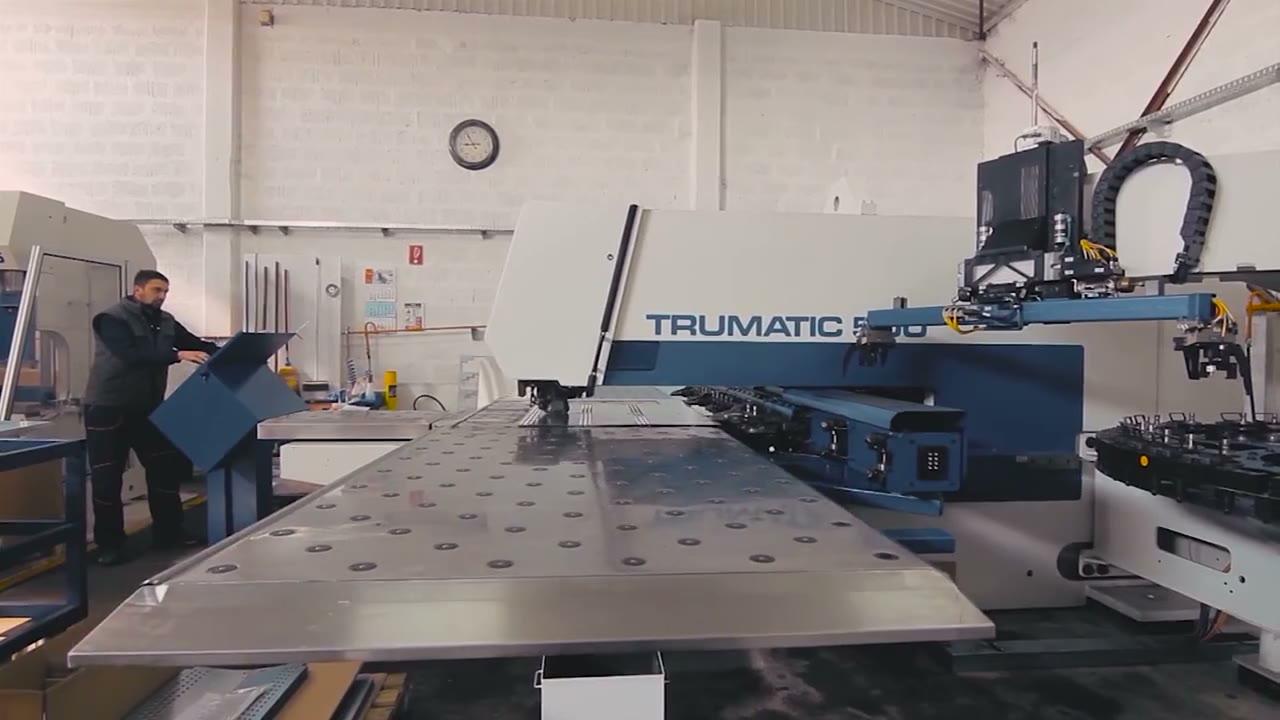
Slotted or oversized fastener holes solve this, and they cost nothing to add when we're punching the piece. Fasten at the center of the slot and let the metal walk a little either side as temperature swings. We can do this on the Euromac STX or the Trumpf 30-ton turret punch, whichever has the better tooling for the hole size you want, and it's the same conversation on prepainted aluminum, which moves more than steel for the same temperature change.
On long elevations, remember our shop's practical limit: 12 ft is the longest single piece we send out. Anything taller needs a joint, whether that's a simple lap, an S-lock, or a horizontal trim break. Plan that joint location before the piece is ordered, not after it's on site and three feet short. A joint placed at a natural break, a window head, a storey line, a trim band, reads as design. A joint placed because the math ran out reads as a patch.
Handling the finish on a wet site
Prepainted steel and prepainted aluminum both carry a factory finish, and both scratch the same way: easily, right when nobody's watching. Water makes it worse because grit sticks to a wet surface and rides along under every slide and stack.
A few things that actually help on site:
- Keep the factory slip sheet or interleave paper on until the piece is at the point of install, not before.
- Stack flashing pieces finish-side to finish-side or back-to-back, never face down on a wet deck or a dirty tailgate.
- Carry, don't drag. A dragged sheet picks up grit off wet plywood and that grit scores the coating in one pass.
- Keep bundles up off standing water with dunnage, even for an hour. Capillary action will wick water into a tight stack and it sits there staining the edges.
Edges deserve their own mention. Cut and punched edges on Galvalume and galvanized steel are where the zinc-aluminum or zinc coating is thinnest, and a wet edge sitting uncovered for days is how you get the first blush of rust before the piece is even installed. Keep cut edges dry and keep them covered until they're lapped or capped.
Fasteners and sealant: match the metal, not just the job
We don't spec fasteners, that's between you and your fastener supplier, but we'll say this in general terms because we see the mismatches come back as warranty questions. Galvanized and Galvalume steel want fasteners and washers that won't set up a galvanic reaction with the coating. Prepainted aluminum is even less forgiving: the wrong fastener metal against aluminum in a wet, salty coastal environment like Delta, Richmond or White Rock corrodes faster than most people expect.
Sealant compatibility matters just as much and gets ignored more. Not every sealant bonds to every finish system, and a sealant that skins over fine in July can behave completely differently applied cold, at 4°C, with the substrate still damp. If you're not sure a sealant is rated for cold, wet application, check the manufacturer's data sheet before it goes down, not after the joint fails.
None of this changes with gauge or colour, by the way. Our colour charts, Classic SMP, Signature PVDF, Printed Series, don't affect fastener compatibility or price. The compatibility question lives entirely in the base metal and the coating system.
What to close in before a front comes through
Every BC winter job has that afternoon where the forecast flips and everyone's suddenly racing a system moving in off the strait. A few rules of thumb we've seen work:
- Finish a lap run to its next natural break before you stop, even if that means fifteen more minutes you didn't plan on. A half-finished lap is an open invitation for wind-driven rain to get under the upper piece.
- Temporary cap anything open-ended, parapet returns, exposed jamb flashing, with taped poly or a temporary cap piece, not just tucked building wrap.
- Never leave a stack of ungalvanized or unpainted cut edges exposed overnight if rain is coming. Cover the bundle, not just the top piece.
- If you're mid-run on a roof-to-wall or kick-out condition, make sure water hitting the open joint has somewhere to go other than into the wall assembly. A diverted drip is better than a trapped one.
This is ten minutes of discipline against a callback that costs a lot more than ten minutes.
Check the pieces against the sketch before they go up
This is the step that gets skipped on a wet site because nobody wants to stand in the rain unrolling a bundle to count pieces. Do it anyway, under cover if you can, the moment the delivery lands.
Check four things against the order: length, hem, bend angle, and count. A piece ordered at 10 ft 6 in that measures 10 ft 4 in is not close enough on a run that's supposed to land tight to a corner. A hem that's supposed to be there for a drip edge detail and isn't changes how water sheds off that edge entirely. A bend angle that's a few degrees off a tight parapet return won't sit flush, and you'll find that out on the ladder, in the rain, which is the worst place to find it.
We build to the sketch or DXF you send us, and we're fast about turning quotes around, usually same day, with standard runs shipping in 3 to 5 business days. But fast only helps if what shows up matches what the wall needs. Catch the mismatch on the ground.
Mark and bundle by elevation, not by profile
If your order covers more than one elevation, front, side returns, a dormer, ask for the pieces marked and bundled by elevation when you place the order, or do it yourself the moment the truck is unloaded. A crew hunting through a mixed pile of similar-looking Z-flashing and drip edge in the rain, trying to find the one piece cut for the north gable, loses time and patience fast, and that's when someone forces a piece that doesn't quite fit rather than keep looking.
Painter's tape and a sharpie on the end of each bundle, "North elevation, window heads," takes thirty seconds at the yard and saves an hour on the roof. It's a habit worth building into every order, wet weather or not, but it matters most when visibility and patience are both already low.
When a piece doesn't fit: what to send us
It happens. A dimension on site doesn't match the drawing, a parapet width was off, a corner condition changed after framing. When that happens, don't guess at a fix on the ladder. Get us the information so we can turn a replacement around fast.
Send:
- The actual measured dimension on site, not the original spec.
- A photo straight-on and one at an angle, so we can see the condition, not just hear about it.
- The bend angle if it's visibly different from what was ordered, even an estimate helps.
- Reference to the original quote or order so we're matching gauge, finish and profile without re-asking.
That's usually enough for us to quote a replacement the same day. We do the cutting and folding in-house on the fiber laser and the Cidan and RAS folders, no welding, no dies, no roll forming, so a corrected piece is a fabrication job, not a re-tooling job.
If you're weighing cut-and-fold fabrication against other ways to get a profile made, the short version is that cut-and-fold gives us the flexibility to correct a dimension fast without waiting on tooling. Worth reading if you haven't already, we cover it in more depth in our piece on cut-and-fold vs welding for custom metal parts.
Wet weather installation isn't really a different skill. It's the same job with less margin for the mistakes that dry weather quietly forgives. Lap the right direction, give the metal room to move, keep the finish dry until it's on the wall, and check what shows up against what you ordered. Do those four things and a BC winter is just a job site with worse coffee.
If you've got a flashing run to order for a wet-season job, sketch it, photograph the condition, or send a DXF, and send your sketch for a quote. We'll quote it same day and tell you straight if a dimension looks off before it ever reaches the truck.
Frequently asked questions
Why does lap direction matter so much on a wet install?
Water always has to run over the lap, not into it. Flashing from the bottom of a run upward keeps every upper piece lapping over the lower one, so a mid-install rain tests the lap correctly instead of finding a joint that was installed backwards. A 2 inch minimum overlap plus the right direction handles most rain events without drama.
How do you account for thermal movement on long flashing runs in winter?
We punch slotted or oversized fastener holes rather than tight holes, so a run can expand and contract with temperature swings without tearing sealant or buckling at the fastener line. This matters most on long steel runs and even more on prepainted aluminum, which moves further for the same temperature change. Anything over 12 ft also needs a planned joint, ideally at a natural break like a window head or storey line.
What should a crew check when flashing is delivered to a wet site?
Check length, hem, bend angle and piece count against the original sketch or order before anything goes up the ladder. Do it under cover if possible. A piece a couple inches short, a missing hem, or a bend angle off by a few degrees will not sit right on a tight corner or parapet return, and it is far easier to catch on the ground than on a wet roof.
What information speeds up a replacement flashing piece on site?
Send the actual measured dimension from site rather than the original spec, a straight-on photo and an angled photo of the condition, an estimate of the bend angle if it looks different, and a reference to the original order so gauge and finish match without re-asking. That is usually enough to quote a corrected piece the same day since all the cutting and folding happens in-house.