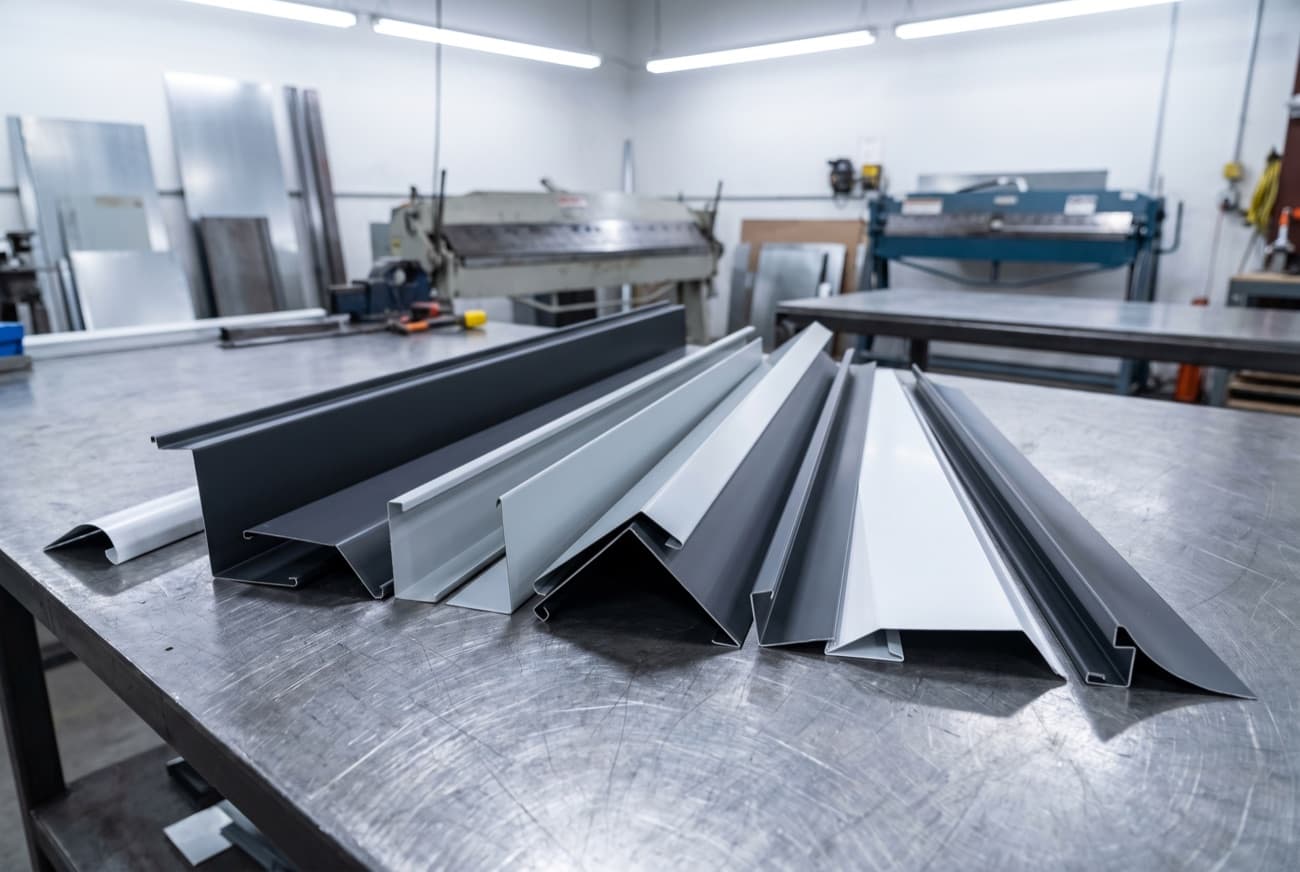
A siding contractor in Langley orders every piece of trim on a job in 24-gauge because "thicker is better." His drip edge, his J-channel, his little 1-inch closures, all 24ga. He just spent an extra few hundred dollars stiffening parts that were never going to move. Two streets over, another crew orders a 6-inch fascia wrap in 26ga to save money, and by August it is oil-canning in the afternoon sun so badly the homeowner is asking why the new metal looks wavy. Both got the gauge call wrong, in opposite directions.
Gauge is the single spec contractors overthink and underthink at the same time. After twenty-plus years bending flashings for siding crews around the Lower Mainland, I can tell you the money isn't in always going thicker. It's in knowing which parts actually need it.
What gauge actually means
Sheet metal gauge runs backwards from what your gut expects. The higher the number, the thinner the metal. For prefinished steel and Galvalume, the two you'll spec on almost every BC siding job:
- 26-gauge is about 0.019 inches thick (0.48 mm).
- 24-gauge is about 0.024 inches thick (0.61 mm).
- 22-gauge is about 0.030 inches thick (0.76 mm), commercial territory.
So 24ga is roughly 25% thicker than 26ga. That sounds small on paper. In the field it changes stiffness a lot more than 25%, because bending resistance climbs faster than thickness. A quarter more metal buys you noticeably more spine.
Aluminum plays by different numbers, since it's sold in decimal thickness, not gauge. The rough equivalents contractors use: 0.032 inch aluminum behaves like 26ga steel for stiffness planning, 0.040 like 24ga, 0.050 for the heavy stuff. If you're switching to aluminum for a coastal job near the Delta or White Rock waterfront, plan the thickness off those pairings, not off the gauge number.
Where 26-gauge is the right call
Most trim on a house doesn't need 24ga, and paying for it is just donating margin. 26ga is the correct, cheaper answer when the part is narrow, short, or hidden:
- J-channel and standard reveals. A pocket that's captured on both sides doesn't flex. 26ga is plenty.
- Narrow face trims under about 3 inches. Little corners, closures, transition strips. There isn't enough flat area to oil-can.
- Short runs and hidden flashings. Head flashings buried behind trim, kick-outs, anything the eye never lands on. Stiffness and looks both stop mattering.
- Straightforward drip edge with a hem. A folded hem stiffens the leading edge on its own, so a hemmed 26ga drip edge holds a straight line down a 10-foot stick.
You'll find most of these as stock profiles in our product catalog, and they run in 26ga by default because that's the right spec for them. Bumping the whole order to 24ga "to be safe" is the most common way contractors quietly overspend on flashing.
Where 24-gauge earns the upcharge
Then there are the parts where 26ga will absolutely come back to bite you, and the extra thickness pays for itself the first time you avoid a callback:
- Wide flat faces, roughly 4 inches and up. This is the big one. A wide flat pan in 26ga wants to oil-can. 24ga resists it. More on that below.
- Anything that takes ladder contact or foot traffic during install. Fascia wraps, wide window head flashings, anything a crew will lean a ladder against or step near. 26ga dents and creases where 24ga shrugs it off.
- High-wind fastener zones. The exposed flats out toward Delta, Richmond, and Boundary Bay catch wind that a downtown Vancouver infill never sees. A stiffer flashing holds its fastener line instead of fluttering and working the screws loose.
- Long visible runs where a wave shows. A continuous 12-foot band of metal at eye level is unforgiving. 24ga keeps the reflection reading straight.
The pattern is simple: 24ga is about the flat, the wide, and the exposed. If a part is wide enough to show a wave or exposed enough to take a hit, spec up. Our custom flashing work defaults to matching the gauge to the part, not to the order.
The oil-canning math nobody explains at the counter
Oil-canning is the visible waviness in a flat metal face. It's not a defect in the metal or the fold. It's physics, and five things stack up to cause it: thin gauge, wide flat area, no stiffening, a dark color, and direct sun.
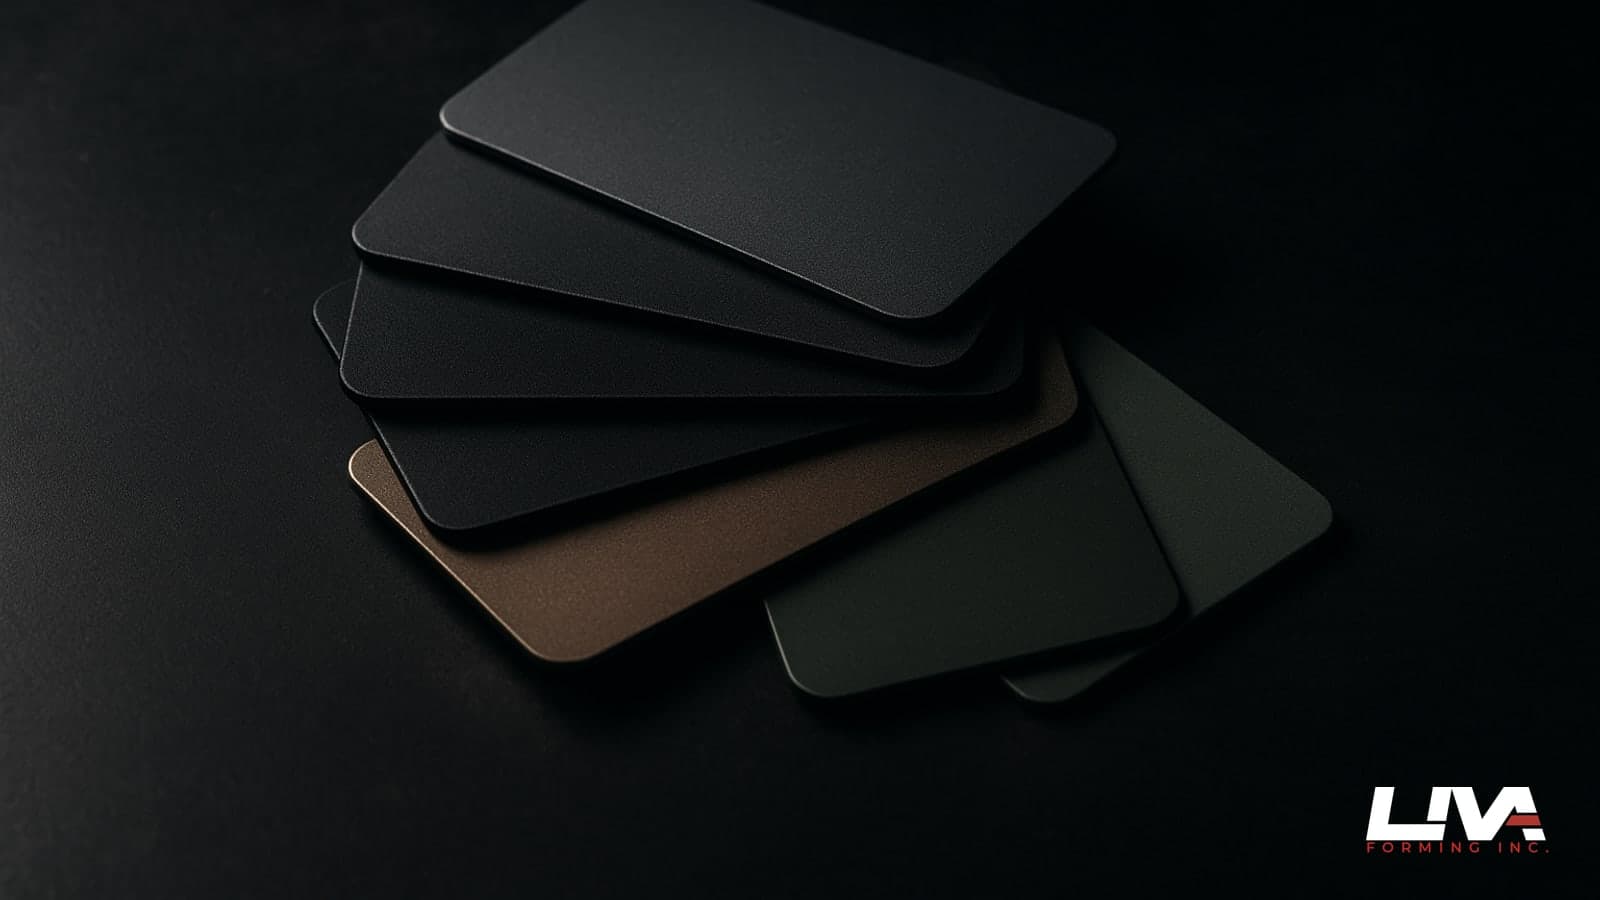
Here's why dark and sun matter. A black or bronze face on a south elevation in Abbotsford can hit 60°C surface temperature on a July afternoon. The metal expands, has nowhere to go across a wide flat pan, and buckles into a shallow wave. Thicker metal has more stiffness to fight that buckling. So a dark, wide, south-facing face is the exact combination where 24ga stops being optional.
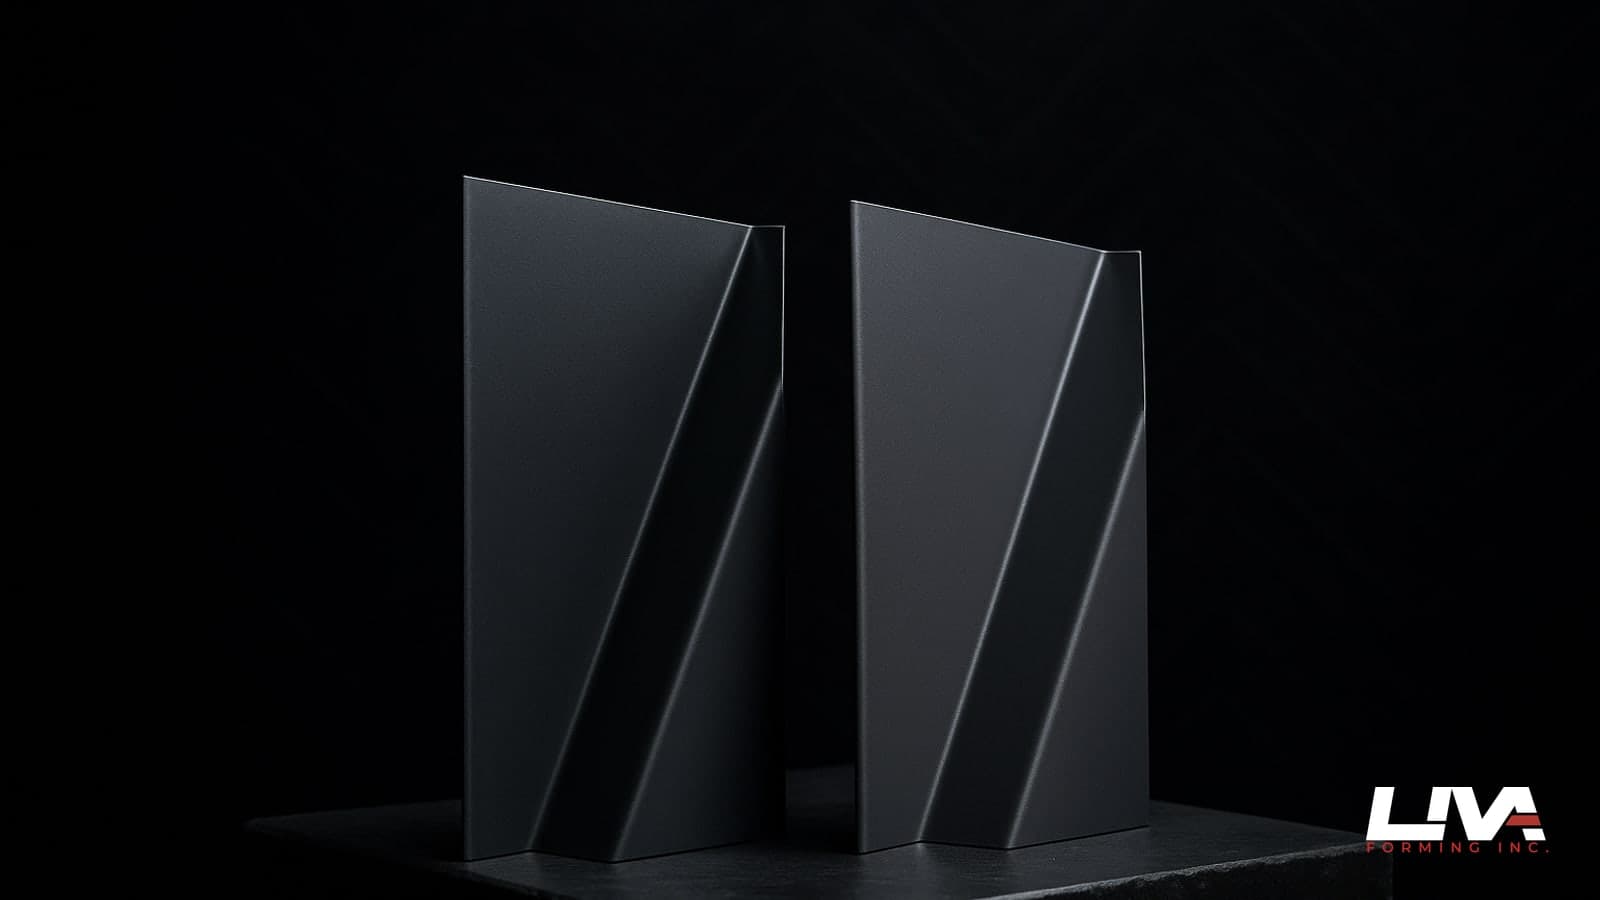
You have three ways out of an oil-canning complaint, and gauge is only one of them. You can go to 24ga. You can break the flat with a stiffening rib or a return so there's no large uninterrupted pan. Or you can narrow the module so no single face is wide enough to wave. On a design-driven custom flashing job we'll usually talk through all three before the coil is ordered, because the cheapest fix depends on what the architect will accept.
When 22-gauge is the answer
22ga is a different conversation, and most residential siding jobs never need it. You spec 22ga when a face is genuinely large and the job is commercial or architectural: wide reveal panels past 20 inches, long parapet caps that take abuse, anything an engineer has put a wind load on. It adds real cost and slows the folding, so it's a deliberate choice, not a default. If a residential quote comes back in 22ga, ask why.
What the gauge upgrade actually costs in BC
The premium is smaller than most contractors guess, which is exactly why blanket-ordering 24ga is so tempting. Current Lower Mainland numbers on prefinished Galvalume:
- Going from 26ga to 24ga on a standard profile runs about $0.40 to $0.60 per linear foot in typical job quantities.
- 24ga to 22ga is a bigger jump, roughly $1.00 to $1.50 per linear foot, plus the folding slows down.
Put that in job terms. On a house needing 200 feet of trim, upgrading everything to 24ga is $80 to $120. Not much. But if only 60 of those feet are actually wide, exposed faces that need it, you're paying the upgrade on 140 feet that didn't. The point isn't to be cheap. It's to spend the gauge budget where it prevents a callback and skip it where it just pads the order.
A quick profile-to-gauge cheat sheet
If you want a starting default before you even sketch, this is roughly how we'd spec a standard BC siding package:
- 26ga: J-channel, inside and outside corners, narrow trims under 3 inches, hemmed drip edge, hidden head flashings, short closures.
- 24ga: fascia wraps, wide window heads and sills, faces over 4 inches, dark south-facing metal, anything on a high-wind exposure, long visible bands.
- 22ga: commercial reveal panels, engineered wind-load parts, wide parapet caps.
Treat it as a default, not a rule. The gauge that matters most is the one on the widest, darkest, most-exposed face on the job. Get that one right and the rest is small money either way.
How to call out gauge on your order
The cleanest way to order is to tell us the part and the exposure, and let the shop match the gauge. On a mixed job, note which pieces are wide or exposed and we'll spec those up while keeping the narrow trims economical. If you'd rather lock the gauge yourself, just call it out per profile on the sketch: "24ga fascia wrap, 26ga J-channel and corners," alongside your material and color. That kind of RFQ is the difference between a same-day quote and a round of questions, the same way the material and finish choice is.
Not sure which faces on your job actually need the upgrade? Sketch the profiles with their face widths, note the exposure and color, and send it through for a quote. We'll flag the parts that should go 24ga and the ones where 26ga saves you money, before the coil is ordered.
Frequently asked questions
How much stiffer is 24-gauge than 26-gauge flashing?
By thickness, 24ga is about 0.024 inches and 26ga about 0.019, so roughly 25% more metal. Stiffness gains more than that. Bending resistance climbs faster than thickness, which is why a quarter more metal buys you noticeably more spine. Aluminum is sold by decimal thickness instead: plan 0.032 like 26ga and 0.040 like 24ga.
Which trim parts are fine in 26-gauge?
J-channel, standard reveals, inside and outside corners, narrow trims under 3 inches, hemmed drip edge, hidden head flashings and short closures. All fine in 26ga. A pocket captured on both sides doesn't flex, and a narrow face has too little flat area to oil-can. The hem on a drip edge stiffens the leading edge enough to hold a straight line down a 10-foot stick.
What causes oil-canning, and can I fix it without going thicker?
Five things stack up: thin gauge, wide flat area, no stiffening, a dark color and direct sun. A dark south face can hit 60°C on a July afternoon, expand with nowhere to go, and buckle into a shallow wave. Gauge is one fix. You can also break the flat with a stiffening rib or a return, or narrow the module so no face is wide enough to wave.
What does upgrading from 26-gauge to 24-gauge cost?
On a standard prefinished Galvalume profile, about $0.40 to $0.60 per linear foot in typical job quantities. Across 200 feet of trim that's $80 to $120 to upgrade everything. Small money. The waste is paying it on narrow parts that never needed it. Going from 24ga to 22ga is a bigger jump, roughly $1.00 to $1.50 per linear foot, and folding slows down.