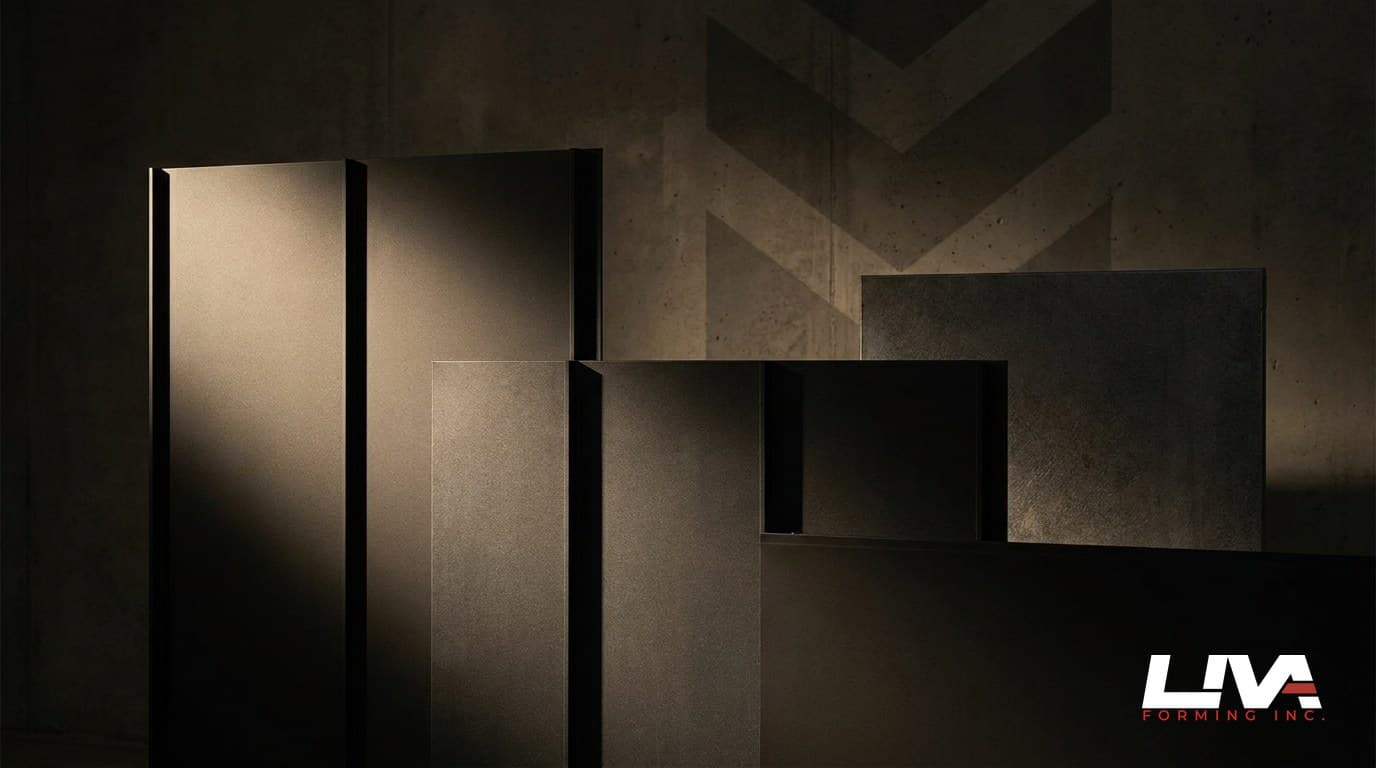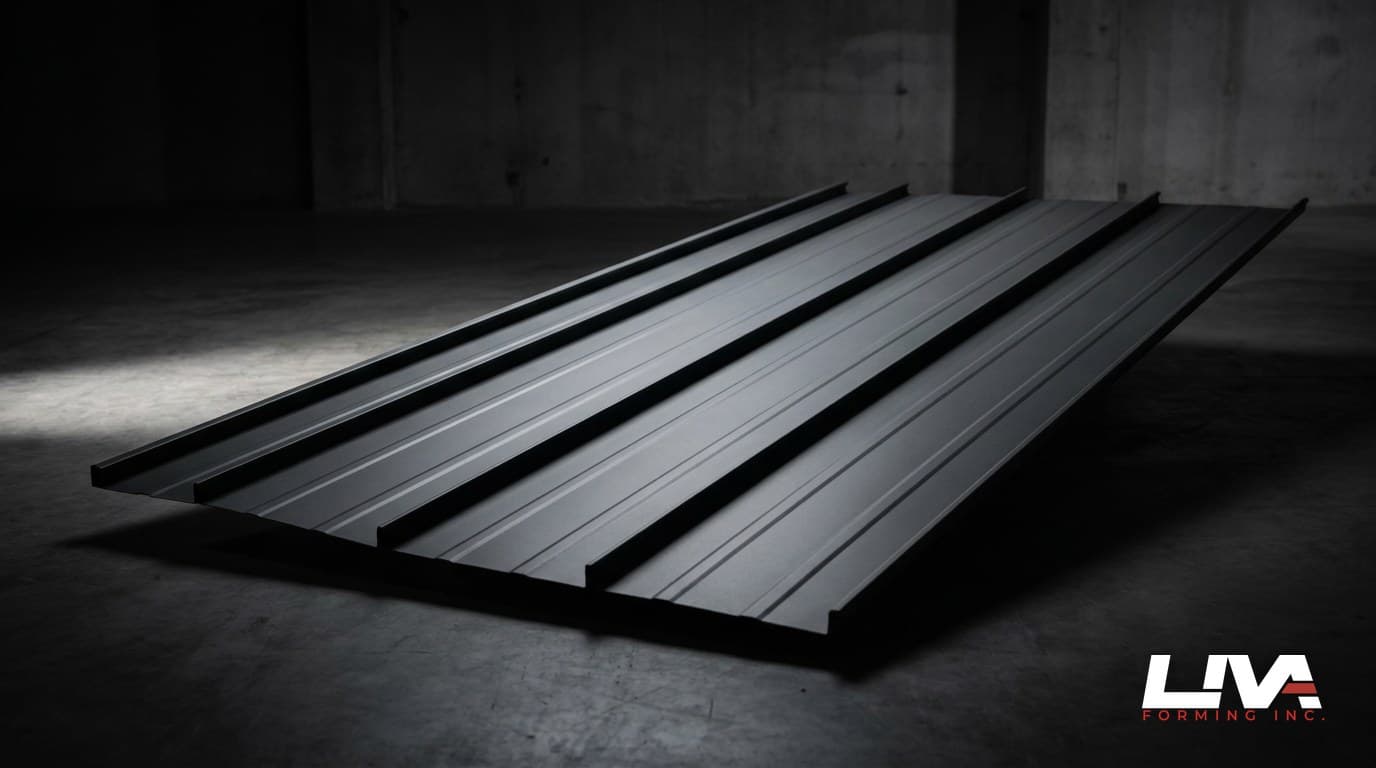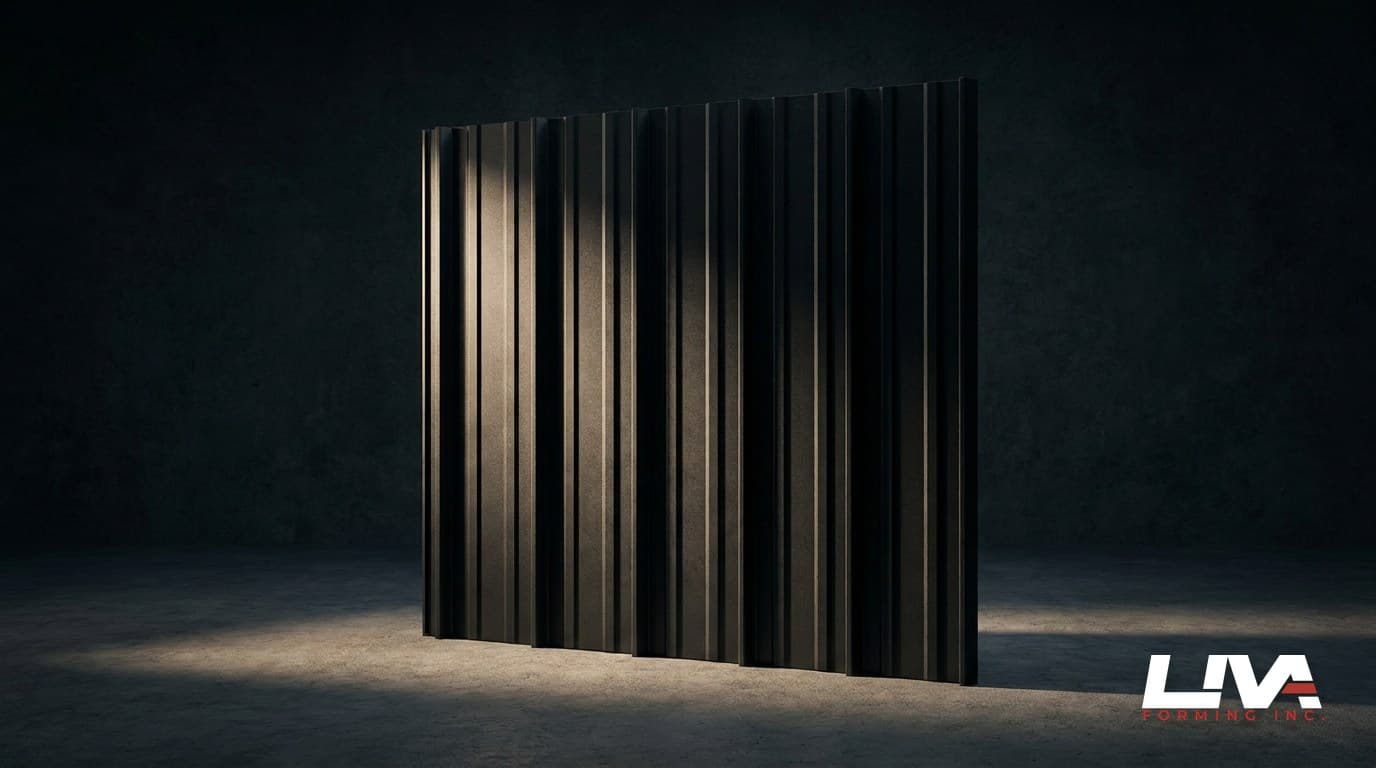
Every architect on the North Shore wants that shadow line right now. Open joint, tight reveal, panels floating off the wall like they're not even fastened. I get the appeal. It looks expensive because it is expensive, done right. But a metal panel reveal detail is not just a panel with a gap cut in it. It's a drained cavity system wearing a nice suit, and if the metal behind the gap is wrong, that nice suit is going to leak straight through to the sheathing by year two.
I've been forming panels in Delta for over twenty years. I've re-formed more reveal systems for callback jobs than I care to admit, and almost every one traces back to the same root cause: somebody treated the reveal as a look instead of a water-management assembly.
The reveal is supposed to leak. That's the whole point.
Open-joint rainscreen cladding is designed to let water through the face. The joint is not a seal. It's a controlled gap that sheds bulk water and lets air move behind the panel to dry the cavity. If your reveal detail is watertight at the face, something is wrong with your design assumptions, because the face was never meant to be the barrier.
The actual water control happens one layer back. Behind every reveal panel you need a drained and back-ventilated cavity, a proper weather-resistive barrier, and metal components doing the real work: back pans, closures, and flashing that catch what comes through the joint and route it back out. The reveal panel is the rain hat. The back pan and flashing are the raincoat. Skip the raincoat and the hat doesn't matter.
This is the piece that gets missed on value-engineered jobs. Everyone specs the panel finish and gauge carefully. Then the back pan gets an afterthought detail, sometimes just felt paper and hope. On a building in Surrey or White Rock with real wind-driven rain off the water, hope is not a strategy.
Back pans, closures, and flashing behind the gap
A proper reveal assembly has metal doing three jobs behind that shadow line:
- Back pans sit behind the joint and catch water that gets past the reveal, directing it down and out rather than letting it track sideways into the panel-to-panel overlap or fastener line.
- Closures cap the top and bottom of the reveal run so wind can't drive water sideways into the cavity at the terminations, while still allowing the cavity to breathe.
- Flashing at heads, sills, and transitions ties the reveal system back into the broader building envelope so it isn't an island of good detailing surrounded by weak transitions.
We form these as a set, not as separate line items pulled from stock. A back pan that's a quarter inch too shallow will bottom out against the panel return and stop draining. A closure cut for a 3/8" reveal won't seat right in a 1/2" gap. If you're ordering reveal components, order them together, from drawings that show the actual reveal width and panel return depth, not from a generic catalog size. This is also where z-flashing at horizontal transitions earns its keep, tying reveal courses into window heads and floor lines without creating a ledge for water to sit on.
Return depth and hem details keep the line straight
The shadow line is only as good as the panel edge that casts it. If the return depth wanders by even 1/16" across a run, the shadow gap reads uneven under raking light, and raking light is exactly what these details get photographed in. Architects notice. Owners notice. Nobody notices a flat reveal. Everybody notices a wavy one. Return depth has to be consistent, which means it has to be brake-formed to a tight tolerance, not eyeballed on site. We're typically holding returns to plus or minus 1/32" on a reveal panel run, and that's shop tolerance on a press brake, not something you get bending flashing on a truck tailgate.
The hem on the reveal edge matters just as much. A closed hem stiffens that thin return edge so it doesn't oil-can or dent during installation, and it gives you a clean, safe edge with no raw metal exposed at eye level. An open or half-open hem can work for wider reveals where you want a bit of shadow softness, but for a crisp architectural line, closed and consistent wins every time. This is roll-forming and press-brake territory both, and choosing between them changes your tolerances and your lead time; we cover that trade-off in our roll forming versus press brake breakdown if you want the mechanical reasoning.
Flat substrate, flat panel. There's no shortcut here.
Here's the thing nobody wants to hear on a renovation over existing sheathing: a reveal panel telegraphs substrate flatness worse than almost any other cladding profile. Standing seam hides waviness in the pan between seams. Board and batten hides it under the batten. A flat reveal panel with a crisp shadow line has nowhere to hide a bowed stud or a lumpy furring strip. Every high spot and low spot shows up as a kink in the shadow line. Shop tolerance on a formed panel is tight, often within a millimeter or two over a ten-foot length. Field substrate tolerance in a lot of Lower Mainland retrofit work is nowhere close to that, especially over 1970s and 80s stucco or old T1-11. If the framing crew hasn't shimmed and strapped the wall flat before the panels go up, no amount of panel quality fixes it. I tell GCs this constantly: budget for strapping and shimming on reveal jobs the same way you'd budget for the panels themselves. It's not an upsell, it's the difference between a wall that looks like the rendering and one that looks like it was installed by someone in a hurry.
Match the closures to the finish lot, not just the color name
This one bites people on nearly every job with a long lead time between panel order and closure order. Kynar and PVDF finishes are consistent within a coil run, but coil-to-coil there's always some drift, especially on custom or metallic colors. If your reveal closures and trim get formed from a different finish lot than the field panels, you'll see it. Not always dramatically, but under the same raking light that makes the shadow line look great, a half-shade mismatch on a closure at eye level looks like a mistake, because it is one. The fix is simple and cheap: order closures, trim, and field panels from the same coil lot whenever the run size allows it, and tell your fabricator up front that trim has to match panel, not just match the paint chip. We've written more on the color side of this in our piece on color-matching custom flashings to existing siding, which applies just as much to reveal trim as it does to standard flashing.
Corners and terminations: where reveal jobs actually fail
I'll go on record: it's almost never the field panel that fails on a reveal job. It's the corner, the parapet termination, or the base condition where the reveal meets grade or a soffit. Inside and outside corners on open-joint systems need a returned corner panel or a formed corner closure that keeps the shadow line running visually around the building without creating a wide-open channel for water at the miter. A butted corner with caulk is not a detail, it's a maintenance liability with a five-year warranty on the caulk, if you're lucky. At the top of a reveal run, the termination has to close the cavity from driving rain and wind uplift while still letting it vent, which usually means a formed cap flashing with weep provisions rather than a solid dead-end cap. At the base, the reveal has to land above finished grade with clearance, and there needs to be a drip or hemmed edge that kicks water away from the wall rather than back against the foundation. These are the callouts I see most often on BC building inspections, and honestly, most of them are avoidable with a properly detailed termination package before panels ever get ordered. There's a good rundown of the common ones in common BC siding inspector callouts that custom flashings fix, worth a read before your next inspection, not after.
What to send us for a reveal panel quote
Same-day quoting on reveal packages is realistic, but only if we're not guessing at your intent. Send us:
- Elevation drawings showing reveal width, panel width, and return depth, even if they're rough. Wall sections at typical, corner, and termination conditions matter more than the elevation itself.
- The panel finish spec, including manufacturer color code if it's a Kynar/PVDF system, so closures can be matched or ordered from the same lot.
- Substrate condition notes, new construction versus retrofit, and whether strapping is already planned.
- Gauge preference or let us recommend one based on span and wind exposure; on exposed elevations in Delta, Richmond, and along the water in White Rock, we're often pushing 24 gauge over 26 for panel rigidity even when the drawing calls thinner.
If you're not sure how to read what comes back on the quote once we send it, our guide on how to read a metal fabricator's quote walks through the line items, gauge codes, and finish codes so nothing gets lost in translation between designer intent and shop floor reality.
We form the reveal panels, the back pans, the closures, and the terminations as a matched set out of our custom forming shop in Delta, and you can browse standard profiles and reveal widths we run regularly in our metal panel and flashing catalog before you draw up anything custom. Most reveal packages don't need to be fully custom from scratch, just custom-fitted to your reveal width and wall condition. Send your elevation sketch or wall section and send your sketch for a quote and we'll turn it around same day, tolerances and all.
Frequently asked questions
Should an open-joint reveal be sealed at the face?
No. Open-joint rainscreen is meant to let water through the joint, and the face was never the barrier. Water control happens one layer back, in a drained and back-ventilated cavity with a proper weather-resistive barrier plus back pans, closures and flashing that catch water and route it out. Skip that metal and a good panel finish won't save the sheathing.
Why order back pans and closures together with the reveal panels?
They have to fit the actual reveal. A back pan a quarter inch too shallow bottoms out against the panel return and stops draining, and a closure cut for a 3/8" reveal won't seat in a 1/2" gap. Order them as a set, from drawings showing real reveal width and return depth. Finish drifts coil to coil. Pull closures, trim and field panels from the same coil lot when run size allows.
How tight do reveal panel tolerances need to be?
Tight. Returns are held to plus or minus 1/32" on a press brake, because a return that wanders 1/16" across a run makes the shadow gap read uneven under raking light. The substrate matters just as much. A flat reveal panel shows every bowed stud and lumpy furring strip, so budget strapping and shimming on retrofit walls the way you budget the panels.
Where do reveal panel jobs usually fail?
Corners and terminations, almost never the field panel. Corners need a returned corner panel or a formed corner closure, not a butted joint with caulk. The top of a run needs a formed cap flashing with weep provisions, so the cavity is closed to driving rain but still vents. At the base, land above finished grade with a drip or hemmed edge.