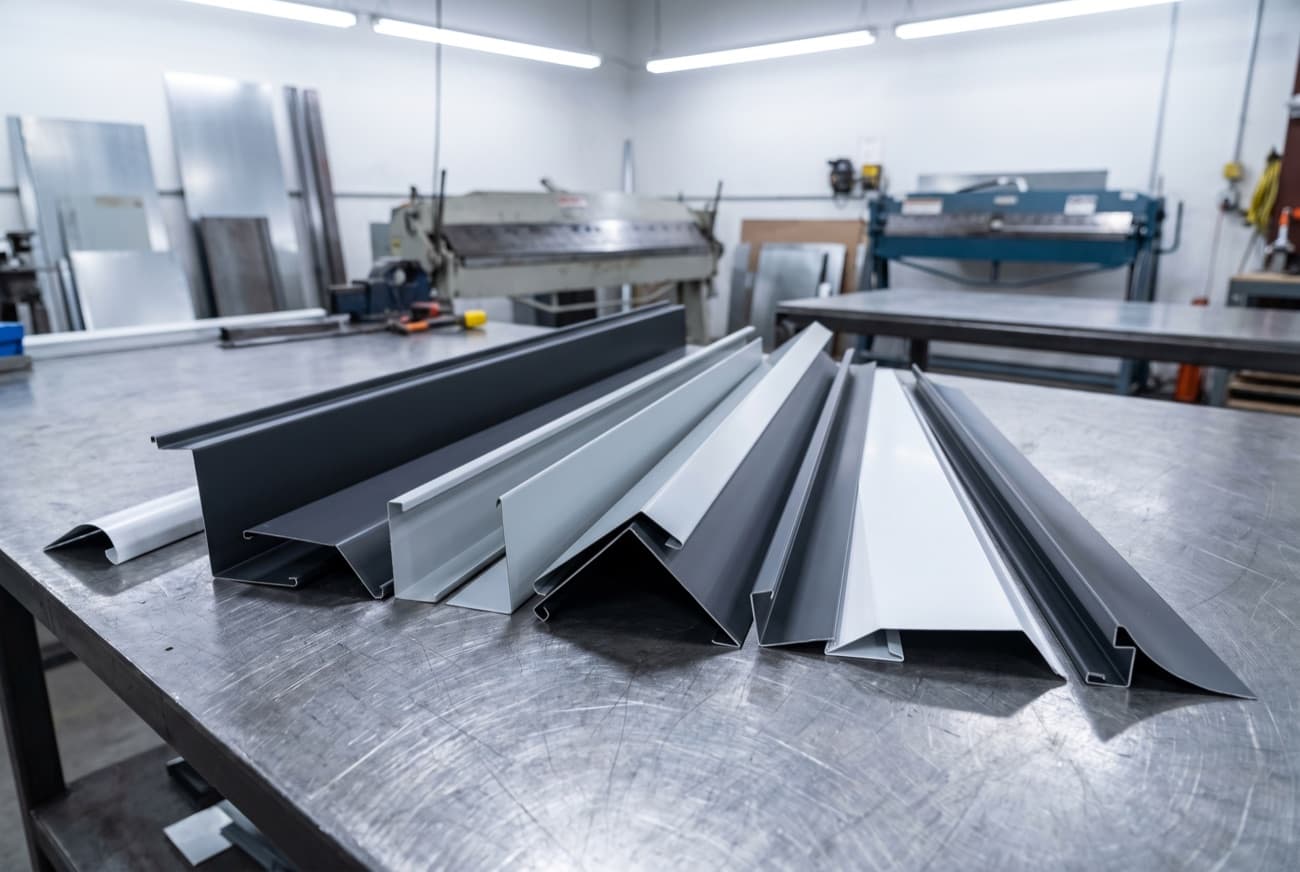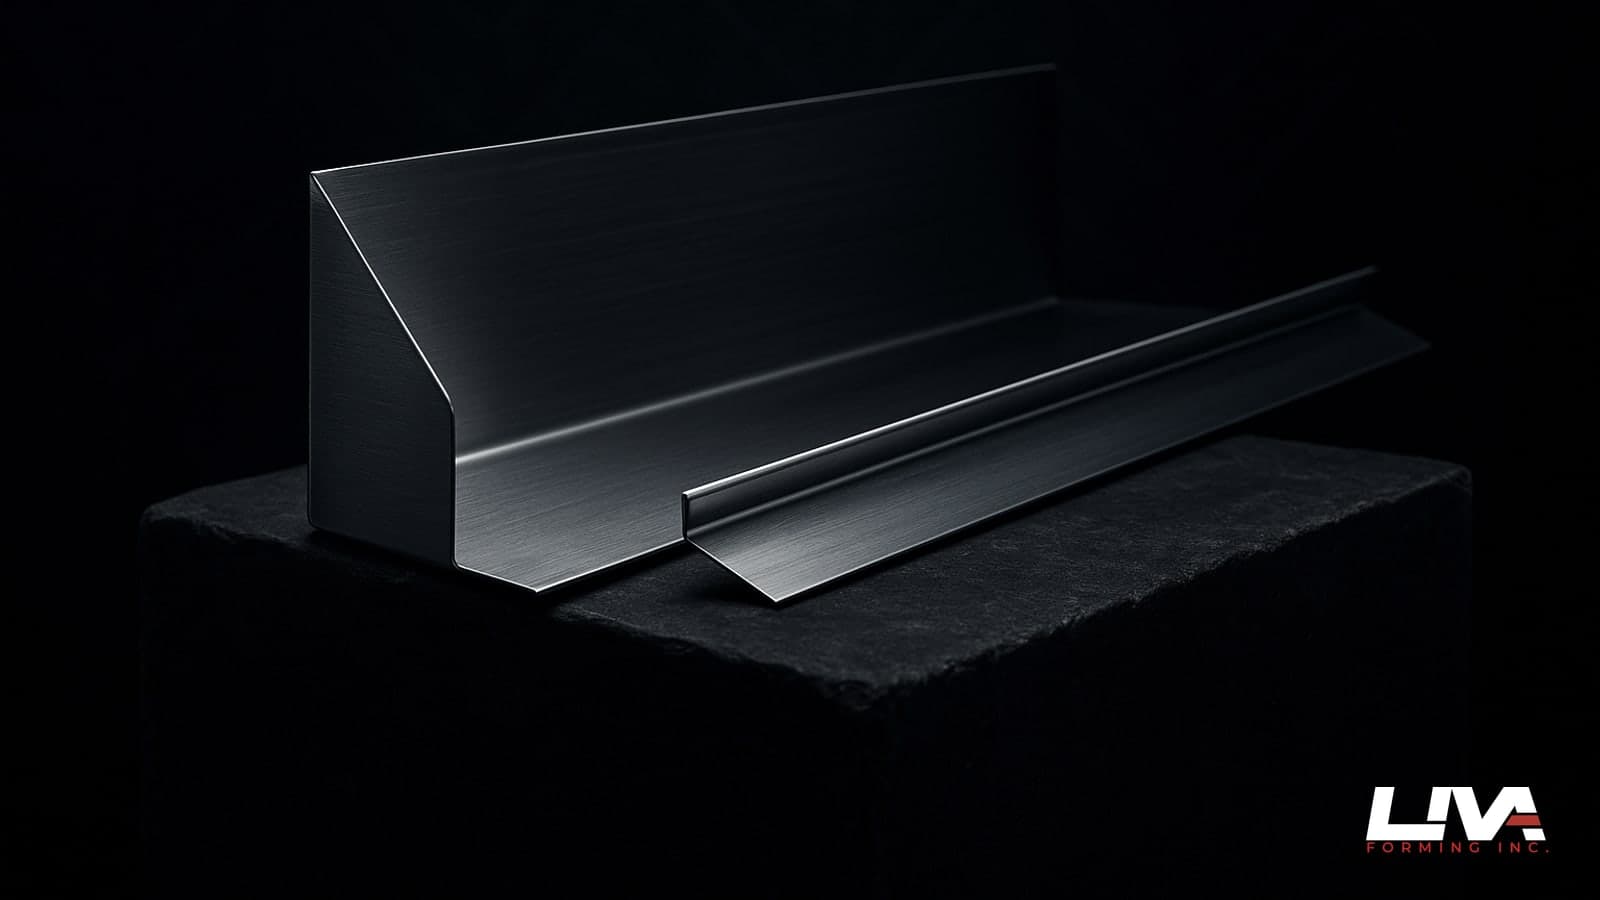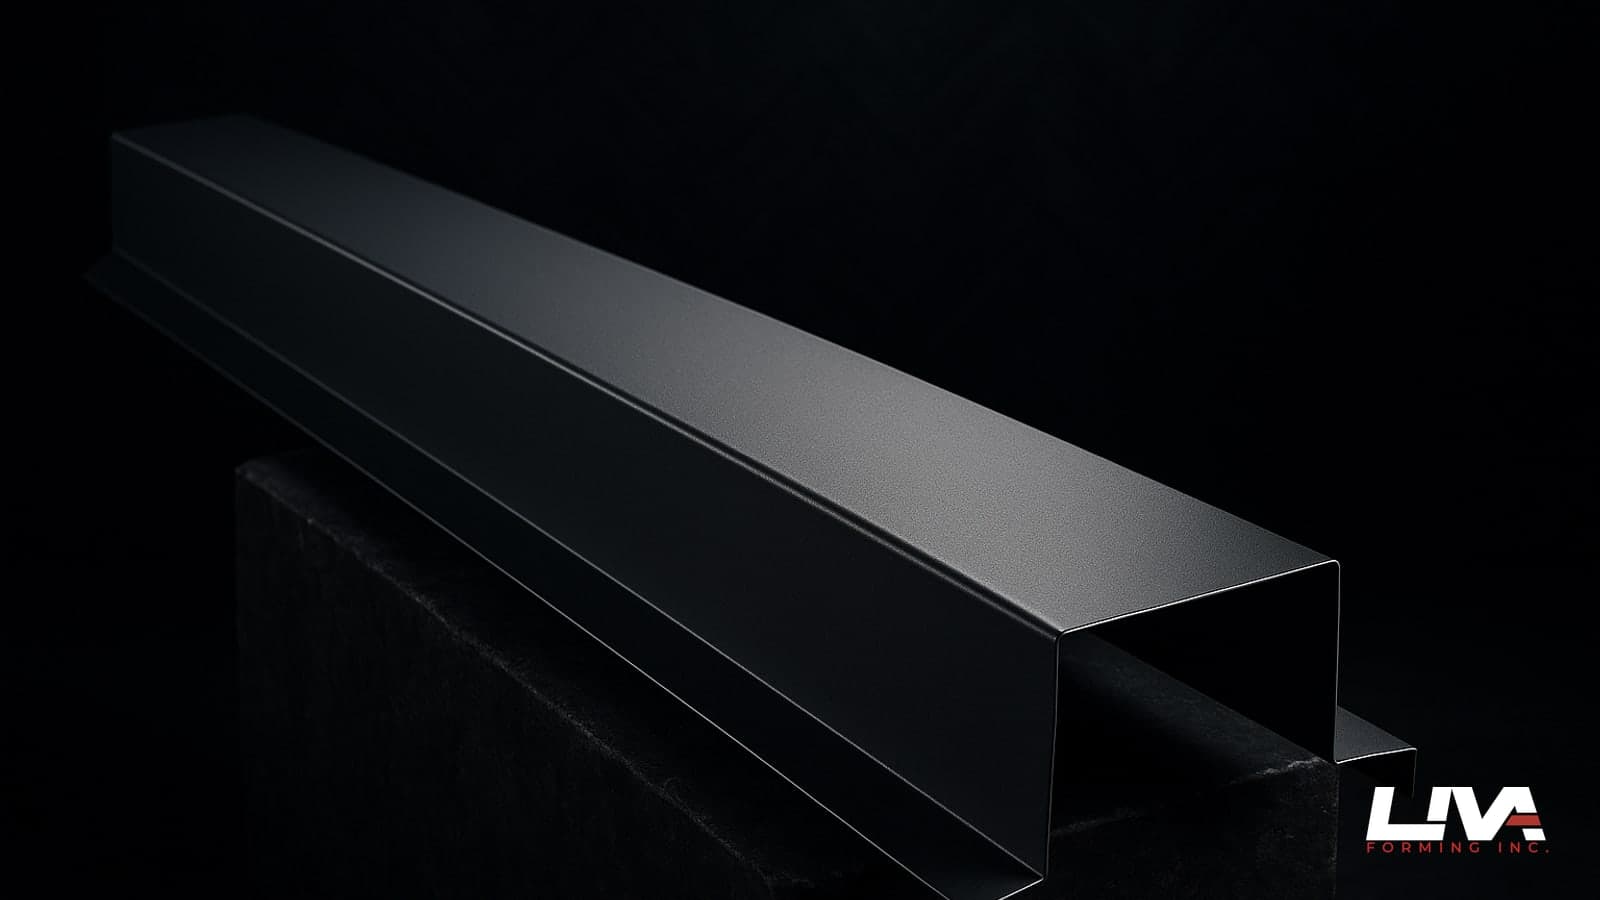
Every siding crew in the Lower Mainland has had this happen. Job's buttoned up, siding looks great, and then the envelope inspector shows up and red-tags three spots you thought were fine. Nine times out of ten it's not the siding. It's the flashing underneath it. A siding inspection flashing BC callout almost always traces back to one of four things: a missing kick-out, a head flashing leg that's too short, no drip edge at a horizontal transition, or a lap running the wrong direction. All four are fixable in an afternoon if you've got the right profile on the truck.
I've been bending metal for this trade for over twenty years, mostly out of our shop in Delta, and I can tell you the inspectors in Surrey, Richmond, Burnaby, and North Van aren't being picky for sport. Water finds the gap. Every time. Their job is to make sure it can't.
Why stock flashing fails BC inspections in the first place
Big box stock flashing is made for a generic wall assembly that basically doesn't exist anymore. Standard 4-inch legs, standard 90-degree bends, one gauge, one finish. Fine if your wall has a 3/4-inch reveal and a stock window nailing flange. But half the houses we flash in White Rock and Mount Pleasant have rainscreen strapping adding 3/8 to 1 inch of standoff, thicker exterior insulation, or a custom reveal depth on the panel or lap siding that nobody at the hardware store accounted for.
Run stock flashing over a rainscreen gap it wasn't built for and the leg comes up short. The inspector measures it, and now you've got a callout for insufficient coverage behind the cladding. It's not that the installer did a bad job. The part was wrong for the wall.
This is the whole argument for custom over stock, and we've written about it in more detail in our piece on custom vs standard metal flashings. Short version: BC's wall assemblies got more complicated over the last decade, and the flashing has to catch up or the inspection fails.
Kick-out flashing: the number one water-entry callout
If I had to bet on the single most common flashing callout on a BC job site, it's a missing or undersized kick-out at the bottom of a roof-to-wall intersection. This is where a sloped roof plane meets a sidewall, usually above an entry, a bay window, or a lower roof tying into a two-storey wall. Without a kick-out diverter, water running down the roof valley hits the wall and just keeps going, straight down behind the siding, straight into the sheathing. This is not a theoretical failure. It's the single most common source of hidden rot claims we hear about from restoration contractors in Coquitlam and Abbotsford. By the time someone opens the wall it's black.
Inspectors know this, so kick-outs get checked hard. What they're looking for:
- A diverter that actually projects past the face of the cladding, not just past the drip edge underlayment
- A properly mitered outside corner, not a bent-over tab that funnels water instead of throwing it clear
- Correct integration with the step flashing above it, so there's no gap where the kick-out meets the first step
Stock kick-outs come in maybe two or three angles and one depth. Real roof pitches in this region run everywhere from 4:12 to 9:12, and wall cladding thickness varies another half inch depending on whether you're over a rainscreen mat or direct-applied panel. If the stock angle doesn't match the roof pitch, the diverter doesn't kick the water clear, it dribbles it down the face of the wall, which is functionally the same as not having one. We go into the geometry problem in more depth in our custom step flashing guide for roof-wall intersections, because kick-outs and step flashing really have to be specified together or you're just moving the leak six inches up the wall.
Head flashing over windows and doors: leg length, end dams, drip
Second most common callout, and probably the one that surprises contractors the most, is head flashing over window and door openings. Three specific failure points here, and I've seen all three fail inspection in the same week on the same job before.
Leg length first. The vertical leg behind the cladding needs to run high enough to actually get behind the WRB and lap correctly, and the horizontal leg over the window needs enough drip projection to throw water clear of the frame below. Stock head flashing usually gives you a 1-inch drip. On a deep reveal panel system, or where the trim board sticks proud of the wall, 1 inch isn't enough. Water wicks back under and the inspector calls it.
End dams next. This one gets missed constantly. Without a dam folded up at each end of the head flashing, water runs off the ends and straight down the sides of the window trim, right where the vertical flashing and head flashing should have been lapped into one continuous path. An end dam is a five-second bend on a press brake. It's nothing to add when the part is made correctly the first time, and it's the difference between a pass and a callout.
Third, drip. The hem at the front edge needs a real break, not a soft radius, so water actually lets go of the metal instead of following it back along the underside by capillary action. Inspectors will run a finger under there. If it's wet on a dry day, that's a callout waiting to happen the next storm.
None of these are exotic requirements. They're just dimensions that stock flashing wasn't cut for. Our custom flashing work exists mostly to solve exactly this, get the leg lengths, end dams, and drip geometry matched to your actual wall build instead of whatever the standard SKU happened to offer.
Z-flashing at horizontal transitions: direction matters more than people think
Anywhere your siding changes plane horizontally, board and batten stepping down to a stone-look panel, a material change at a belly band, a soffit-to-wall transition, you need a Z-flashing (or drip cap, same idea) to shed water from the upper surface out and away from the lower one. Two callouts show up here constantly. First is lap direction. Sounds obvious, water flows downhill, so laps have to shingle downward, upper piece over lower piece, always. But on a re-clad or a retrofit job where crews are working section by section, I've seen laps installed backwards more than once, usually because someone was moving fast and installing in the wrong sequence. Inspectors catch it because it's visible if you know what you're looking at, and once you know, you can't unsee it.
Second is drip projection again. Same story as head flashing. The horizontal leg needs to clear the face of the material below it, not just sit flush. On a board and batten wall with a deep batten profile, which we cover in our board and batten metal siding spec guide, the standard Z dimension often doesn't have enough throw to clear the batten face. Custom depth fixes it in one bend.
Get the Z-flashing dimension wrong and it's not just an inspection problem, it's a callback problem two years later when the paint starts bubbling at that transition line.
How a same-day custom bend clears a callout without stalling the job
Here's the part contractors actually care about. An inspection failure isn't a paperwork problem, it's a schedule problem. Trades are booked, the GC wants the wall closed in, and every day waiting on a part is a day of carrying costs nobody budgeted for. This is exactly why we run same-day quotes and same-day custom bends out of our Delta shop. Give us the dimension that failed, the reveal depth, the pitch, whatever the inspector actually measured, and we'll turn a corrected profile on our press brake the same day in most cases. No re-tooling stock dies, no waiting on a supplier three provinces away. We're bending 24 and 26 gauge steel, aluminum, and pre-finished coil daily, and a kick-out or head flashing correction is a short run, not a production job.
If the gauge choice is part of what's under discussion, our breakdown of 24 vs 26 gauge flashing is worth a read before you re-order, especially on coastal jobs in Delta or Richmond where salt air and wind load make the thicker gauge worth the extra $0.50-1.00 per linear foot.
We've had contractors drive in from Surrey at 7am with a photo of the inspector's notice and a tape measure reading, and walk out by 2pm with corrected flashing ready to install before the inspector's follow-up visit. That turnaround is the whole point of having a local shop instead of ordering off a shelf three provinces away.
What to send us to get the right profile fast
Speed on our end depends entirely on what you send us. The faster and cleaner the information, the faster the part comes off the brake. What actually gets you a same-day turnaround:
- A photo of the failed condition and, if you have it, the inspector's written callout or notice
- Actual field measurements: reveal depth, wall assembly thickness including rainscreen gap, roof pitch if it's a kick-out
- Material preference, or tell us the exposure and we'll recommend galvalume, aluminum, or a heavier gauge steel based on what the wall's facing
- Linear footage needed, even a rough estimate
- A sketch if you've got one, doesn't need to be to scale, we've built profiles off napkin drawings for years
If you've never ordered custom flashing from us before, our guide on what we need from you for custom metal drawings walks through the exact detail level that gets a quote back fastest. Most contractors overthink the drawing part. A dimensioned sketch and a phone photo of the wall condition gets us further than a CAD file half the time.
An envelope inspection callout is annoying, but it's also just information. It's telling you exactly where the water was going to get in, before it actually did. Fix the flashing geometry once, correctly, and you don't see that callout again on the next phase of the same job.
If you've got a callout on your hands right now, don't wait on a supplier catalog to catch up to your wall assembly. Snap a photo of the condition, grab your field measurements, and send your sketch for a quote and we'll get a corrected profile moving out of our Delta shop the same day.
Frequently asked questions
Which flashing problems cause most BC siding inspection callouts?
Almost always the flashing, not the siding. Four callouts dominate: a missing kick-out, a head flashing leg that's too short, no drip edge at a horizontal transition, and a lap running the wrong direction. Stock parts are often the cause. Their 4-inch legs come up short once rainscreen strapping adds 3/8 to 1 inch of standoff, and the inspector measures it.
What do inspectors check on a kick-out flashing?
Three things. The diverter has to project past the face of the cladding, the outside corner has to be properly mitered rather than a bent-over tab, and the kick-out has to meet the first step flashing with no gap. Roof pitches here run from 4:12 to 9:12. If a stock angle doesn't match the pitch, it dribbles water down the wall instead of throwing it clear.
Why does head flashing over windows and doors fail inspection?
Three failure points. The vertical leg has to run high enough to lap correctly behind the WRB. Each end needs a dam folded up, or water runs off the ends and down the sides of the trim. The front hem needs a real break, not a soft radius, so water lets go instead of wicking back. And the 1-inch drip on stock parts isn't enough on deep reveals.
What should I send to get a corrected profile the same day?
A photo of the failed condition, plus the inspector's notice if you have it. Then field measurements: reveal depth, wall assembly thickness including the rainscreen gap, and roof pitch for a kick-out. Add linear footage, even rough, and a sketch. Scale doesn't matter. With that in hand, most corrections come off the press brake in our Delta shop the same day.