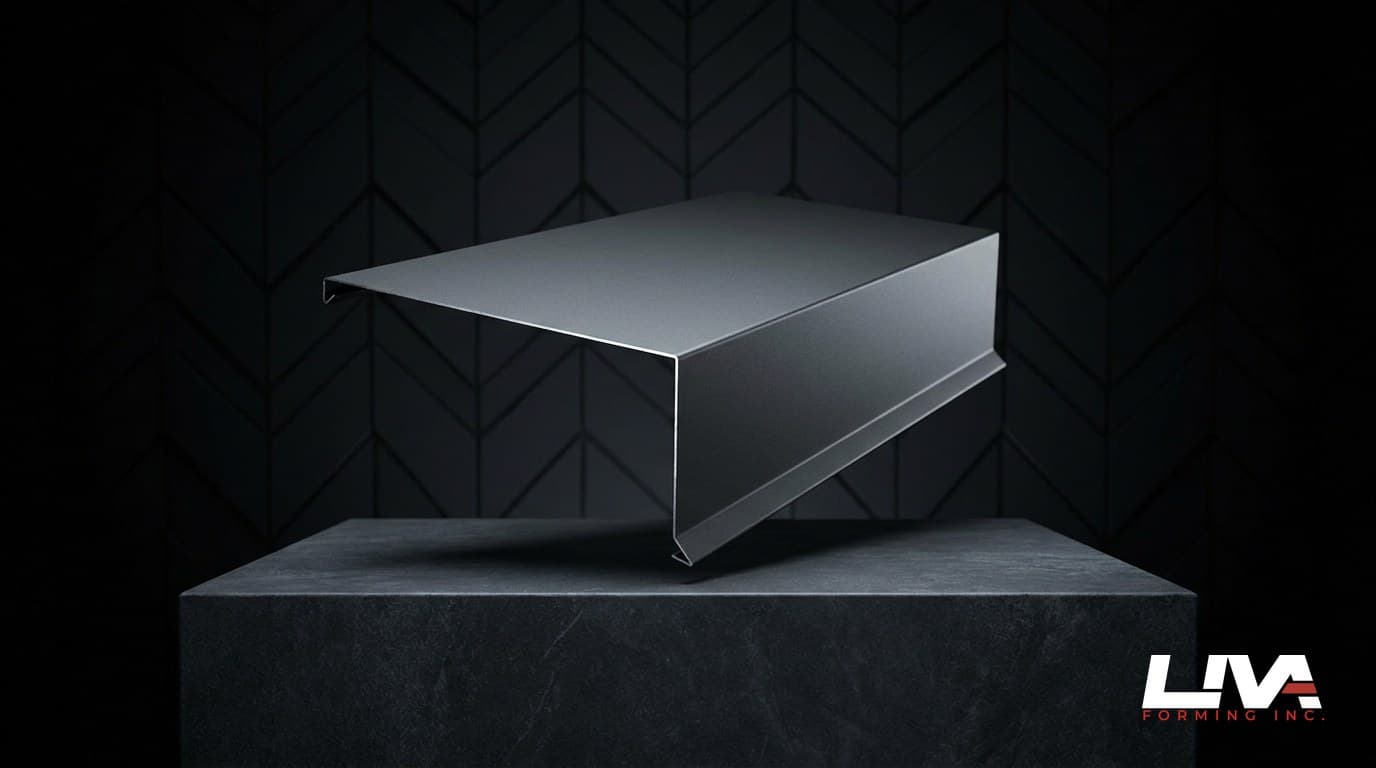
If you've been on a siding crew for more than a season, you already know flashings are where projects either come together cleanly or fall apart on the punch list. The siding itself isn't usually what fails. Water gets behind a panel because a flashing was the wrong size, the wrong angle, or just plain missing, and three years later somebody's calling about rot.
This is a guide for contractors who order flashings regularly and want to spend less time fighting suppliers and more time building. We make custom flashings for siding crews across the Lower Mainland, and what follows is the framework we use when contractors call us with a project that doesn't fit standard inventory. No sales pitch. Just the practical decisions that matter and how to make them faster.
Why standard flashings stop working after the first weird wall
Standard profiles cover maybe seventy percent of straightforward residential work. Drip edge at a clean roof-to-wall transition, J-channel around a punched window opening, head flashings on rectangular openings. For those, walking into a big-box store is fine if you don't mind the wait.
Problems start when the wall isn't textbook. A few of the situations we see most often:
- Window head flashings on openings deeper than three inches because of exterior insulation
- Step flashings where the roof pitch is twelve-twelve and the standard leg length leaves you a quarter-inch short
- Transition flashings between two siding profiles, say, vertical board-and-batten over horizontal lap, where the kick-out angle doesn't exist in any catalog
- Continuous flashings longer than ten feet, where every seam is a callback waiting to happen
- Anything on a historic restoration where the original profile was bent by hand in 1962
In all of those, the contractor's choice is: redraw it in CAD and send to a fabricator (expensive, slow), force-fit a standard profile (risky), or call a custom shop that takes sketches (which is what we do, but more on that in a minute).
Get the basic decisions right before you spec anything
Before you start picking gauges and materials, a fabricator needs four things from you. The contractors who get fast quotes are the ones who arrive with these answered:
1. What's the application? Roof-to-wall, window head, drip edge, kick-out, ridge cap, sill, valley. The more specific, the better. "Flashing" alone tells a fabricator nothing. "Custom step flashing for asphalt shingles meeting cedar siding at twelve-twelve pitch" tells them everything.
2. What's the substrate behind it? Sheathing plus housewrap, rigid insulation plus rainscreen, masonry, framing only. This changes the leg length you'll need and sometimes the fastener pattern. A flashing that worked over plain OSB will fail behind two inches of mineral wool because the geometry doesn't reach far enough back.
3. What's the cladding profile? Lap siding, vertical panel, fibre cement, vinyl, cedar shake, metal panel. Each has different reveal depths and different ways it terminates against trim. A drip edge sized for half-inch fibre cement will look wrong against three-quarter cedar.
4. Where in BC are you working? Lower Mainland coastal exposure is different from Okanagan dry interior or Vancouver Island marine spray. The same flashing in galvanized steel that lasts twenty-five years in Kelowna might give you ten in Tofino. We'll come back to materials in the next section.
If you can answer those four, a fabricator can quote without forty back-and-forth emails. If you can sketch on the back of an invoice, even better: a rough drawing with three dimensions almost always beats a thousand words.
The gauge decision: thinner isn't always cheaper in the long run
Metal flashings come in a range of thicknesses. Most siding contractors default to 26-gauge galvanized for almost everything, and that's not wrong. It's the workhorse. But the gauge you pick affects three things at once: cost, life span, and how the flashing behaves when you install it.
Here's the practical breakdown for siding work:
- 29-gauge is the thinnest you'll see for residential flashings. Cheaper, but dents during transport and on the wall. Fine for drip edges on a budget retrofit. Skip for anything load-bearing or exposed.
- 26-gauge is the standard for most siding flashings in BC. Good rigidity, takes a fold cleanly, holds up to weather. This is what we run as default unless a project asks for something else.
- 24-gauge is what we use on commercial-spec residential, long continuous panels, and anywhere the flashing carries more load than typical, for example, head flashings on heavy stone veneer.
- 22-gauge and heavier is industrial territory. Roofing flashings on commercial buildings, architectural detailing, places where the flashing is structural as much as it is a water shed.
Rule of thumb: if the flashing is longer than eight feet without a break, step up one gauge. The thinner it is, the more it oil-cans (waves in the sun) and the more it dings during install.
Where contractors lose money on flashings (and how to stop)
Three patterns we see over and over:
Over-ordering on small projects. A contractor needs four custom J-channels for a renovation. The supplier has a fifty-piece minimum on custom. So the contractor either pays for fifty, walks away, or uses standard parts that don't fit. Custom shops without minimums on small batches solve this. We'll run a four-piece order, just at higher unit cost. The math still works because the alternative is a rework callback.
Wrong material for the location. We've replaced flashings on Sea-to-Sky homes that were spec'd in regular galvanized steel. Twelve years in, the salt air ate them. Switching to coated aluminum on those jobs would have cost twenty percent more upfront and saved a five-figure repair. There's a full material breakdown in our galvanized vs aluminum vs copper guide, but the short version is: location matters more than people think.
Late ordering. This is the killer. Contractor measures on Monday, calls the fabricator Wednesday, needs material on Friday for the crew that's standing around Saturday. Even a custom shop with same-day quotes needs lead time to actually bend metal. Get measurements in the day you do the framing inspection, not the day you're ready to install.
The sketch-to-quote workflow that actually saves time
Most fabricators want a CAD file. Most siding contractors don't run CAD on the truck. This mismatch is why custom flashings take ten days when they could take three.
The workflow we run with contractor partners looks like this:
- Site sketch. Paper, napkin, marker on cardboard, whatever you have. Three dimensions usually do it: leg lengths, bend angle, total length. Photo it with your phone, text it over.
- Same-day quote. We come back within a few hours during business days with a price and a confirmation of what we understood from your sketch. If something is ambiguous, we'll show you our interpretation as a quick line drawing and ask if it's right.
- Production. Typical turnaround for standard custom flashings is three to five business days. Long continuous runs or specialty profiles can take longer; we tell you up front, not after you've already counted on it.
- Pickup or delivery. Lower Mainland delivery is usually next-day after production. Pickup at our shop is same-day once it's done.
The whole point of this workflow is to take the redrawing burden off the contractor. You shouldn't have to learn CAD to order metal. You should be able to describe what you need, get a price, and have it in hand by the end of the week.
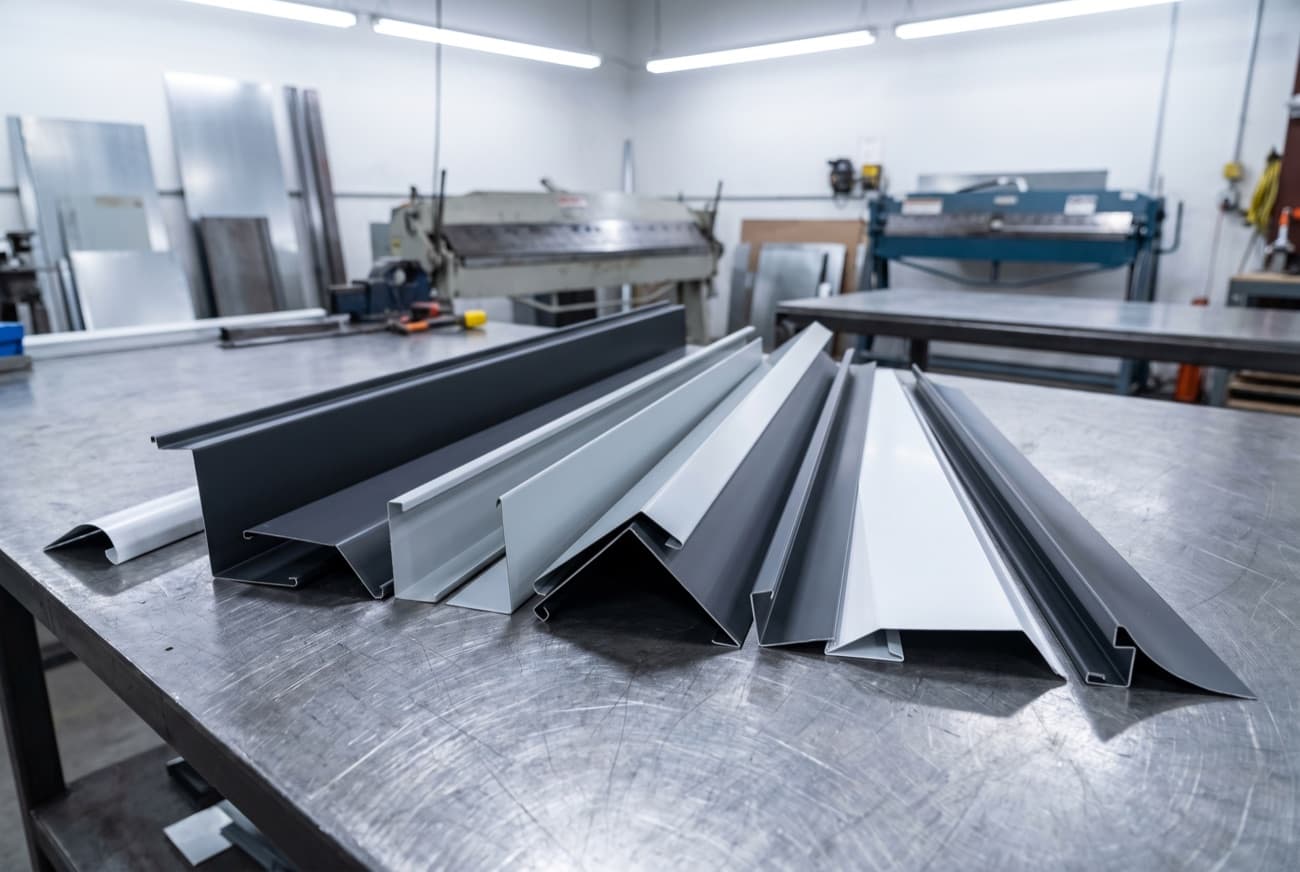
Common profiles, in plain English
Quick reference for the flashings that come up most often on siding work, and what to watch for on each:
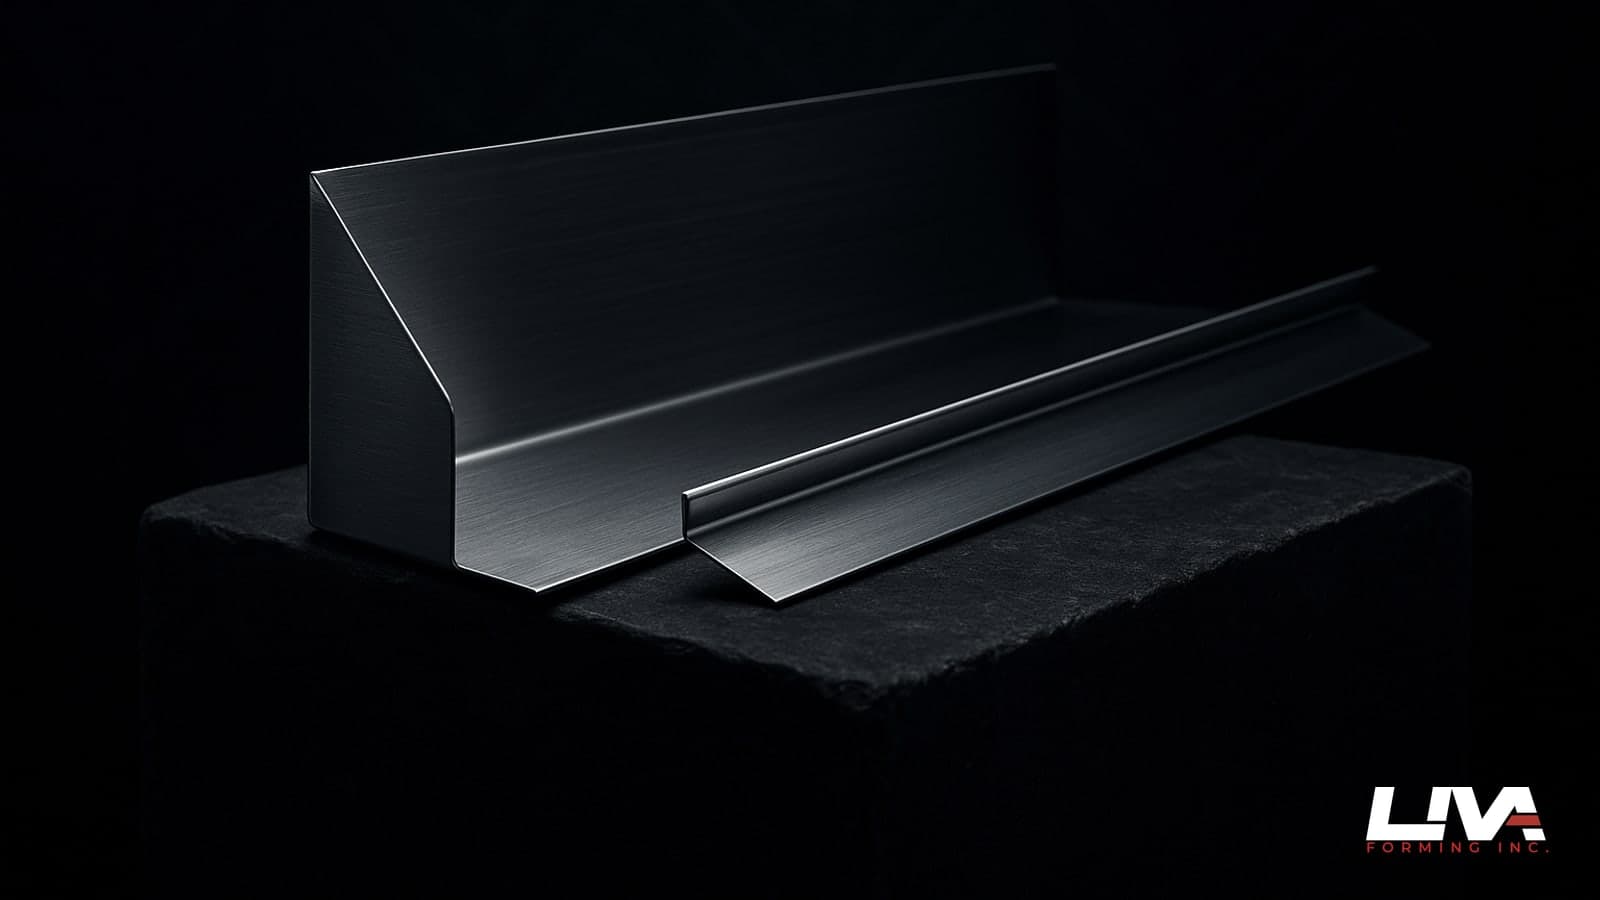
Drip edge. Goes at the bottom of a wall or at a roof eave. Pushes water away from the cladding edge. Common mistake: too short a kick-out, so water curls back under into the soffit. Spec at least a one-inch kick.
J-channel. Receives the edge of siding at openings and terminations. Two dimensions matter: the channel depth (matches your cladding thickness) and the leg length (matches your trim).
Head flashing. Sits above a window or door, sheds water out and away from the opening. Slope angle is non-negotiable. A flat head flashing pools water and feeds it backwards. We bend ours at five to seven degrees as standard.
Step flashing. Where a roof meets a wall (chimney, dormer, sloped intersection). One piece per shingle course. Standard sizes work for standard roof pitches; anything above eight-twelve usually needs a custom angle.
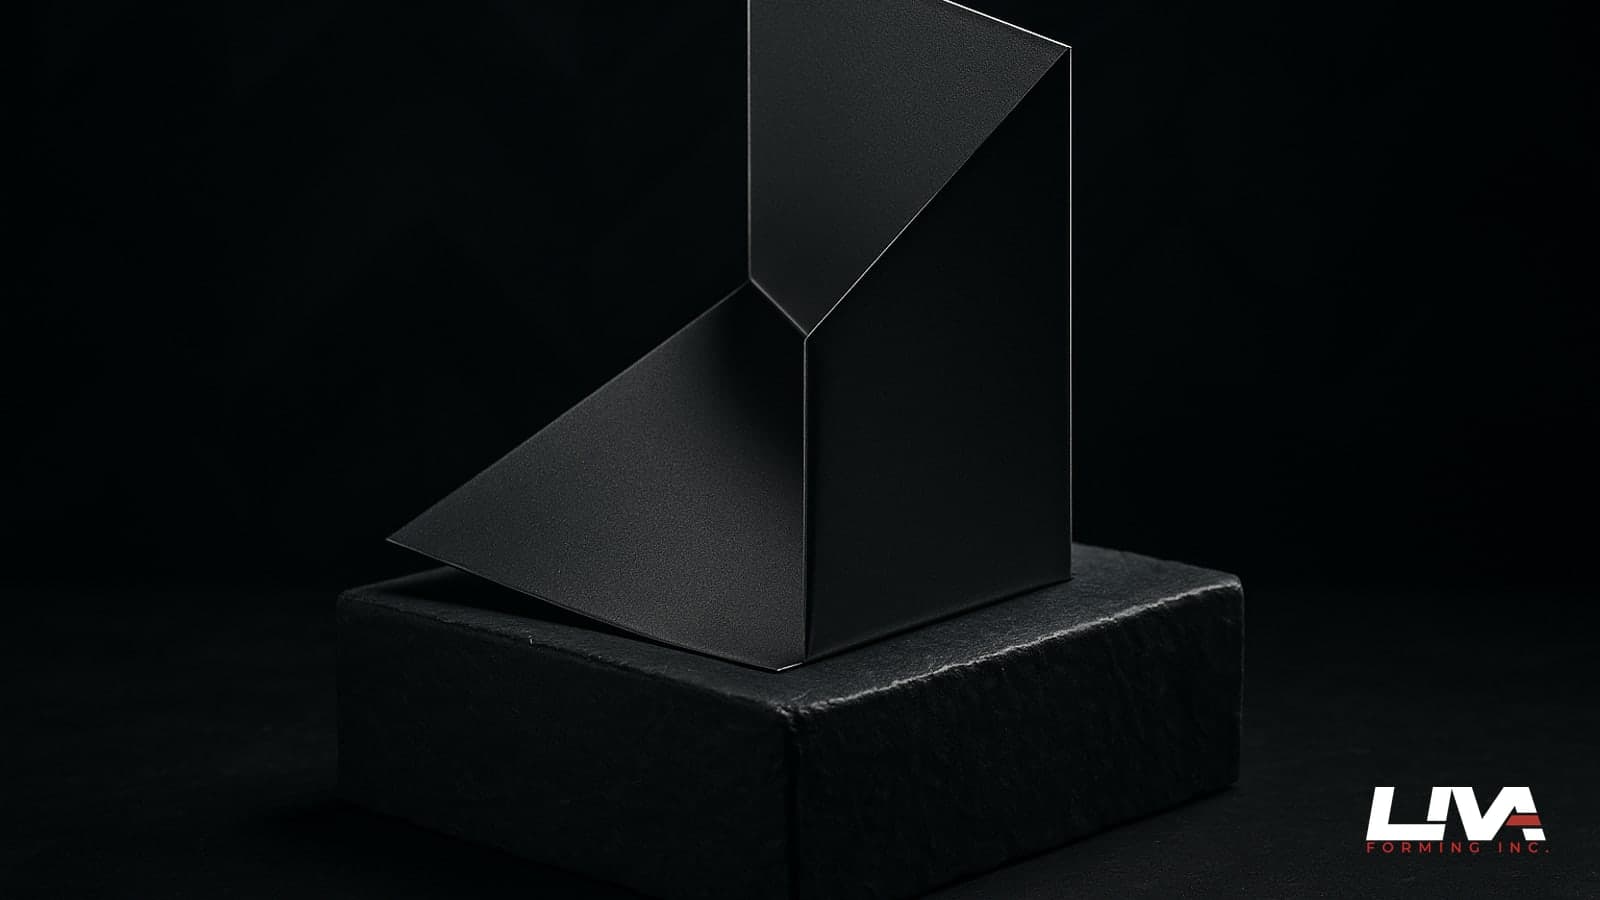
Kick-out flashing. Diverts water away from the wall where a roof meets a vertical surface at the bottom of a slope. Building code now requires these on most new construction in BC; older homes often don't have them and pay for it.
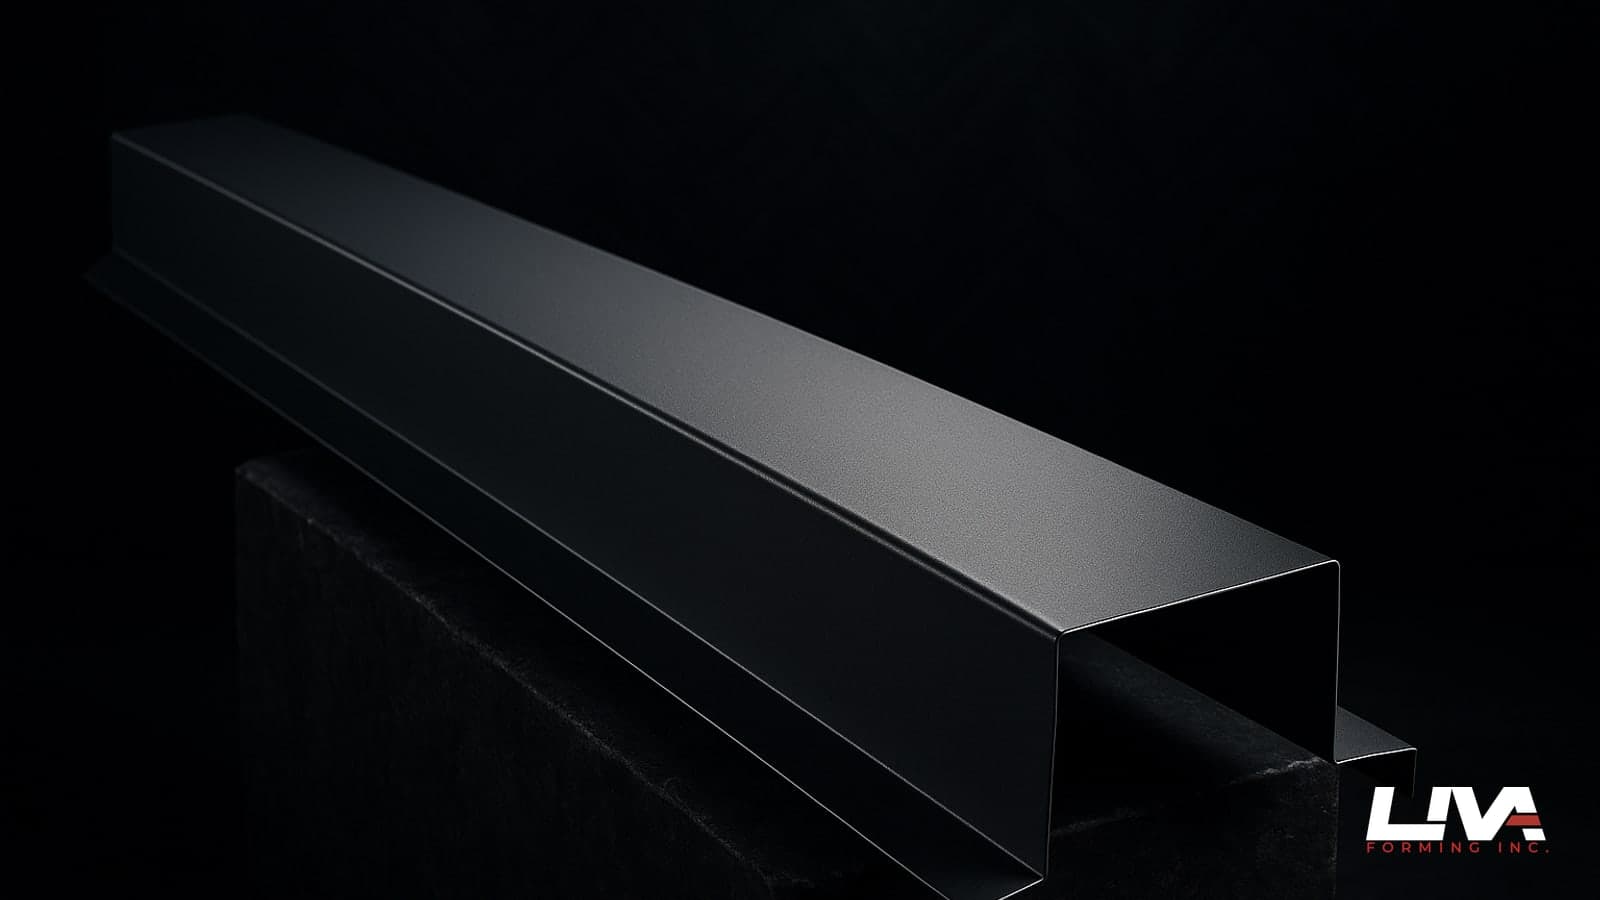
Continuous flashing. Long single-piece flashings (think above a long band of windows, or along a wall transition). Anywhere you can avoid a seam, you should. Custom shops can bend up to about twenty feet in one piece; standard suppliers cap out at ten feet most of the time.
When to keep using your standard supplier
We're a custom shop, so the obvious move would be to tell you to send us everything. We don't, because that's not how partnerships actually work.
Use your standard supplier for high-volume straight runs of common profiles: basic drip edge, plain J-channel in standard cladding depths, run-of-the-mill head flashings on rectangular windows. The economics there are hard to beat and the lead times are fine for stocked items.
Use a custom fabricator for anything where the standard part is off by even a quarter-inch, anywhere the geometry is non-standard, anywhere the run is long enough that seams become a problem, and any project where the supplier's lead time exceeds your crew's window.
The contractors we work with regularly tend to split it roughly seventy-thirty: seventy percent of their flashing volume comes from a standard supplier, thirty percent from us. The thirty percent is what makes their jobs come out clean.
How to evaluate a custom flashings supplier
If you're shopping for a custom fabricator to partner with, four things to check:
- How fast do they quote? Days is too slow. Hours is the standard you want for ongoing work.
- Do they take sketches, or do they require CAD? If they require CAD, every order will be slow and frustrating unless you have someone in-house drafting.
- What's their minimum? A four-piece minimum is workable. A fifty-piece minimum is for production runs, not for the project-to-project work most siding crews do.
- Are they local? Lead time on metal isn't just production. It's freight. A fabricator across the country with two-day shipping is slower than a local shop with same-day pickup.
Those four filters will tell you in one conversation whether a supplier is set up for contractor work or set up for industrial accounts and tolerating you as a side business.
Bringing it back to the job
The deeper point under all of this: flashings are a small line item on the invoice and a large source of risk on the install. The contractors who treat them as a serious decision (picking the right material for the location, ordering early enough, working with a fabricator who takes sketches instead of demanding CAD) finish projects on time without callbacks. The ones who treat flashings as an afterthought spend their warranty period coming back to fix water damage.
If you're a siding contractor working anywhere in the Lower Mainland and you've got a project that doesn't fit standard parts, we can usually quote within a few hours of seeing your sketch. Send the dimensions, get a price, install clean.
Working on a project that needs custom flashings? Sketch what you need, then send your sketch for a quote. We come back with a number the same day.
Frequently asked questions
Do you have a minimum order on custom flashings?
No fixed minimum. We've run four-piece orders for renovation work and three-hundred-piece runs for multi-family. Unit cost is higher on the small batches. The math still works, though, because the usual alternatives are paying for a supplier's fifty-piece custom minimum, forcing a standard part that doesn't fit, or eating a rework callback later.
How long does a custom flashing order take from quote to delivery?
Standard custom orders are usually three to five business days from approved quote to ready for pickup or delivery. Complex profiles and long continuous runs take longer. We tell you that up front. Pickup at the shop is same-day once production is done, and Lower Mainland delivery usually lands the next day. So send measurements the day of the framing inspection, not the day the crew is ready.
Can you match an existing flashing profile from an older building?
Yes. Send us the original piece, or a clean photo with measurements, and we can replicate or extend the profile. Historical restoration is a regular part of our work, including profiles somebody bent by hand in 1962. If all you have is a rough sketch, three dimensions usually do it: leg lengths, bend angle and total length. No CAD.
What gauges do you stock?
We run 26-gauge galvanized as standard inventory. It's the workhorse for most siding flashings in BC. Other gauges, 24 and 22, and other materials like aluminum, prefinished and copper are available on order, typically at the same lead time. Step up to 24-gauge on long continuous panels or heavy stone veneer heads, and go up one gauge on any flashing longer than eight feet without a break.
Do you deliver across BC?
Yes. Lower Mainland delivery is next-day as standard, and Vancouver Island and Interior BC usually take two to three days. Coastal communities and remote sites run longer depending on freight, so we quote delivery before you commit. Freight counts. A fabricator across the country with two-day shipping is still slower than a local shop with same-day pickup.